Do you have a question about the Assa Abloy Besam VersaMax ICU and is the answer not in the manual?
| Operation | Automatic |
|---|---|
| Application | ICU (Intensive Care Unit) doors |
| Current Consumption | 1.5A |
| Operating Temperature | -20°C to +50°C |
| Door Weight | Up to 120kg |
| Hold-open Time | Adjustable |
Essential safety guidelines for operating and maintaining the door system.
Guidelines for proper product disposal and environmental responsibility.
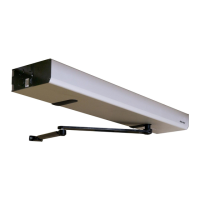
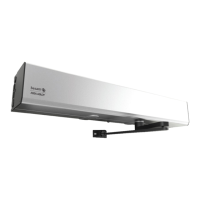
Overview of the manual and the Besam VersaMax ICU/CCU Telescopic Equal Panel package.
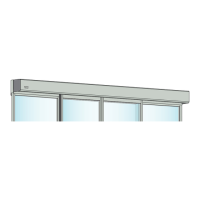
Details on different ICU/CCU telescopic equal panel door package configurations and naming conventions.
Specifies materials and minimum anchor embedment for secure installation.
Lists essential tools needed for the installation process.
Instructions for removing packaging and preparing the door package for installation.
Guidance on installing various hardware components onto the door panels prior to assembly.
Procedure for accessing the header by opening, closing, and locking the cover.
Checks for proper dimensions, plumbness, and squareness of the rough opening.
Instructions for assembling and mounting the jambs to the header structure.
Steps to ensure the header and jambs are plumb, square, and level for correct operation.
Guide for installing the floor-mounted guide tracks for fixed sidelite applications.
Steps for installing the pivot plate for trackless door systems.
Procedure for disconnecting the belt from the transfer bracket before door installation.
Detailed steps for installing a Full Break Out (FBO) sidelite in recessed track configurations.
Steps for installing Active Leaf #2 and #1 in FBO recessed track systems.
Procedure for safely removing a sidelite from the installed system.
Steps for installing a Full Break Out (FBO) sidelite in trackless configurations.
Installing Active Leaf #2 and #1 in FBO trackless systems.
Installing Fixed Sidelite (FSL) and Active Leaves in trackless systems.
Installing the second active leaf for a Fixed Sidelite (FSL) system.
Installing the first active leaf for a Fixed Sidelite (FSL) system.
Adjusting the tension of the ball catch and detent for proper door operation and egress.
Fine-tuning the PSA arm for accurate door alignment and ball catch engagement.
Correcting the vertical position of the active leaf for optimal fit and function.
Reconnecting the drive belt to the transfer bracket after door installation.
Checking and adjusting the flush bolt assembly for secure door locking.
Overview of the self-closing system components: Spring Unit, Speed Control, and Rack Gear.
Procedures for setting up the speed control mechanism, including gear rack and pinion adjustments.
Adjusting the pinion gear height relative to the gear rack for proper engagement.
Steps for setting up the spring unit, including belt attachment and tensioning.
Adjusting the wedge damper to hold the door securely in the open position.
Performing checks and adjustments for closing speed, latching force, and overall system performance.
Instructions for trimming and installing door sweeps for proper sealing and operation.
Adjusting the torsion tube to aid in aligning large doors with the jamb.
Guidelines for installing glass and blocking, ensuring door squareness and proper alignment.
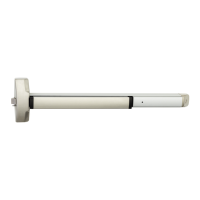
Identification of various components and options available for the door system.
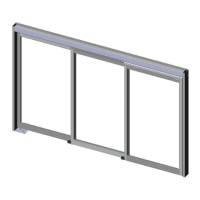
Detailed diagram and identification of the Fixed Sidelite (FSL) component.
Detailed diagram and identification of the Active Leaf for Fixed Sidelite (FSL) configurations.
Detailed diagram and identification of the Full Break Out (FBO) Sidelite component.
Detailed diagram and identification of the Active Leaf for Full Break Out (FBO) configurations.