USER MANUAL
Page - 17
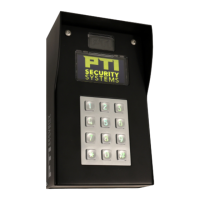
AP1 KEYPAD
Conguration:
The conguration menu is accessible by pressing the ‘*’, ‘0’ and ‘#’ keys simultaneously.
A ‘>’ prompt will appear. Enter the password to enter conguration mode. The default
password is “8898”. After entering the correct password an “ok >” prompt will appear.
If an incorrect password or command is entered a “? >” prompt will appear.
Note: As with any default password, in order to provide a secure installation, it must
be changed. This can be accomplished in the conguration menu or in Storlogix (SLC -
Needs to be implemented / tested).
In conguration mode, commands consist of one, typically two digits followed by the ‘#”
key.
Commands are grouped by most signicant digit as shown below. Any command ending
in a ‘0’ will display a command help screen.
Description
0 Displays a list of help screens for command groups 10 – 50
00 Displays a list of help screens for command groups 60 – 90.
10 Displays the help screen for command group 10 Communications
11 Sets the RS485 address. 0 - 127. Address 0 is used for automatic addressing
(needs system wide implementation)
12 Sets the Baud Rate (needs implementing – currently xed at 9600)
13 Sets time since the last poll at which the AP1 considers itself off-line. Used in
conjunction with command 42 where any code grants access and trips Relay 1.
14 Toggles RS485 Termination. Note: (1) Only one device, besides the controller,
should have RS485 termination enabled. (2) Using termination on multiple
RS485 devices will cause communication errors.
20 Displays the help screen for command group 10 Security
21 Toggles the tamper enable.
22 Cycles between SW1 EOL supervision options.
23 Cycles between SW2 EOL supervision options.
24 Toggles secure code entry. When enabled key entry for credential is replaces
with an ‘*’ character.
| CONFIGURATION MENU