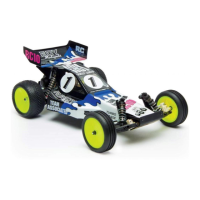
Do you have a question about the Associated Electrics RC8B3.1 and is the answer not in the manual?
Provides an overview and tips for building the RC8B3.1 Kit.
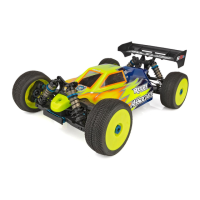
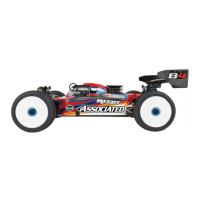
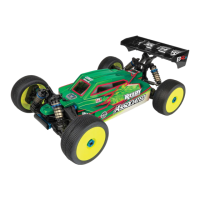
Highlights the key features and benefits of the RC8B3.1 Kit.
Lists supplementary items recommended for completing the kit build.
Lists supplementary tools and supplies for the build process.
Assembles the front and rear differential case with outdrives and pins.
Installs cross pins and planet gears within the differential assembly.
Adds ring gears and shims to the differential assembly.
Assembles the center differential case with outdrives and pins.
Installs cross pins and planet gears into the center differential.
Assembles the chassis with side guards, steering post, and servo saver components.
Assembles the servo saver tube, spring, and bellcrank.
Installs bearings and the steering rack onto the bellcrank assembly.
Connects the steering bellcrank nut and links to the chassis.
Assembles the gearbox with differential pinion gear and center universal.
Installs the front differential into the gearbox assembly.
Mounts the arm mount inserts and front arms to the gearbox.
Assembles the CVA coupler, axle, and steering block with bearings.
Installs pillow ball components into the steering block and upright.
Attaches pillow ball shims and suspension arm endcaps.
Assembles the rear gearbox with differential pinion gear and center universal.
Installs the rear differential into the gearbox assembly.
Assembles the rear hub, axle, and steering block components.
Installs rear hub shims and turnbuckle components.
Mounts the rear camber link and connects it to the rear hub.
Assembles the center bulkhead with brake rotors and pads.
Installs the center top plate and brake cam components.
Assembles anti-roll bar pivots, rod ends, and set screws.
Assembles the shock shaft, body, piston, and O-rings.
Installs the shock cap, insert, and bleeder cap components.
Compresses the shock shaft and bleeds excess shock fluid.
Installs receiver box grommets, plugs, and radio tray posts.
Mounts servos to the chassis with spacers and washers.
Installs the receiver battery tray and transponder mount.
Assembles steering servo horn with ball studs and locknuts.
Installs throttle and brake servo horns with pivots and shims.
Connects brake links to the servo horns and brake bias collar.
Installs fuel tank post, clip, and tubing onto the chassis.
Assembles the flywheel, collet, and nut for the engine.
Installs clutch shoes and springs onto the flywheel.
Installs clutch bell and shims for proper end play.
Glues tires to wheels and prepares them for mounting.
Installs wheel nuts onto the assembled wheels.
Provides tips for painting the polycarbonate body.
| Brand | Associated Electrics |
|---|---|
| Model | RC8B3.1 |
| Category | Motorized Toy Car |
| Language | English |
