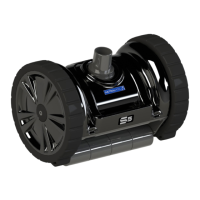
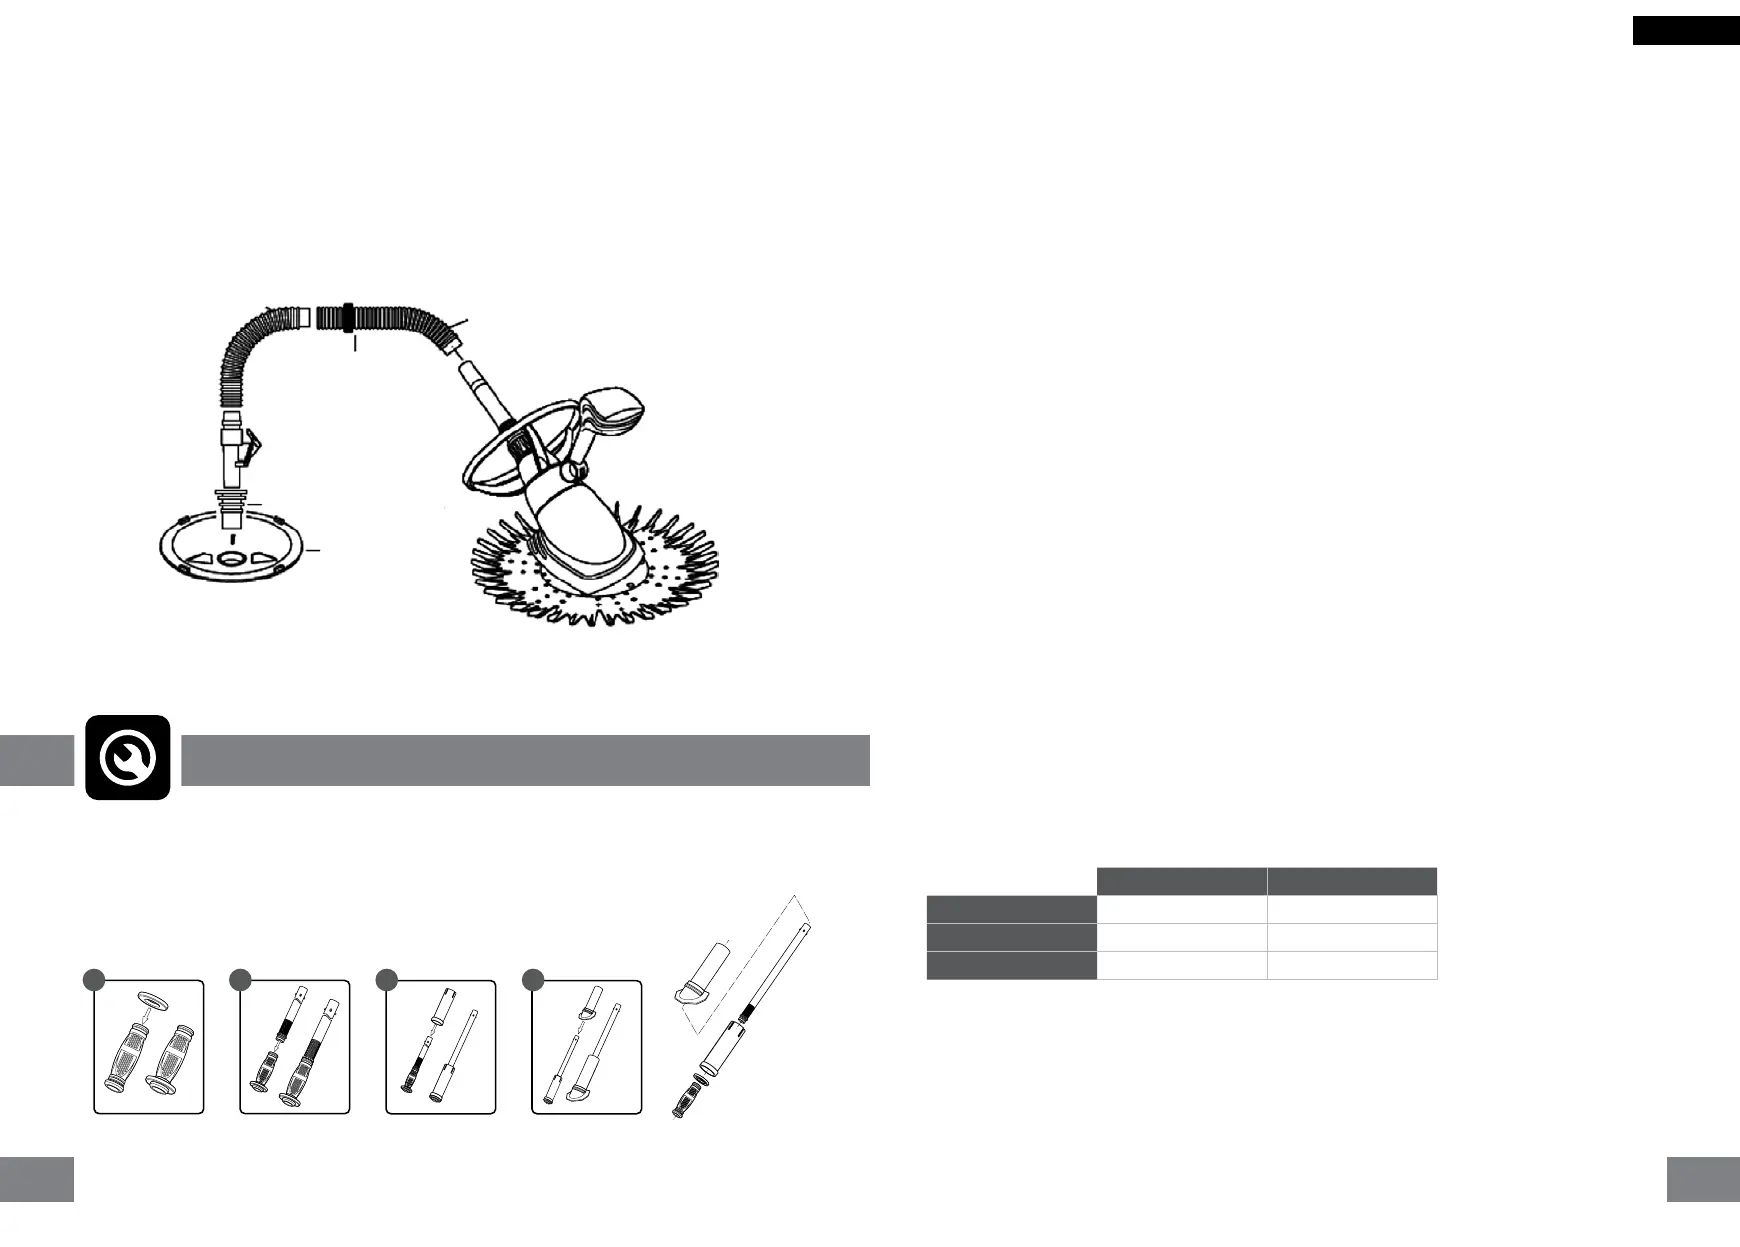
SPLASHER fitment and positioning
1. Connect the SPLASHER to your hoses
2. Gently place the SPLASHER in the water.
3. To enable air to be driven from the unit, place the last pipe on your inlet while your pool pump is running.
This will ll the unit with water and allow it to sink to the pool oor.
4. Attach the ow control valve to the weir, with the arrow in the direction of the water ow.
5. Attach the free end of the pool hose to the free end of the ow control valve.
6. Switch on the pool pump and the SPLASHER will start to operate.
Routine Maintenance
Debris- Keep your skimmer basket, pump strainer basket, skim lter, sand lter, cartridge lter (as
applicable) free of debris. To ensure maximum suction and cleaner efciency, backwash your lter at
regular intervals. Remember that the SPLASHER is driven by water ow and that a dirty lter will reduce
the water ow through the SPLASHER and will affect the SPLASHER’s operation. If the lter is clean
and the water ow paths to and from the lter are clear, your water ow rate could be too high and the
ow control valve should be adjusted to reduce the water ow rate to achieve good pool sweeper action.
Cleaning- Keep your SPLASHER clean and free of algae by washing with a mild detergent. Do not expose
SPLASHER to harsh chemicals.
Wear and tear- Ensure that the SPLASHER’s disc, foot pad, deector wheel and diaphragm are in good
condition. As the disc wears, it will become shiny and very smooth. Under extreme wear conditions the
disc will also start to warp and tear. The disc should then be replaced. The foot pad will also become
shiny and very smooth which will reduce its ability to adhere to the pool surface. The foot pad should then
be replaced. The deector wheel will wear as it comes into contact with pool edges, such as the walls
or steps. Wearing is likely to occur in specic spots. The diaphragm should be inspected regularly and
when stretched or torn must be replaced.
Hoses- Your hoses should be exible and straight. If your hoses have become brittle they should be
replaced and, if not straight, place them in straight positions in the direct sun light for a few hours. Your
hoses should be without leaks and should always be securely connected. They may rub against the wall
and if so, a hose protector may be used.
Chemical use and your SPLASHER- The harsh effects of chemicals in pool water could affect the
colouring of your SPLASHER. This will however not affect the performance and cleaning ability of the
SPLASHER. In order to minimize damage and discolouration, it is recommended that your pool is kept
at the correct alkalinity and pH (please see below). The SPLASHER should also be removed from the
pool for a minimum of 4 hours when ‘shock’ treatment is employed.
Ideal water conditions for the SPLASHER are:
Tips
• Backwash and rinse lter and clear weir and pump basket before operating your new SPLASHER pool
cleaner.
• Backwashing and cleaning the weir and pump baskets should be done weekly.
• When replacing the diaphragm or any part of your SPLASHER it is advised that you let your local pool
dealer replace it for you. This is due to the complexity of the replacement.
• Do not leave the SPLASHER or hoses in direct sunlight for extended periods when out of the water.
1. Place the diaphragm inlet plate over the correct end of the SPLASHER diaphragm. Ensure the ring is
properly secured into the locating grooves of the diaphragm. The at side of the inlet plat must show
up, the rib side must show to the bottom as in picture 1.
2. Insert the cleaner’s inner tube into the diaphragm on the end opposite the inlet plate. (picture 2)
3. Place the cartridge over the top of the inner tube with the larger opening to the diaphragm and inlet
plate. Slide the cartridge down over the inner tube and ensure the inlet plate is properly secured into
the cartridge. Note: Ensure the diaphragm is not twisted once installed into the cartridge (picture 3)
4. Insert the diaphragm, inlet plate and inner tube assembly into the main body and ensure the diaphragm
cartridge is pushed fully into the main body. The diaphragm is assembled ready for the remaining
SPLASHER components to be assembled.
Diaphragm Assembly
MAINTENANCE
1 2 3 4
Fibre glass pools Marbelite pools
Total alkalinity 120ppm-150ppm 80ppm-120ppm
pH levels 7.0 - 7.2 7.2 - 7.6
Chlorine 1.0 - 1.5ppm 1.0 - 1.5ppm
Joiner Hose
Universal Adaptor
Weir Plate
Hose Lengths
Hose Weight
(1-2 hose lengths from cleaner)
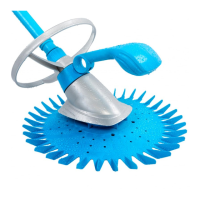
Splasher
ENGLISH
0908
 Loading...