EN 6
YOUR OVEN
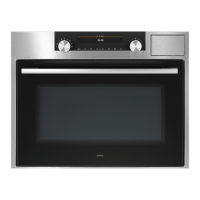
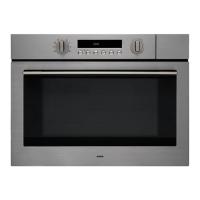
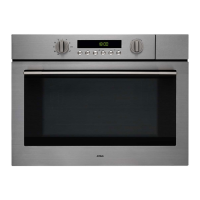
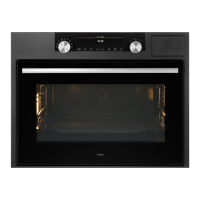
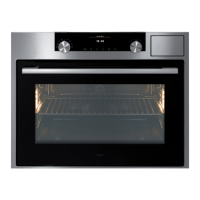
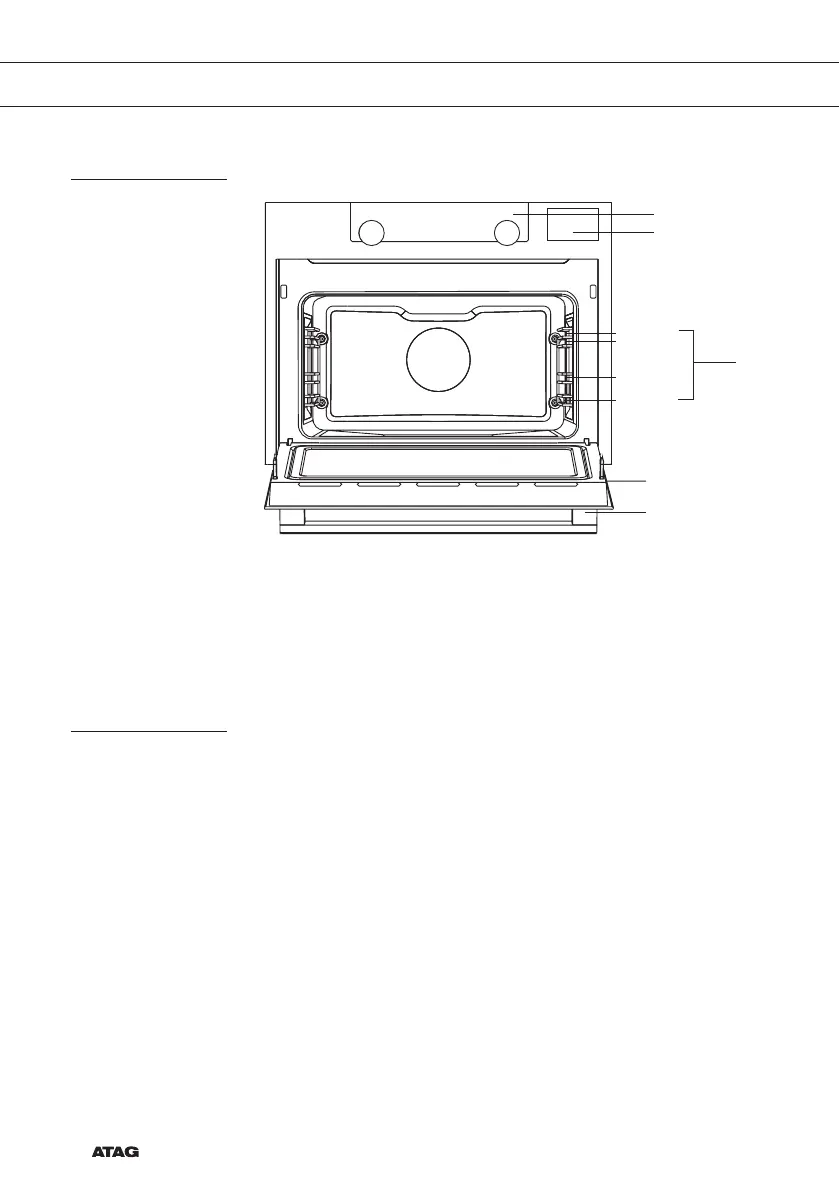
Description
1
2
4
5
Level 1
Level 2
Level 3
Level 4
3
1. Control panel
2. Water reservoir cover
3. Oven levels
4. Oven door
5. Door handle
Guide rails/Telescopic guide rails
• The oven has four or five guide rails (Level 1 to 4/5), depending on
the model. Level 1 is mainly used in combination with bottom heat.
The two upper levels are mainly used for the grill function.
• Place the oven rack, baking tray or steam dish in the gap between
the guide rail sliders.
• A number of shelf levels can have fully-retractable telescopic guide
rails, depending on the model.
▷ Pull the telescopic guide rails out of the oven cavity completely
and place the oven rack / baking tray / steam dish on them.
Then slide the oven rack / baking tray / steam dish on the
telescopic guide rails, back into the oven cavity.
▷ Only close the oven door when the telescopic guide rails have
been returned completely back into the oven cavity.
 Loading...