Installation Qualification
(IQ)
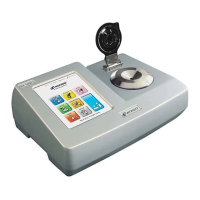
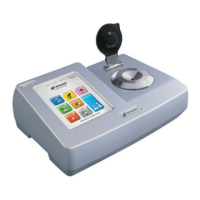
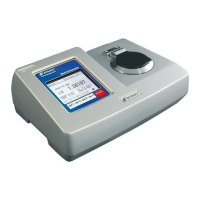
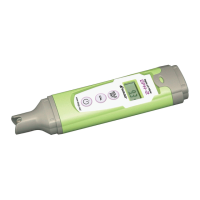
Automatic Digital Refractometer
Installation Qualification Procedure
IQ Procedure
Install the instrument, following this procedure, and fill out the Installation Report found on
the following page.
1. Unpacking
1) Unpack the RX-5000i and place it on a level surface, such as a desk. Remove the
packaging materials from the instrument and included accessories. Check the
appearance of the RX-5000i for scratches and blemishes.
2) Refer to the list of included accessories in the instruction manual to confirm that the
instrument has arrived complete with all accessories.
2. Choosing a Location
Place the instrument in an environment that meets the following criteria.
1) A level surface with no vibration
2) Away from direct sun light and heat sources
3) Free of dust and corrosive fumes
4) An ambient temperature within the range of 15.00 to 30.00℃
5) Within 2 meters from an electrical outlet
6) Provides sufficient room for operation
3. Confirming the Model Name and Serial Number
1) A label indicating the model name and serial number is found on the right rear side
of the instrument.
2) Check the model name and serial number on the label against the model name and
serial number listed on the inspection report as well as on the registration card.
4. External Devices
The DP-63 Digital Printer (sold separately) may be connected to the RX-5000i.
1) Unpack the printer and check that it has arrived complete with all accessories.
2) Place the printer next to the RX-5000i and connect them with the signal cable.
3) Referring to the instruction manual, connect the AC adaptor for the printer and
insert the printer paper.
5. Powering On
After the RX-5000i (and printer if using) have been set up, connect the AC power cable
to the socket. Follow the procedure in the Installation Report under “Turning on Power”
to test the operation.
1/2
E-IQ1011-3276-J01