8
b) Press the (OK) button to enter into the programming parameters (the word
ADD will be shown now)
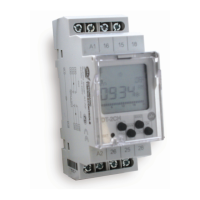
c) Press the (OK) button (information about the number of the new program
Pr.XX) example: this just gives a numeric values to the
memory location of this program
d) Now press the (OK) button (Ch01 or Ch02 should display)
e) You can choose weather to control output 1 or output 2 by scrolling between
them with the (+PRG) or (-MAN) buttons
f) Press (OK) button, should be displayed on the LCD screen
[Note - If the screen doesn’t look like this than scroll with (+PRG) or (-MAN)
buttons until it does]
g) Press (OK) button
h) The two hours digits on the left side of the display should be blinking, adjust
the numbers using the (+PRG) or (-MAN) buttons to set the desired hour that
you want the output to come on and than press the (OK) button
i) Now the two minutes digits are blinking on the right side of the display, adjust
the numbers using the (+PRG) or (-MAN) buttons to the desired minute time
that you want the output to come on and than press the (OK) button
j) Now it is time to select which days of the week this program will be on for by
pressing the (OK) button on either on or off along with the corresponding
number in the top of the display that represents the days of the week,
k) Choose ON or OFF by using (+PRG) or (-MAN) to scroll between the two
chooses and (OK) to enter the choose (the numbers at the top represent the
days of the week by the number 1 = Monday and the 7 = Sunday)
l) Once the last day has been entered the word ADD is displayed and the two
indicator bars will increase from left to right on the display and once the
program has been saved the unit will say ADD with no indicator bars
illuminated at the bottom of the screen
m) Press (OK) button, (will go back to the PR.XX screen the difference this time
is that the numeric values has increase by one: example PR.01 when you
entered the first program but now the display will read PR.02)
n) Press (OK) button again, (now the display reads either CH01 or CH02
depending on which output you entered in the last program)
o) Choose the same output channel as before so than you can enter a stop time
for the output
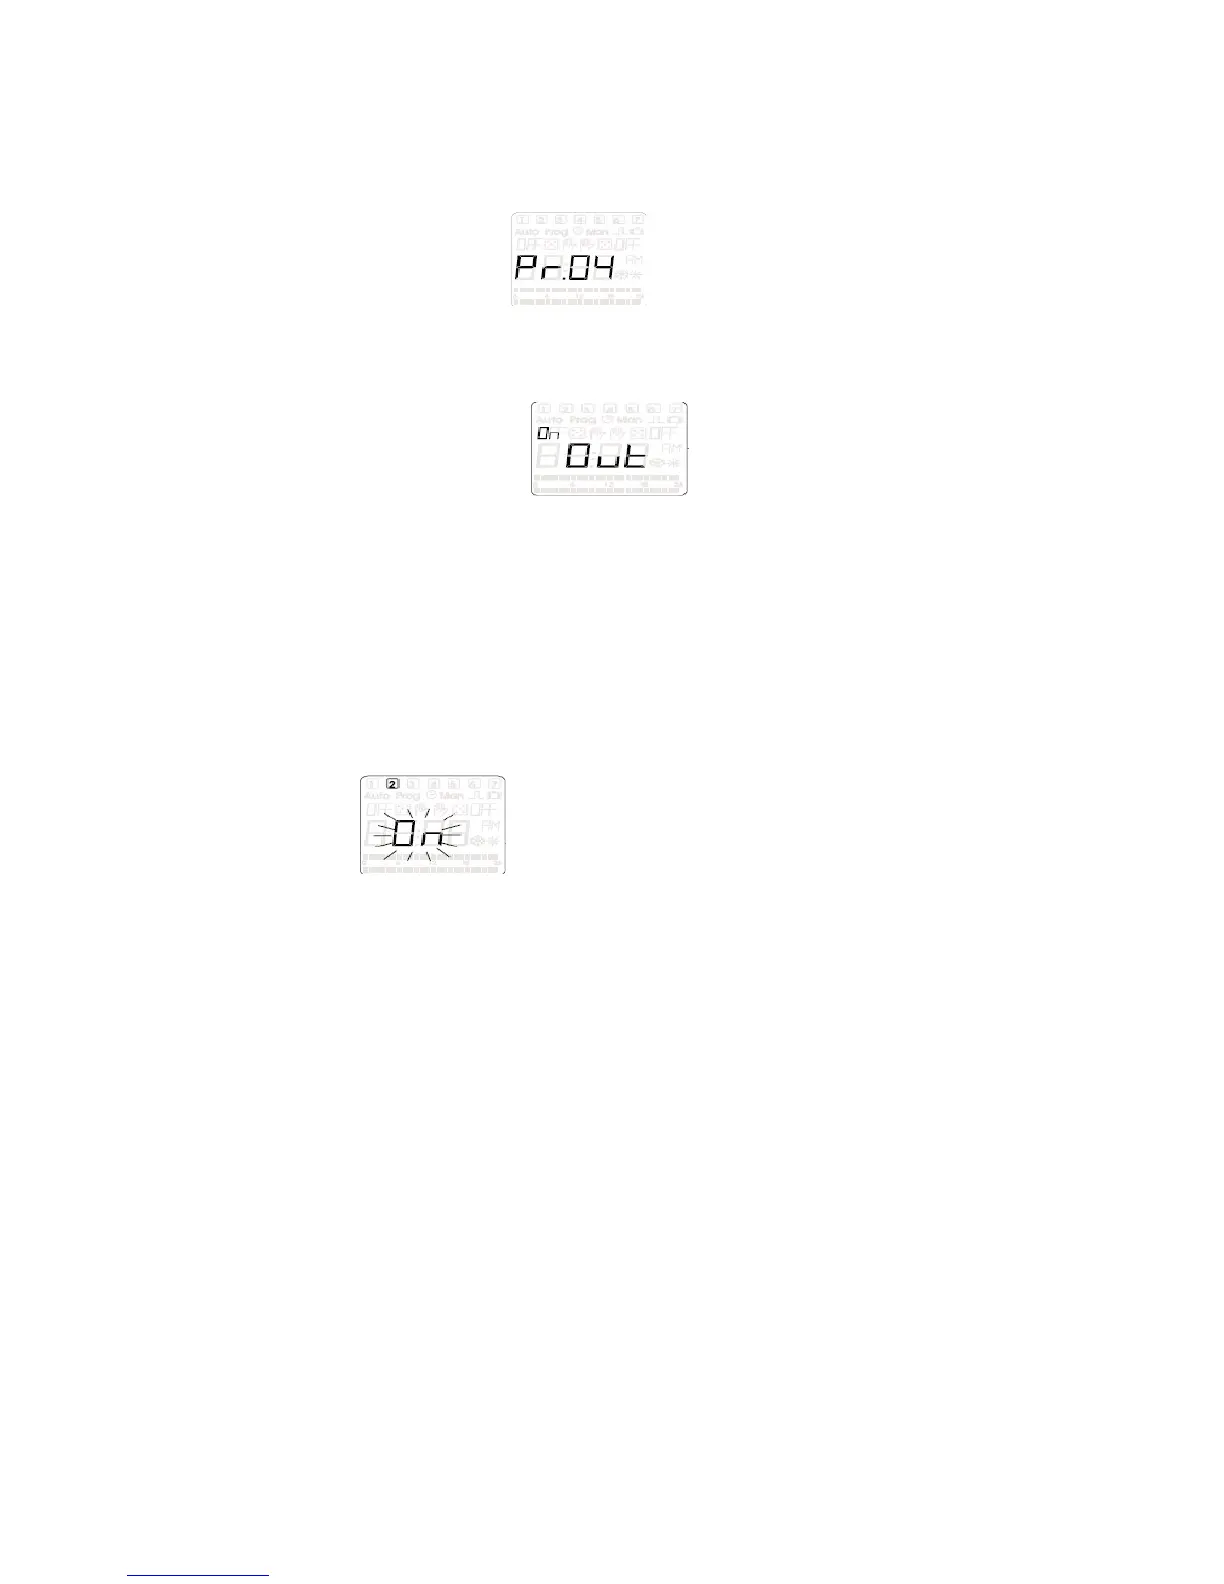
p) Press (OK) button, (Out should be displayed on the screen just like in step f
except the word OFF should shows up in the upper left corner, [Note - If the
screen doesn’t look like this than scroll with (+PRG) or (-MAN) buttons until it
does]
q) Press (OK) button
r) Now repeat steps H through L to enter the time of day and which days of the
week you want to turn the corresponding output off [ Note: make sure to
choose the same days of the week to be ON in step J has you did in the
previous program set up]