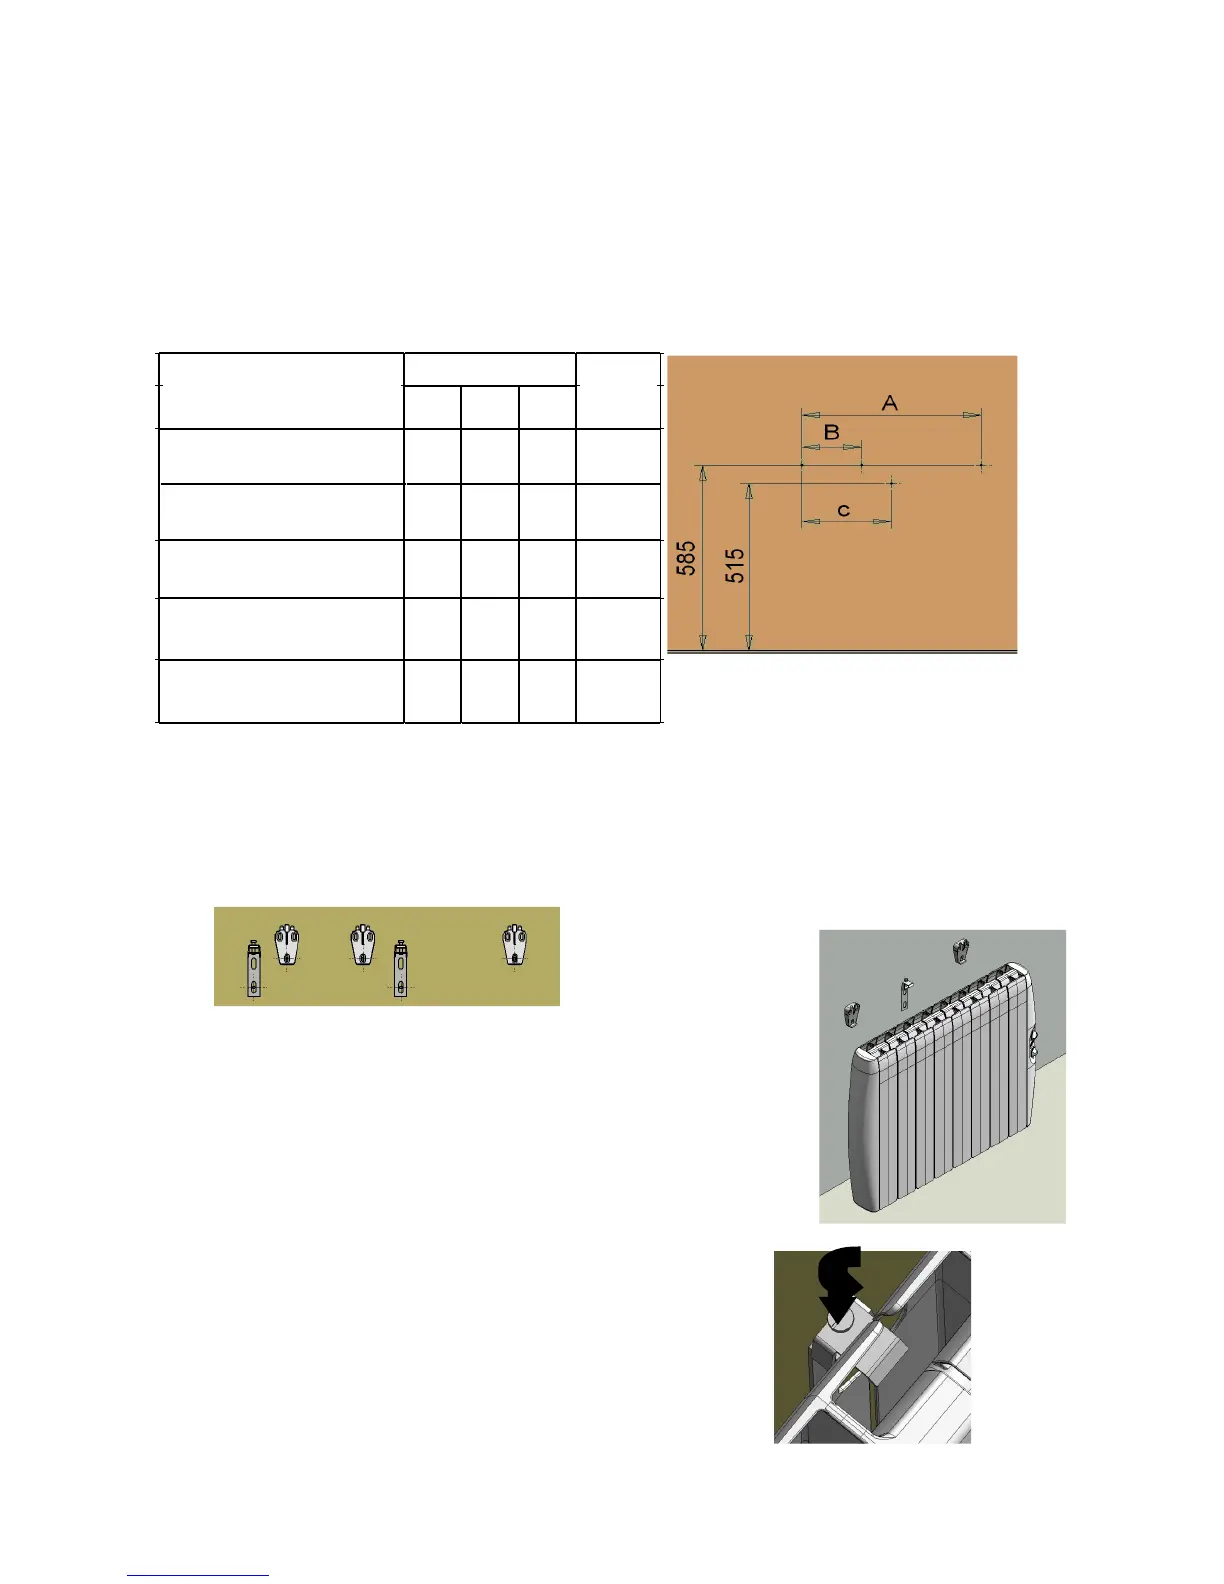
3. MOUNTING
If
for any reason cardboard template is missing you can follow the instructions below:
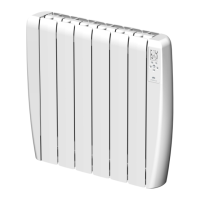
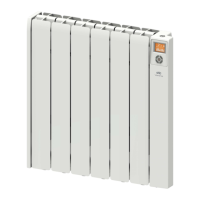
1. Mark up the wall according to the chart below, the fixing location is for the lower hole in
each bracket. (Note the 585mm dimension is from the skirting and not the floor)
Model
A B c
SP750 Sunray Plus 750W 320 - 160 2+1
SP1000 Sunray Plus 1000W
48
0 - 240 2+1
SP1500 Sunray Plus 1500W
72
0 400 320 3+1
SP1800 Sunray Plus 1800W 880 480 400 3+1
(*)The first number corresponds to the number of plastic brackets on which the radiator hangs and the
second number corresponds to the number of metal locking brackets which fixes the radiator to the wall.
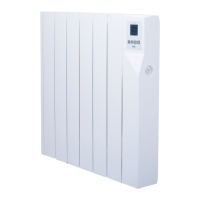
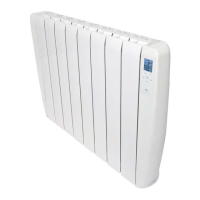
2. Screw in each of the brackets using the lower hole and mark the upper holes of each
wall bracket.
3. Drill all the marked locations in the wall and insert
the wall-plugs, screw the brackets to the wall and
han
g the radiator.
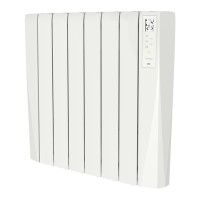
4. Metal Locking Bracket: Tighten the screw at the
top of the bracket until radiator is locked in position.
3