DIVA Quick Start, version 1.0.1
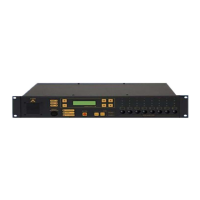
Figure 25: Voice Amp Monitoring Window
4.4 Front Panel Control and software real-time monitoring
As soon as your configuration will be compiled and stored into DIVA (see chapter 5), you
will be able to control DIVA from the front panel or with the software. To use software
controls, you have to connect to the network using the connect button or menu “operations
-> connect”.
4.4.1 Music
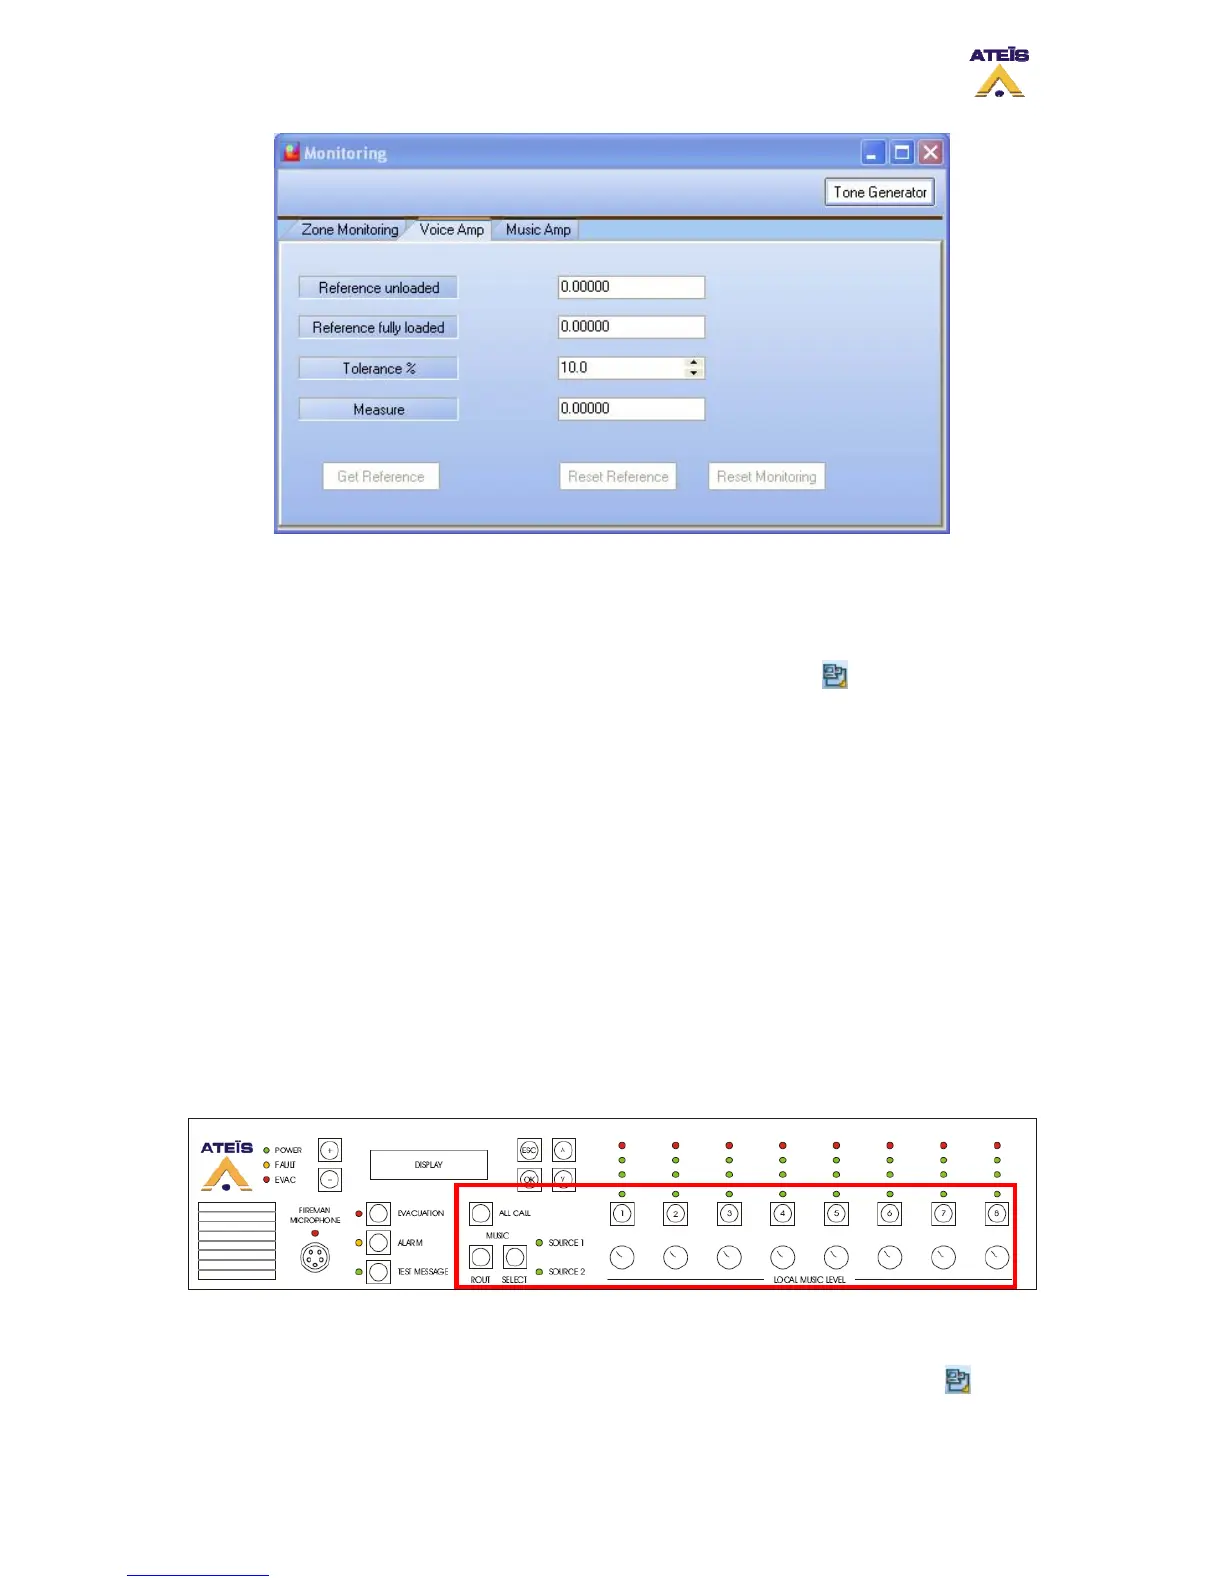
• From the front Pannel:
- The Music controls are red highlighted on Figure 26.
- Using “Select” button allows toggle between Source 1, Source 2 and none. With
our configuration, the defaults status will be source 1 routed to zone 1, 3, 4 and 6.
Despite that you can re-route music source 1 and 2 at your will.
- For changing zone routing, push the “Route” button, select the zone with
appropriate button and then push the “Route” button to validate the routing.
- Each zone has an attenuator knob. It means that you can adjust level of each zone
independently. Note: Attenuator will only have effect on the music source with
the highest priority, the reason of that is the use of the voice amplifier for
music. Attenuator are disabled for voice amplifer.
- The “All Call” button allows user to instantaneously select all the zones.
Figure 26: Music control on the DIVA front panel
• From Software:
- To access the music control page, simply click on the music icon in the DIVA1
window. Be sure to be connected to DIVA. If not, use the connect button .
Ateïs International
Ch. du Dévent, 1024 Ecublens, Switzerland.
Phone : +41 21 881 25 10
22
 Loading...