DIVA Quick Start, version 1.0.1
• The start page is represented on Figure 5. A first thing to do is to start a new project by
clicking on or by going trough the menu file. This will launch a new window named
“System” displayed on Figure 7.
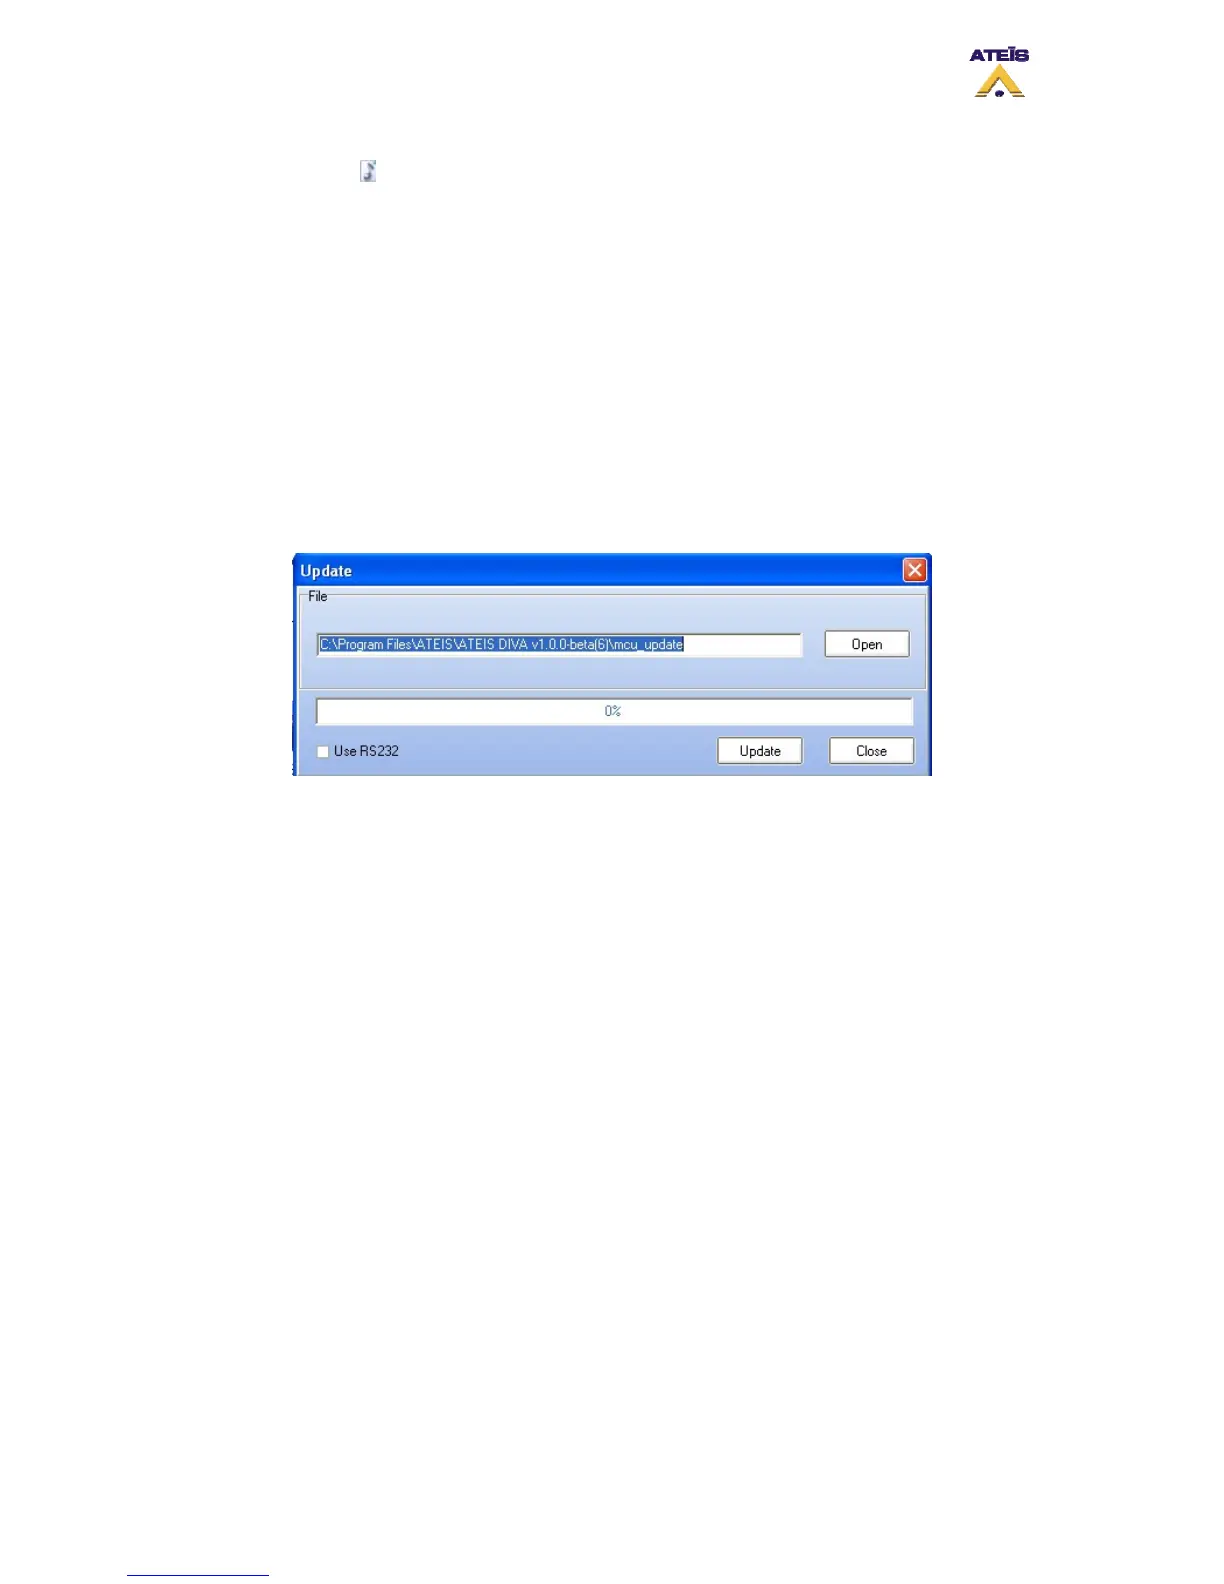
• If this is the first installation, please update the DIVA software to the latest version
available on our website. In the DIVA software click on the menu “tools-> update”. In
the update window (Figure 6), verify that the path specified is the one corresponding
to the last version software, if not click open and choose the right one. Then click on
the update button.
• DIVA software will ask for password. For default users have been set into DIVA:
User1: ATEIS1 Password: ATEIS1 User level: 1
User2: ATEIS2 Password: ATEIS2 User level: 3
User3: ATEIS3 Password: ATEIS3 User level: 3
User4: ATEIS4 Password: ATEIS4 User level: 4
Figure 6: Update form
• Next step is to set the network option. Simply click F12 or menu “Tools->Options”. A
new pop window will appear directly on the network options page (Figure 8). Please
check that the network card is one to be used.
• The devices connected to the TCP/IP network have to be detected. Click on the menu
“Tools->Device Search”. In the new window, click on device “Start Search” button to
check if the Network is correctly set up. A list of all networked devices is displayed. If
your Master DIVA is not detected, please check cables and verify the IP address
assignment.
• Select the Master DIVA you want to work on and then click “Auto Connect”. After
connection, you will be able to see the IP address of the master on the system window.
Ateïs International
Ch. du Dévent, 1024 Ecublens, Switzerland.
Phone : +41 21 881 25 10
9
 Loading...