4.6 Network communication
16
17
EnerLog communicates through network cable connection. You can choose to
automatically allocate IP to the Internet with a DHCP-enabled router, or use a fixed IP
to connect to the Internet.
4.6.1 Networking settings
1. Network cable communication
(1) In the "Network setting" page, "DHCP ENABLE" can be set to 0 or 1. 0 means static
IP, 1 means DHCP automatically assigns IP.
(2) The DHCP function is enabled by default in the factory, and the IP address is
automatically obtained from the router.
(3) If you need to set EnerLog to a static IP during use, you need to make the following
settings:
1 Modify the enable to 0, turn off the DHCP function, and modify it to a static IP.
2 Set parameters such as IP, gateway, subnet mask, DNS, etc., and click Save.
5 Upload EnerLog data to the server
5.1 Registration and login
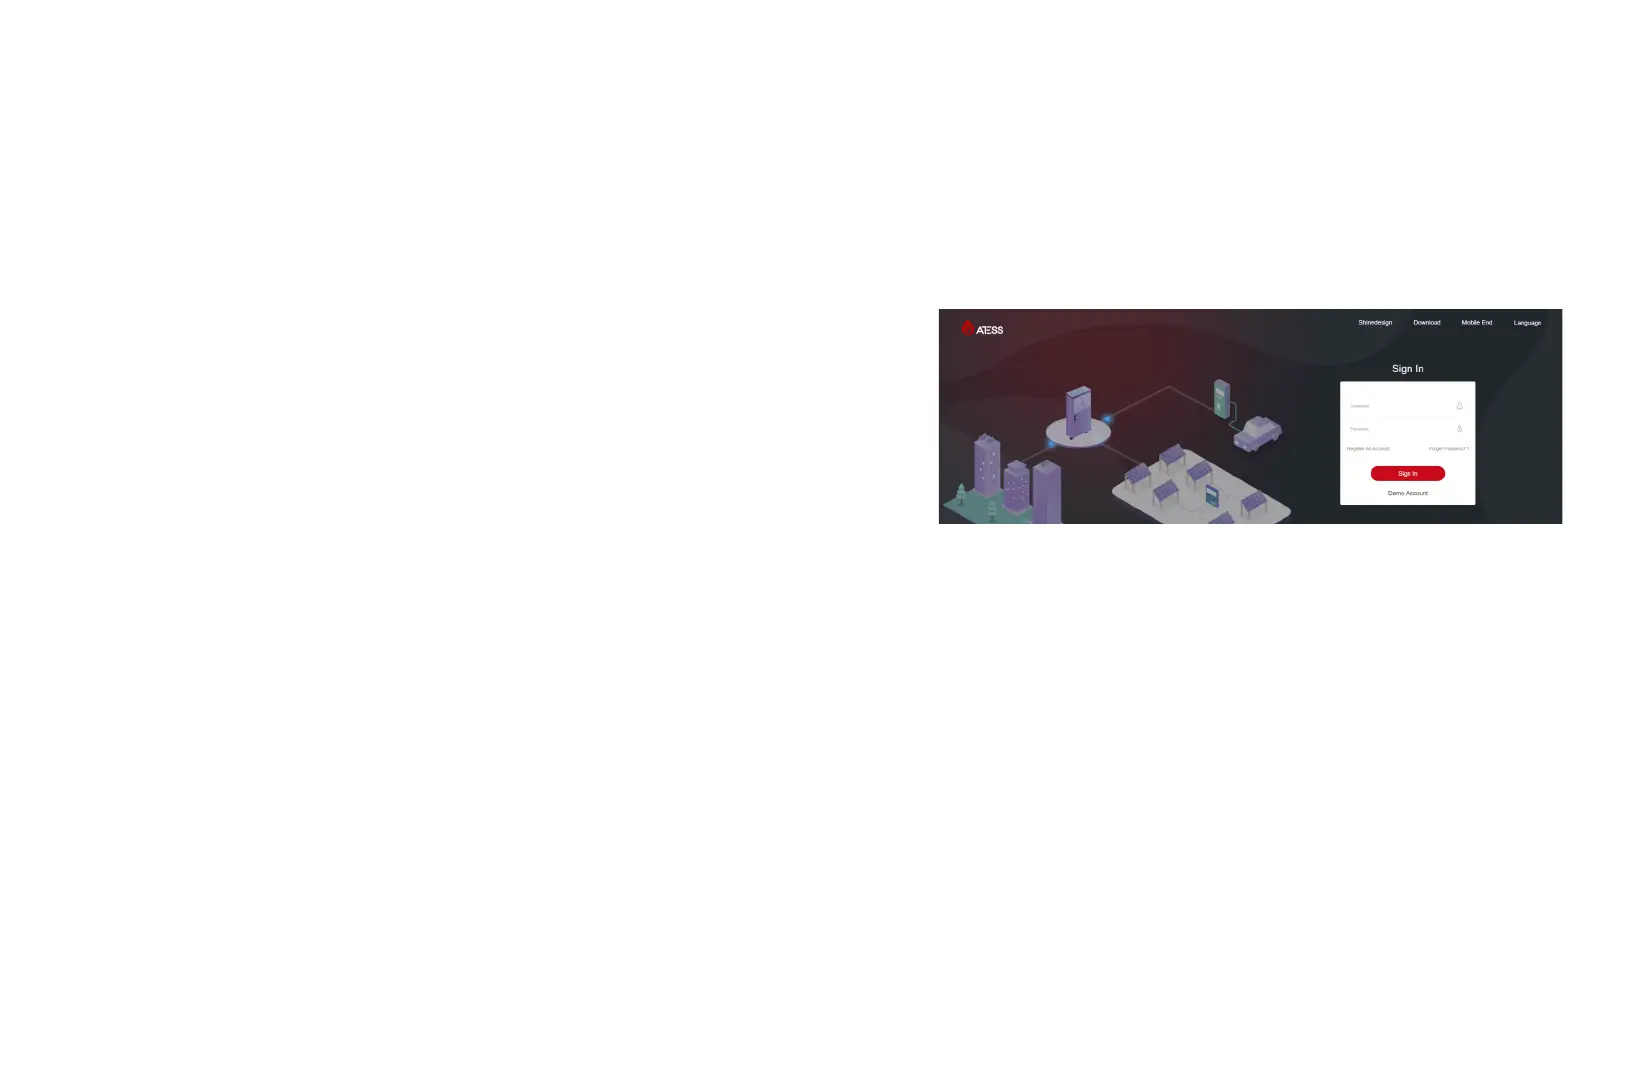
1. Enter the server address on the browser to enter the server login page. If it is the
first login, please register first.
The server address is: http://ess-server.atesspower.com
2. Click "Account Registration" to enter the account registration page. Register a user
name, enter user information according to the prompts, and click "register" after filling
in the information.