Advanced
The Advanced section provides additional features or supports to the camera.
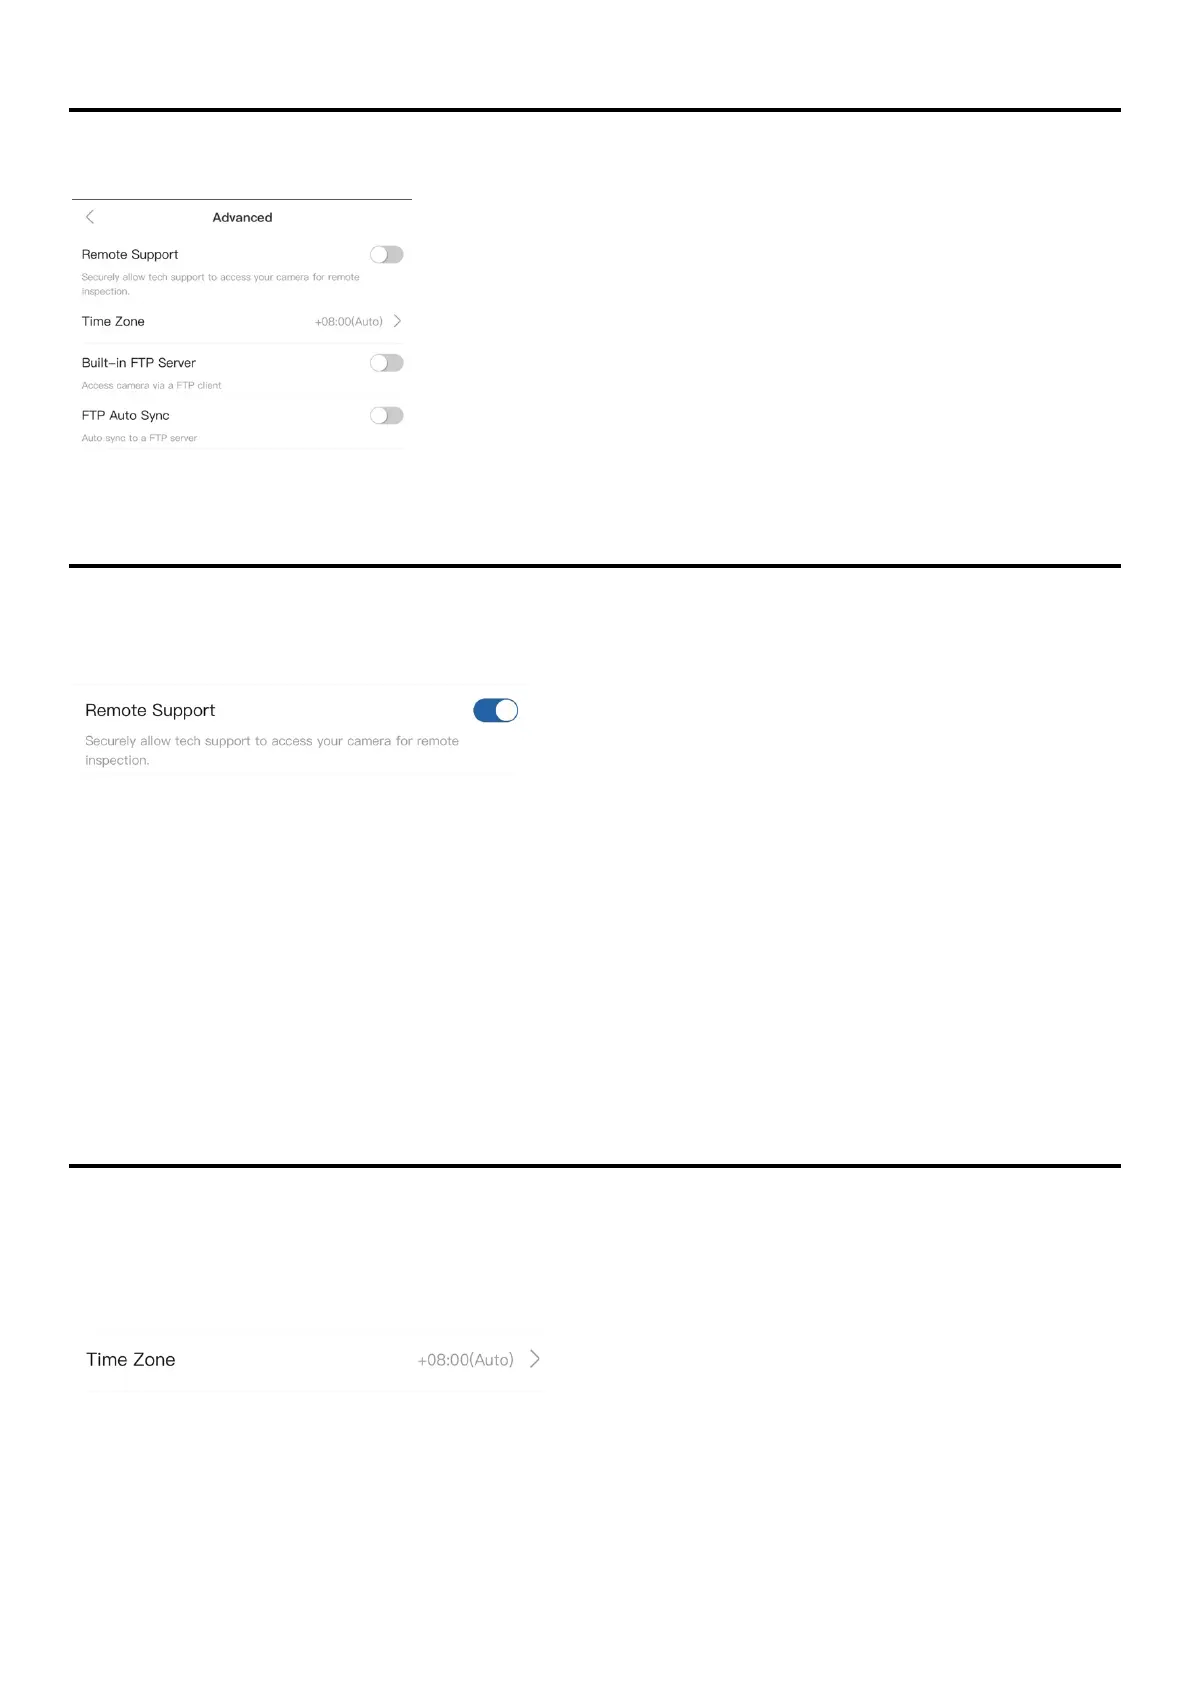
Remote Support
Enabling Remote Support will authorize the ATLI technical team to remotely access the
camera and conduct a thorough inspection of the camera status, settings, and operation.
Setup
1. Turn on Remote Support in Advanced.
2. Connect the camera to a local Wi-Fi network which has internet connection.
3. Connect the camera to a power source to make sure the camera stays online.
In order to ensure a good connection, the camera should be placed near the Wi-Fi router.
*Remote Support will be disabled automatically by restarting/rebooting the camera.
Time Zone
The time zone setting sets the camera internal clock to align with your local time zone.
It is important to set this correctly as the camera clock is used for all camera activities that
involves time, such as timestamp, schedule, file storage time, etc.
The default Time Zone is set to “Auto” which assigns the time zone automatically based on the
current location.