 Loading...
Do you have a question about the ATOMSTACK A10 Pro and is the answer not in the manual?
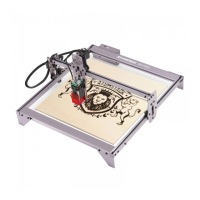
| Laser Power | 10W |
|---|---|
| Laser Wavelength | 455nm |
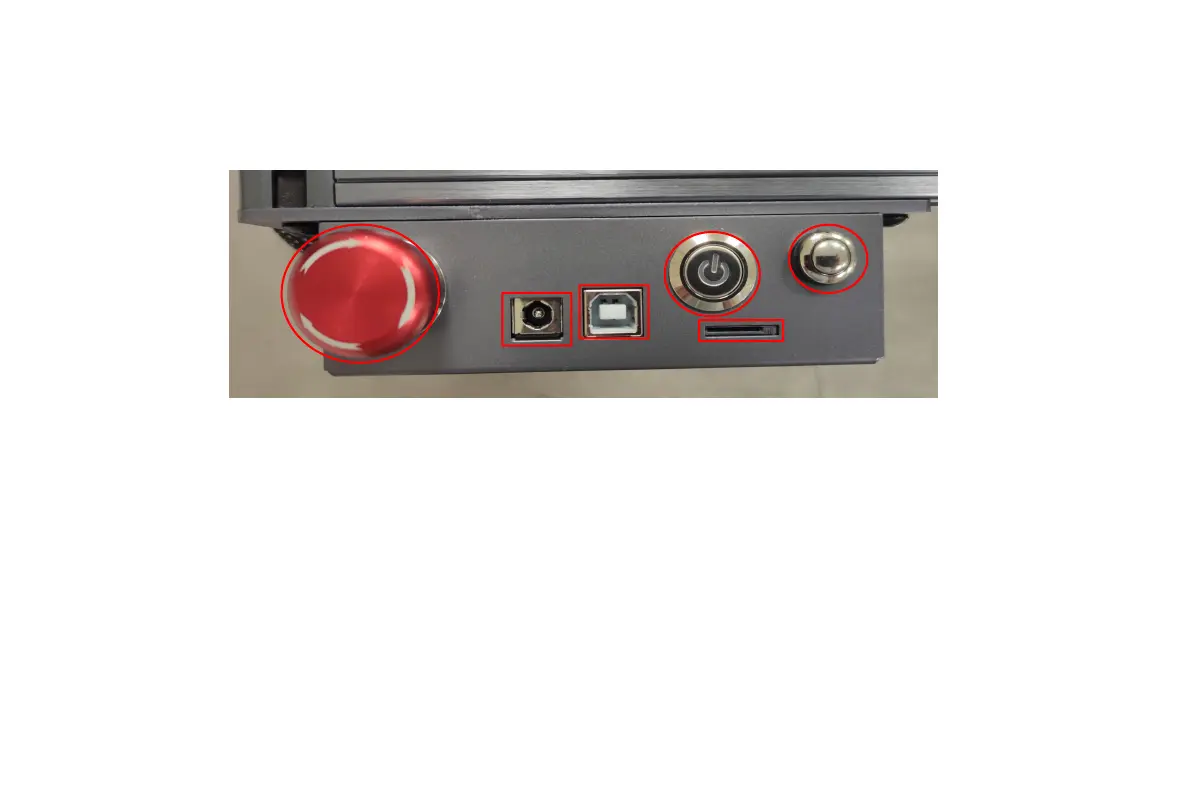
| Connectivity | USB |
| Engraving Accuracy | 0.01mm |
| Output Voltage | 12V |
| Engraving Area | 410mm x 400mm |
| Material Compatibility | Wood, Plastic, Leather |
| Control Software | LaserGRBL |
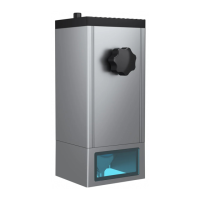
| Laser Protective Cover | Yes |
| Input Format | BMP, JPG, PNG, DXF |
| Power Supply | AC 100-240V, 50/60Hz |
| Focusing Method | Fixed focus laser, no need to adjust focus before engraving |