EasyManua.ls Logo

ATOMSTACK R3 Rotary Roller User Manual

ATOMSTACK R3 Rotary Roller
33 pages
To Next Page IconTo Next Page
To Previous Page IconTo Previous Page
Page #11 background image
Shenzhen AtomStack Technologies Co., Ltd. support@atomstack3d.com
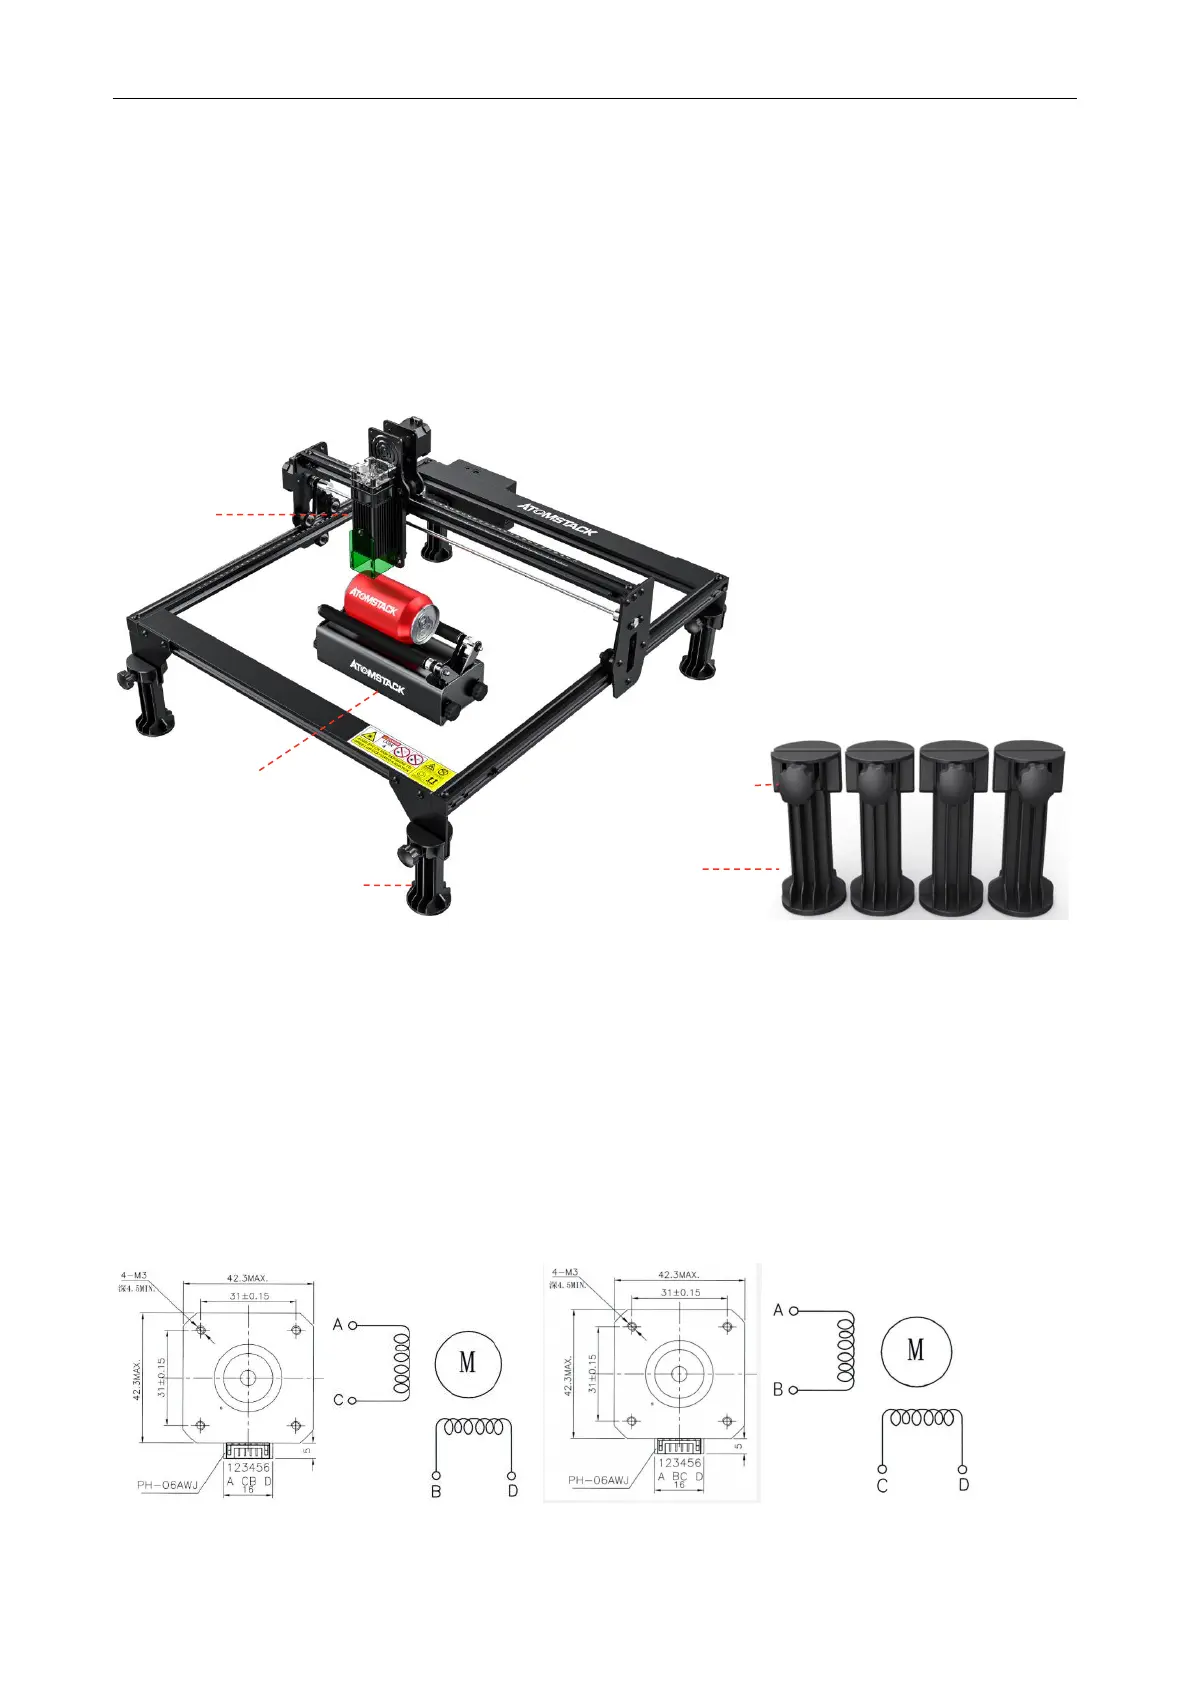
5. R3 Rotary Installation
1. When you want to engrave or cutting wide surface object or coordinate with the rotary
roller to engrave on cylinder, you need the set the heighten accessory. The supported
bracket of laser engraver is thin-shaping, could be fasten by the Plum blossom handle of the
heighten accessory so that heighten the laser engraver to engrave or cutting higher object.
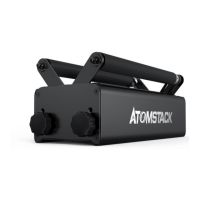
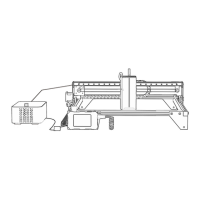
4.10 R3 Rotary Roller and Heighten Accessory 4.12 Heighten Accessory
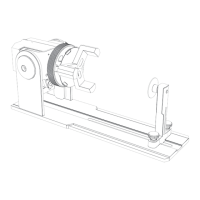
2.
Atomstack set up two connection wire for the R3 rotary roller and engraver( black plug and
white plug ), pay attention that the wire order of them is differentneed to be careful for the
connectivity.
2.1 The 4PIN white plug wire is for the connection with Atomstack, AtomStack engraver.
2.2 The 4PIN black plug wire is for the connection with Neje, Ortur engraver.
2.3 These 4PIN wire (white and black plug) is the our main connection wire,for the other
brand engraver, you may try one of them to connect. If it fails to connect, please change
the order of wire, and the change processing is in chart 4.16-4.17
4.16 Connection order of white plug wire 4.17 Connection order of black plug wire
Heightening Column
R3 Rotary Roller
Engraver
Plum
blossom handle
Heighten Accessory
Question and Answer IconNeed help?

Do you have a question about the ATOMSTACK R3 Rotary Roller and is the answer not in the manual?

ATOMSTACK R3 Rotary Roller Specifications

General IconGeneral
TypeRotary Roller
ModelR3
Weight1.5 kg
Load Capacity5 kg
CompatibilityLaser Engraving Machines
MaterialAluminum
Sliding Distance AdjustmentAdjustable

Summary

Security Statement

Laser Safety Precautions

Essential safety measures for laser operation, including eye and skin protection.

Fire Fighting Safety

Guidelines to prevent and manage fire hazards during operation.

Material Safety Guidelines

Recommended and prohibited materials for safe engraving processes.

Operational Safety Rules

Critical rules for safe device operation, including placement and aiming.

Disclaimer and Warnings

Introduction to R3 Rotary Roller

Software Installation and Use

LaserGRBL Installation

Guide to downloading and installing LaserGRBL software.

LaserGRBL Pulse Adjustment

Procedure for connecting engraver and adjusting pulse settings in LaserGRBL.

LaserGRBL Configuration

Steps for accessing and setting Grbl configuration in LaserGRBL.

LaserGRBL X/Y Axis Resolution

Setting X and Y axis travel resolution values in LaserGRBL.

LightBurn Installation

Instructions for downloading and installing LightBurn software.

LightBurn Pulse Adjustment

Guide to connecting engraver and adjusting pulse settings in LightBurn.

LightBurn Machine Settings

Accessing and configuring machine settings within LightBurn.

LightBurn Setup Parameters

Configuring output and pulse settings in LightBurn.

R3 Rotary Roller Installation and Settings

Heighten Accessory Setup

How to use the heighten accessory for engraving taller objects.

Connection Wire Guide

Details on connecting the rotary roller using different plug types.

Synchronized Belt Placement

Correct positioning of the synchronized belt to avoid laser damage.

Roller Parallelism

Ensuring the rotary roller is parallel to the engraver's X-axis.

Gear Adjustment

Using gear settings to adjust for different object sizes.

Precautions

Environmental Precautions

Warnings regarding high temperatures, chemicals, and magnetic fields.

Handling and Maintenance

Advice on proper handling, disassembly, and cleaning of the roller.

Related product manuals