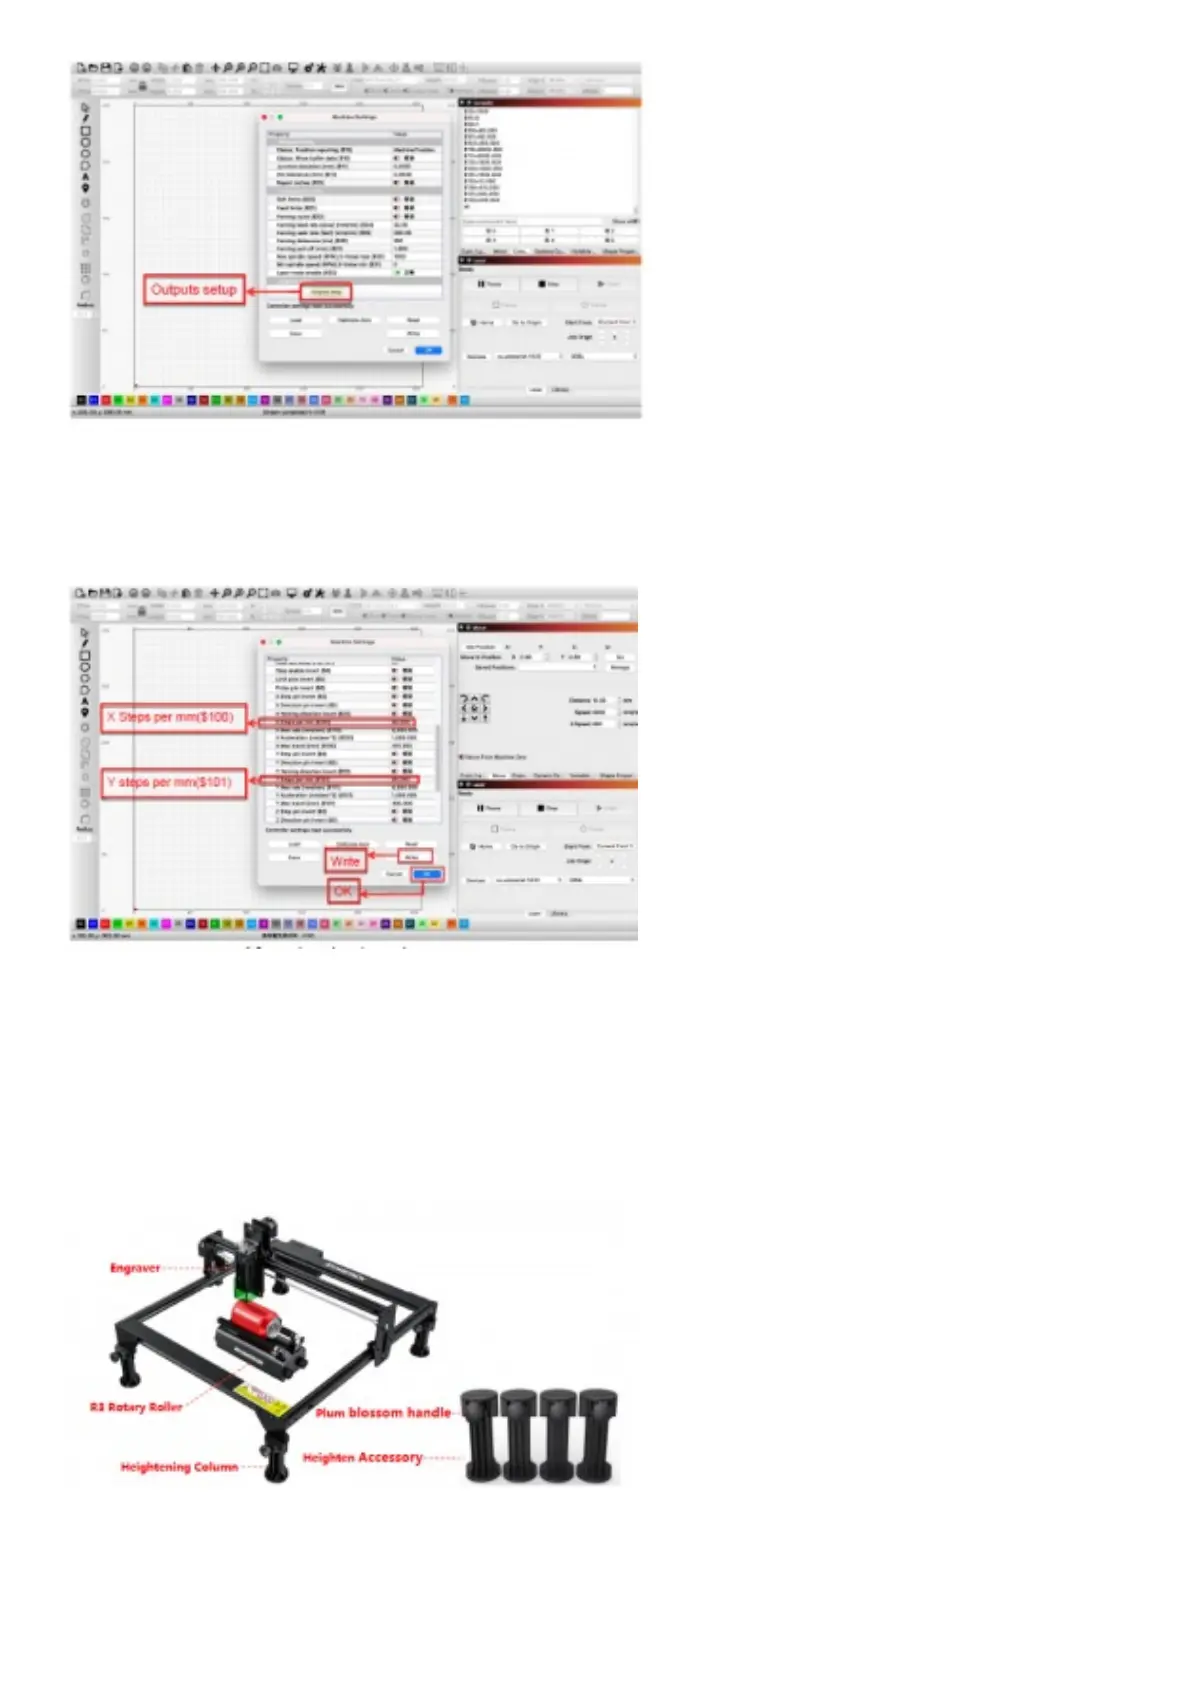
4.8 Outputs Setup parameter
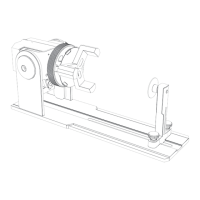
*D. Find the$100(X-axis travel resolution), $101(Y-axis travel resolution) and set the Value according to your device
you can first engrave a small square with 30*30mm to confirm the
pulse value. The processing is to check if error is within 1mm after testing engraving is finished. If confirmed, that is
the suitable pulse valueclick write and close to finish the configuration.
4.9 X and Y Axis pulse setting
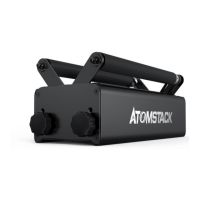
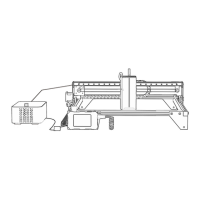
5. R3 Rotary Installation
1. When you want to engrave or cutting wide surface object or coordinate with the rotary roller to engrave on cylinder,
you need the set the heighten accessory. The supported bracket of laser engraver is thin-shaping, could be fasten by
the Plum blossom handle of the heighten accessory so that heighten the laser engraver to engrave or cutting higher
object.
4.10 R3 Rotary Roller and Heighten Accessory 4.12 Heighten Accessory
2. Atomstack set up two connection wire for the R3 rotary roller and engraver( black plug and white plug ), pay
attention that the wire order of them is differentneed to be careful for the connectivity.
2.1 The 4PIN white plug wire is for the connection with Atomstack, AtomStack engraver.