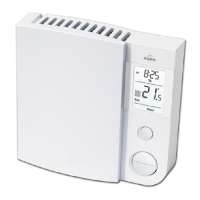
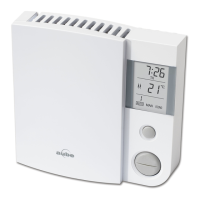
TH106, TL6160 PROGRAMMABLE THERMOSTAT
69-2202—07 2
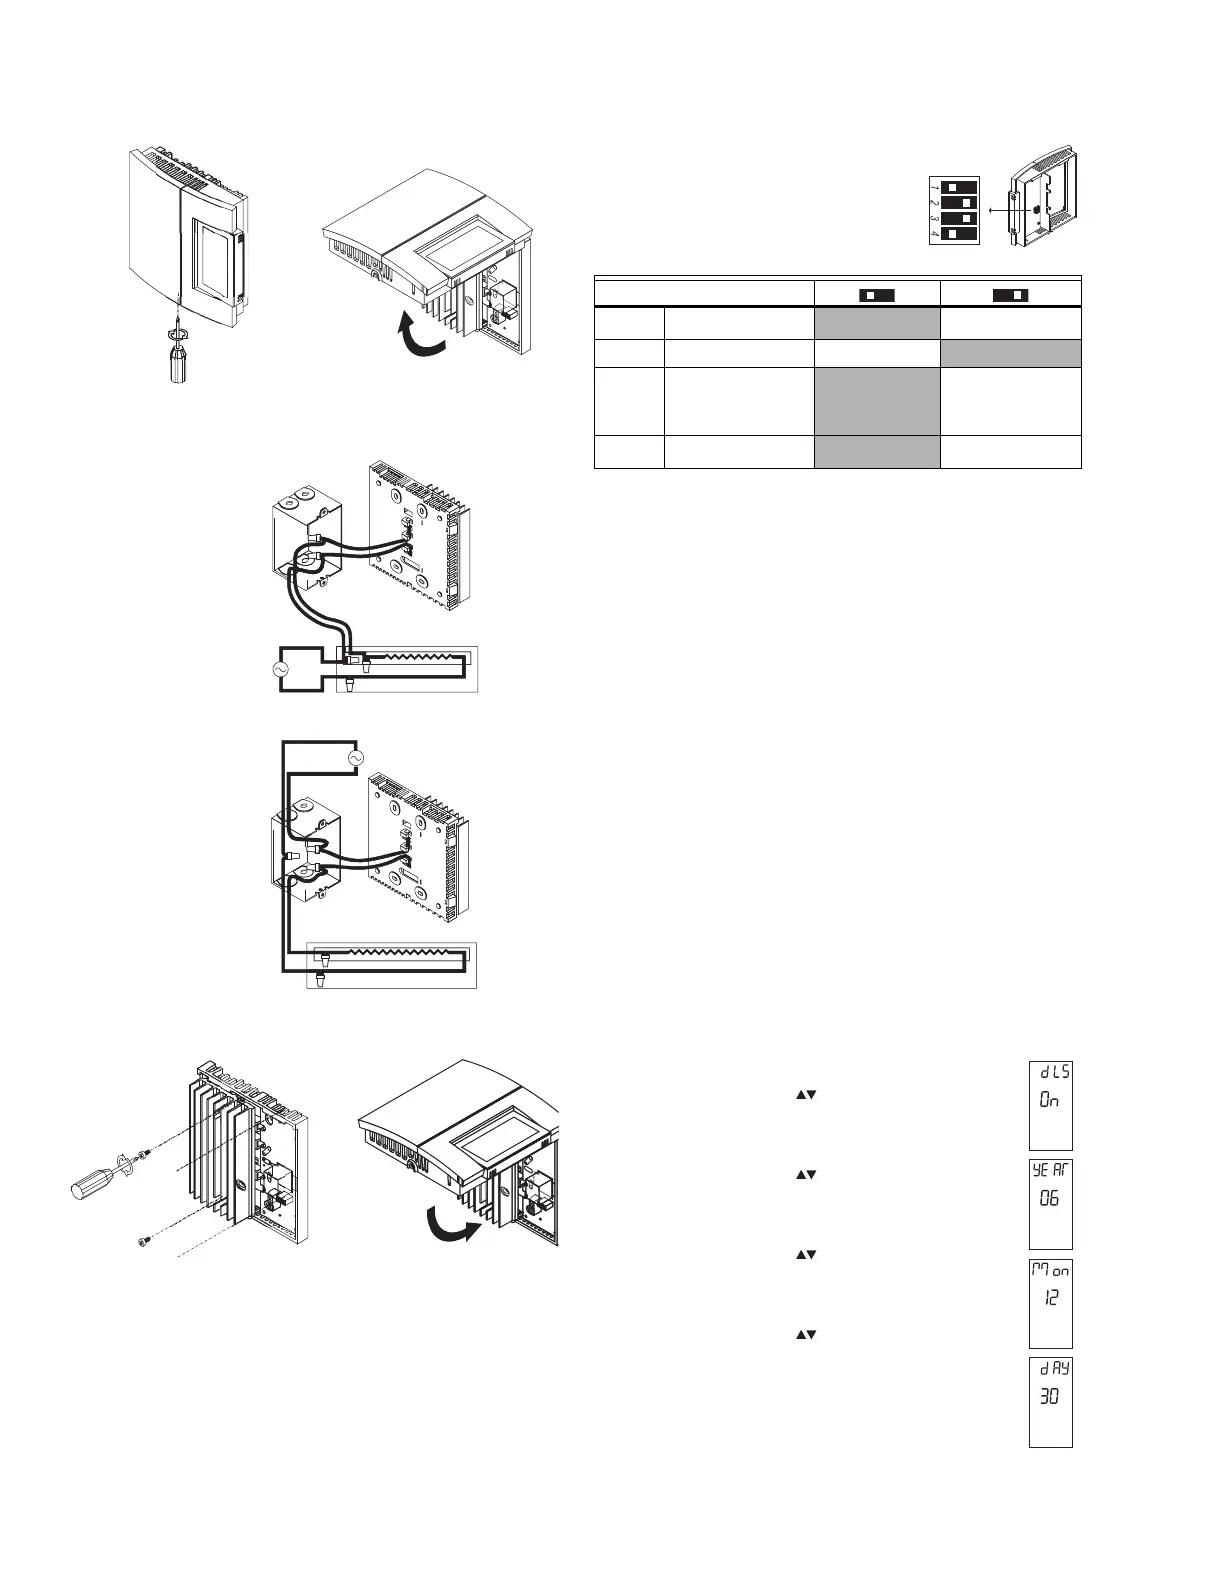
1. Connect the thermostat wires to the line wires and to
the load wires using solderless connectors for copper
wires.
2. Push any excess wire back into the electrical box.
NOTE: If necessary, before re-installing the front compo-
nent, configure the thermostat (see section 3).
3. Return power to heating system.
3. Configuration
The configuration switches are on the
back of the thermostat. The factory
settings are indicated by the gray cells
in the following table.
a. Early Start can be used in Automatic mode only.
When this function is enabled, the thermostat cal-
culates the optimal time to start heating in order to
obtain the desired temperature by the set time. The
thermostat re-assesses the start time daily based
on the previous day’s performance.
b. You must select 5 minutes if you have a fan-forced
heater. The word FAN is displayed when this setting
is selected. Select 15 seconds for better tempera-
ture control in most other cases.
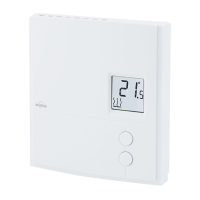
c. The settings are locked. The temperature adjust-
ment buttons only allow you to view the tempera-
ture setpoint.
4. Clock and Day Setting
1. Press the Hour button to set the hour.
2. Press the Min button to set the minutes.
3. Press the Day button to set the day.
4. Press the Mode button to end.
Daylight Savings Time
The thermostat can automatically re-adjust its clock at
Daylight Savings Time changeover. When this function is
enabled (On), the thermostat switches to Daylight Savings
Time on the second Sunday of March and to normal time on
the first Sunday of November.
NOTE: The function is disabled (default setting) when the
clock loses its setting.
1. Press the Day button (3 seconds) until DLS
appears on the screen.
2. Press either of the buttons to toggle
between On (enabled) and Off (disabled).
3. Press the Day button briefly. The year setting
is displayed.
4. Press either of the buttons to set the cur-
rent year.
5. Press the Day button briefly. The month set-
ting is displayed.
6. Press either of the buttons to set the cur-
rent month.
7. Press the Day button briefly. The date set-
ting is displayed.
8. Press either of the buttons to set the cur-
rent date.
9. Press the Mode button to end.
2-wire installation
4-wire installation
SW1
Early Start
a
Off On
SW2 Display format °C / 24-hour
°F / 12-hour
SW3
Cycle length
b
15 seconds
Baseboard
heater
5 minutes
Fan-forced
heater
SW4
Keypad lock
c
Off On