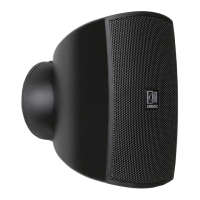
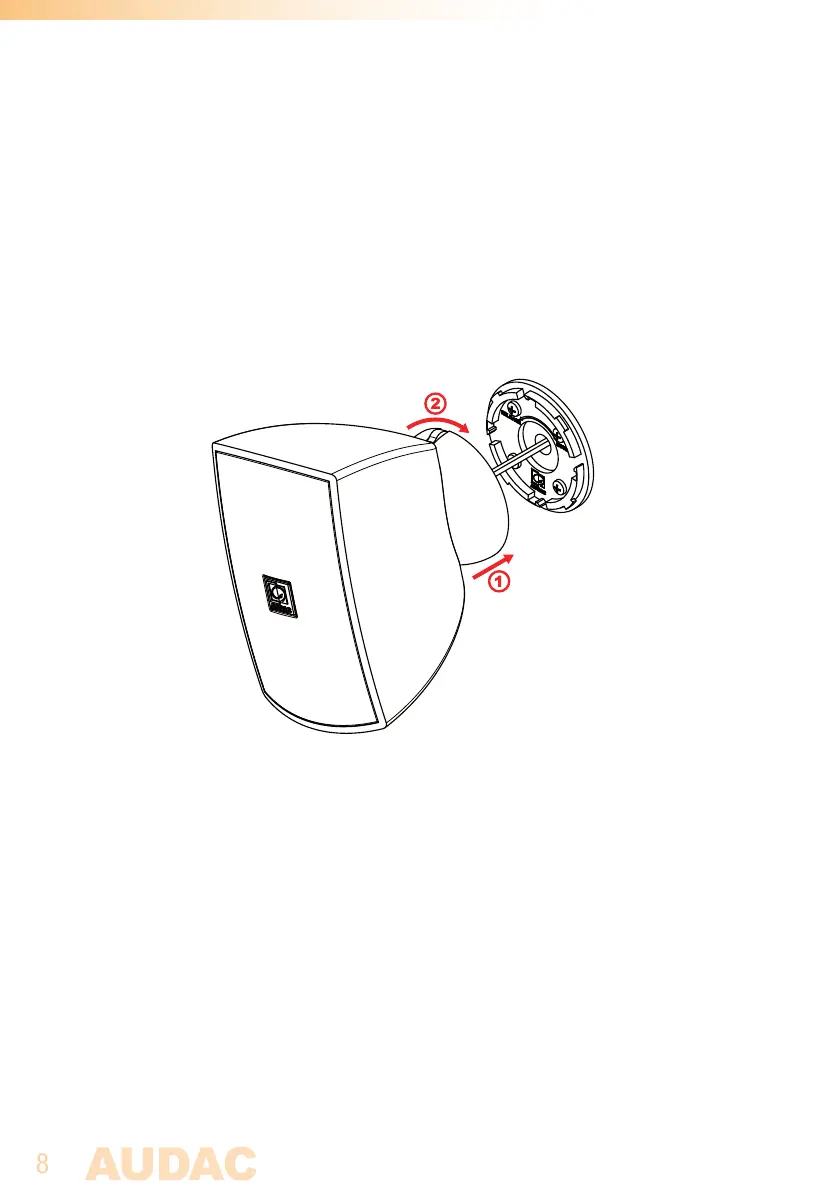
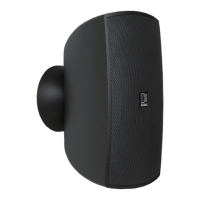
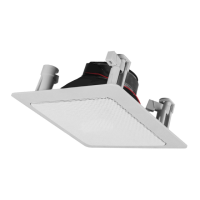
Step 3: Attach the speaker
After the wall plate is mounted and the connector assembled, the connector shall be
plugged into the counterpart on the loudspeakers’ rear side and fixed to the wall plate.
Simply bring the speaker to the wall plate, and make sure the cams on the speaker side
are moving into the recesses on the wall plate. When matched, the speaker will fit nicely
on the wall plate and can be secured by rotating the bracket until both parts are locked
together with a ‘click’.
Step 4: Position the loudspeaker
The last step in the mounting procedure of the speaker is pointing it into the correct
direction. The Ateo 2 features a spring-loaded mechanism allowing directional adjustment
of the loudspeaker without requiring any tools.
Just carefully point the speaker into the correct direction and it will automatically remain
in the right direction.