Note:
We recommend using a high-quality surge suppressor and/or AC line filter on all electronics equipment.
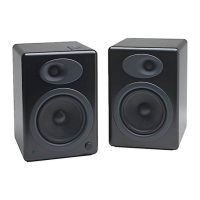
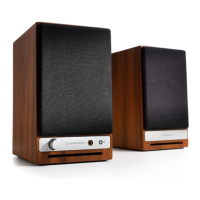
Step 4 – Connecting Audio Cables
Using the appropriate audio cable (3.5” mini-jack and/or RCA cable), connect your audio source (computer, iPod,
etc.) to the A5+ audio inputs. One of each cable type is included.
Note:
Both audio inputs on the A5+ are active so two audio sources may be connected to the speakers at the same time
without the need for an input switch.
Step 5 – Operation
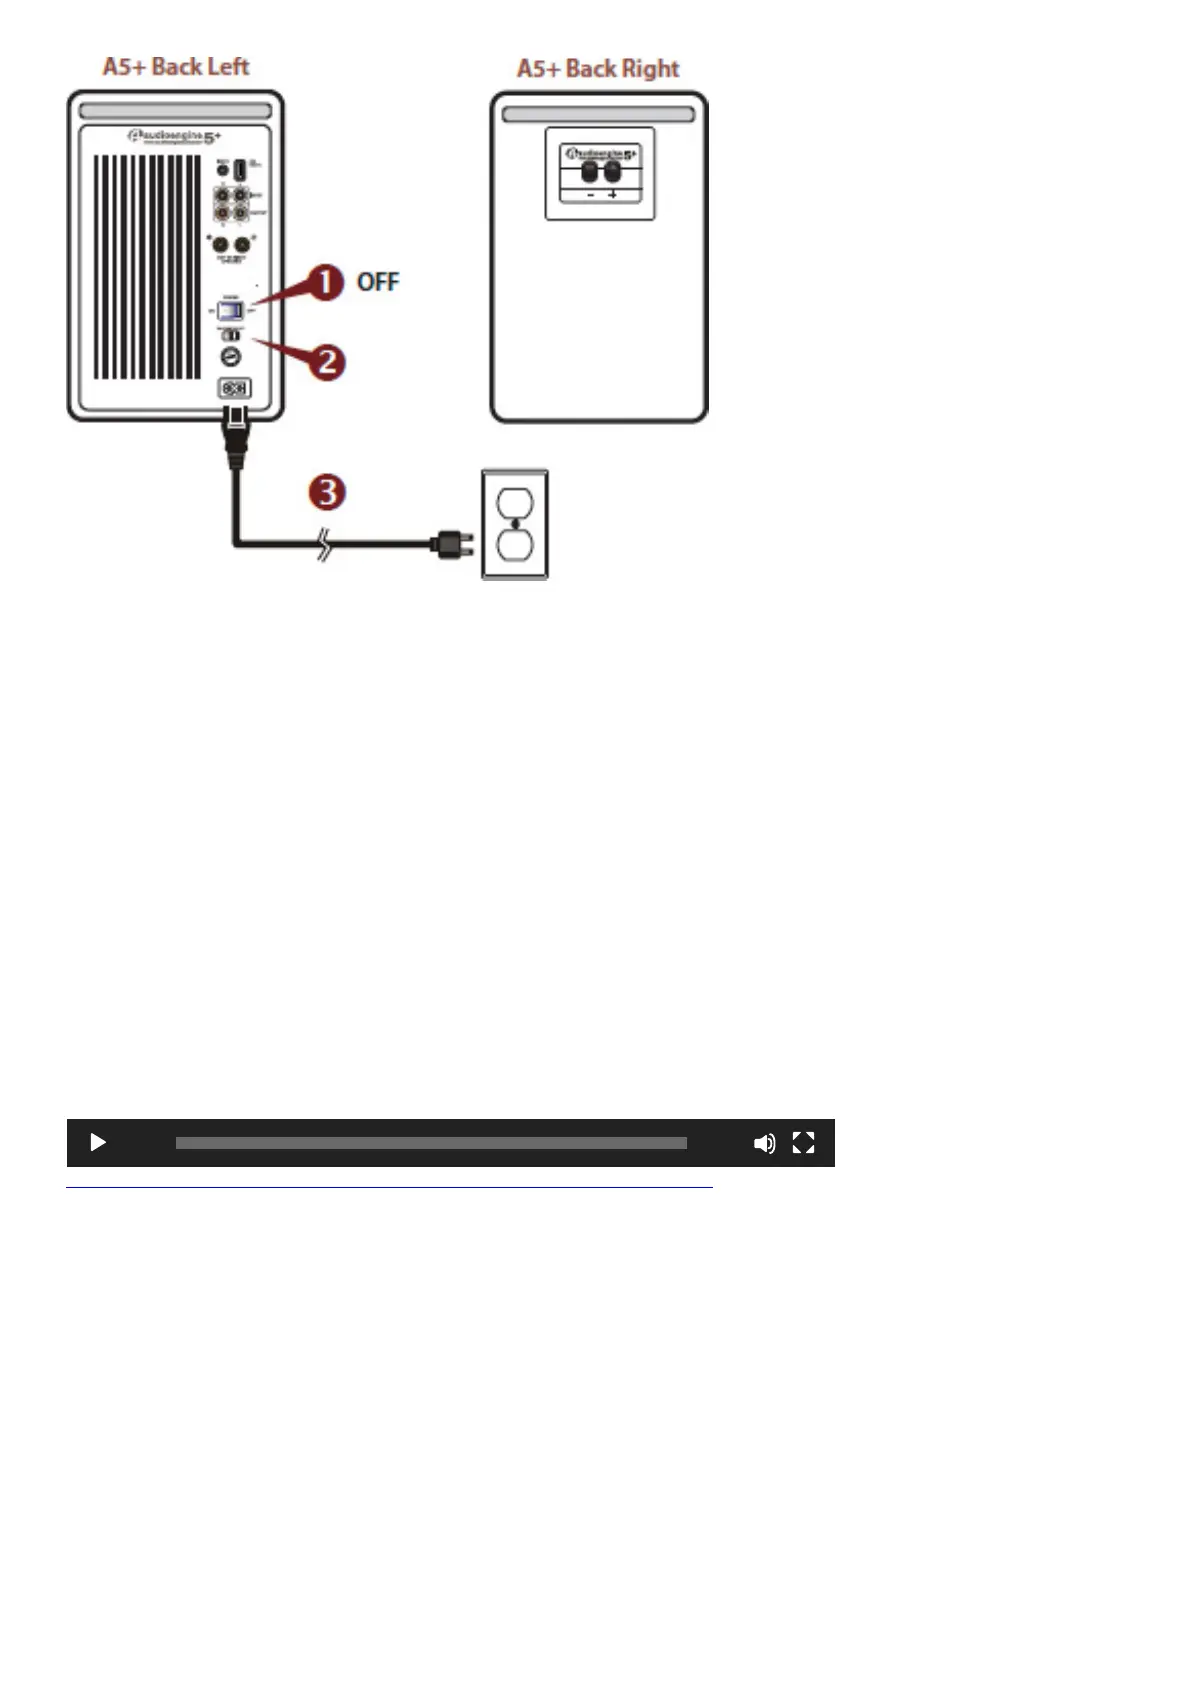
1. Move the A5+ rear panel power switch to the ON position. The left speaker front panel power indicator should
ash a few times then go solid.
2. Turn on your audio input source and adjust the volume to the desired listening level.
3. Adjust the A5+ speaker volume level with the volume knob on the front panel or with the included remote
control.
A5+ CLASSIC SETUP VIDEO
A5+ Classic Troubleshooting Tips
The following troubleshooting tips can help diagnose and correct most concerns with the A5+ Classic. We have
attempted to make this list as comprehensive as possible, so some of these may not apply to your issue, but please
go through each tip.
If the power indicator on the A5+ front panel is not illuminated, then try these tips:
1. Verify that the AC power cord is connected to the speaker rear panel and to a working AC power outlet.
2. Check that the speaker’s power switch is in the ON position.
3. Check that the rear panel voltage selector matches the operating voltage in your country or region.
4. If there is still no power, check the fuse in the rear panel. If the fuse is blown and needs to be replaced it is
important to replace with same fuse type and value.
If the front panel indicator light is on but you are experiencing an audio-related or other issue, try these tips:
https://manuals.plus/wp-content/uploads/2021/05/A5_How_To.mp4