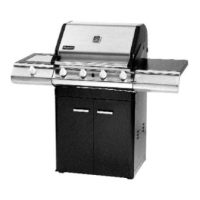
22
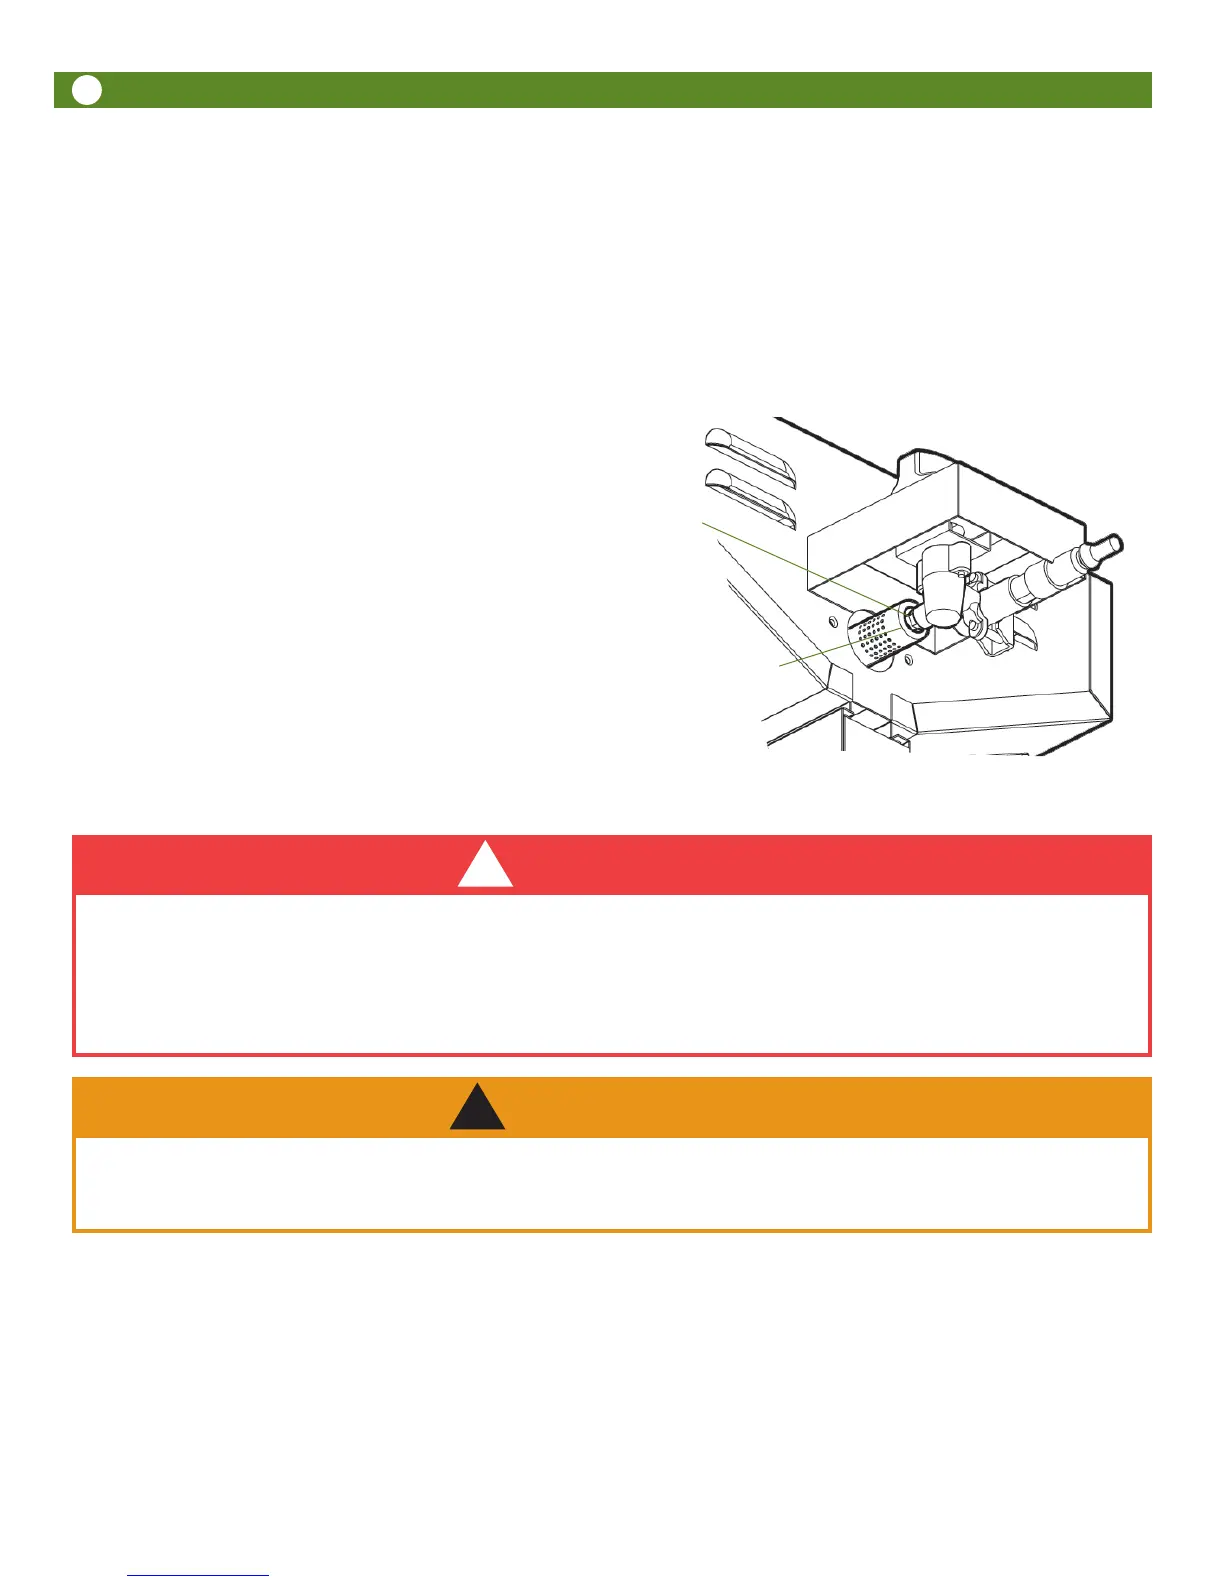
Valve nozzle
Burner Venturi Hole
fits centrally around
Valve nozzle.
Fig. 10
7. Check the Electrode to see if it is loose. If so, tighten the screw holding the Electrode to maintain 3/16” gap be-
tween Electrode tip and Burner.
NOTE: Before next step, you may wish to clean the rest of the grill. See “Cleaning the Grill” section.
8. After cleaning, refit the Burner. If the grill is to be stored, the Burners may be wrapped in a protective cover such as
aluminum foil or plastic wrap to help keep insects out.
NOTE: When refitting the Burner, be sure the Burner is positioned correctly. The valve should protrude inside the Ven-
turi end of the Burner. (Fig. 10) Replace the Bolts that fasten the Burner Flange to the burner bracket.
9. Perform a Leak Test and check Burner
operation after re-assembly.
10. Replace Flavor Activator and Cooking Grid.
1. Disconnect LP Gas Supply from grill and cap all fitting openings.
2. If storing grill or before an extended period of non-use, remove Burner and wrap with aluminum foil to reduce the
risk of insects entering the Burner holes. Cooking Grid and Flavor Activator may be wrapped in foil as well.
3. Store grill indoors only if the LP Gas Supply is disconnected from the gas grill.
4. Before next use, remove aluminum foil and reinstall Burner, Flavor Activator, and Cooking Grid.
5. Before using the grill after periods of storage or non-use (i.e. over winter), check your LP gas grill for gas leaks,
deterioration, proper assembly, and Burner obstructions.
6. Periodically check and tighten all nuts, bolts, and screws on grill.
Storage and Transportation
DANGER
!
Do not put grill in storage or travel mode immediately after use.
Allow grill to cool to touch before moving or storing.
Failure to do so could result in fire resulting in property damage,
personal injury or death.
To reduce the risk of injury or property damage:
• Be sure both latches are securely engaged, preventing the hood from opening.
• Lift and carry grill by the hood handle.
WARNING
!