17
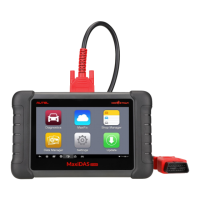
Non-OBD II Vehicle Connection
This type of connection requires both the main cable and a required OBD I
adapter for the specific vehicle being serviced.
To connect to a Non-OBD II Vehicle
1. Connect the main cable’s female adapter to the Vehicle Data
Connector on the Display Tablet, and tighten the captive screws.
2. Locate the required OBD I adapter and connect its 16-pin jack to the
main cable’s male adapter.
3. Connect the attached OBD I adapter to the vehicle’s DLC.
NOTE: Some adapters may have more than one adapter or may have test
leads instead of an adapter. Whatever the case, make the proper
connection to the vehicle’s DLC as required.
Some DLC connections only supply communication and the power is to be
supplied via the cigarette lighter connection.
To connect the cigarette lighter
1. Plug the DC power connector of the cigarette lighter into the DC
power supply input port on the Display Tablet.
2. Connect the male connector of the cigarette lighter into the vehicle’s
cigarette lighter receptacle.
Getting Started
Ensure a communication link is established between the test vehicle and the
Display Tablet via the main cable.
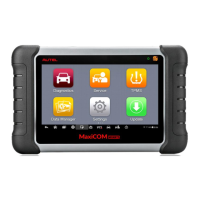
4.2.1 Vehicle Menu Layout
When the tablet is properly connected to the vehicle, the platform is ready to
start vehicle diagnosis. Tap on the Diagnostics application button on the
MaxiCOM Job Menu to access the Vehicle Menu.
 Loading...