7
4. The pervious error report record appears in the History Report Manage box.
5. To delete one of the history reports, highlight the history report as you desire and click
Del Select button at History Report Manage.
6. Optionally, click Del All button at History Report Manage to delete all of the history
report.
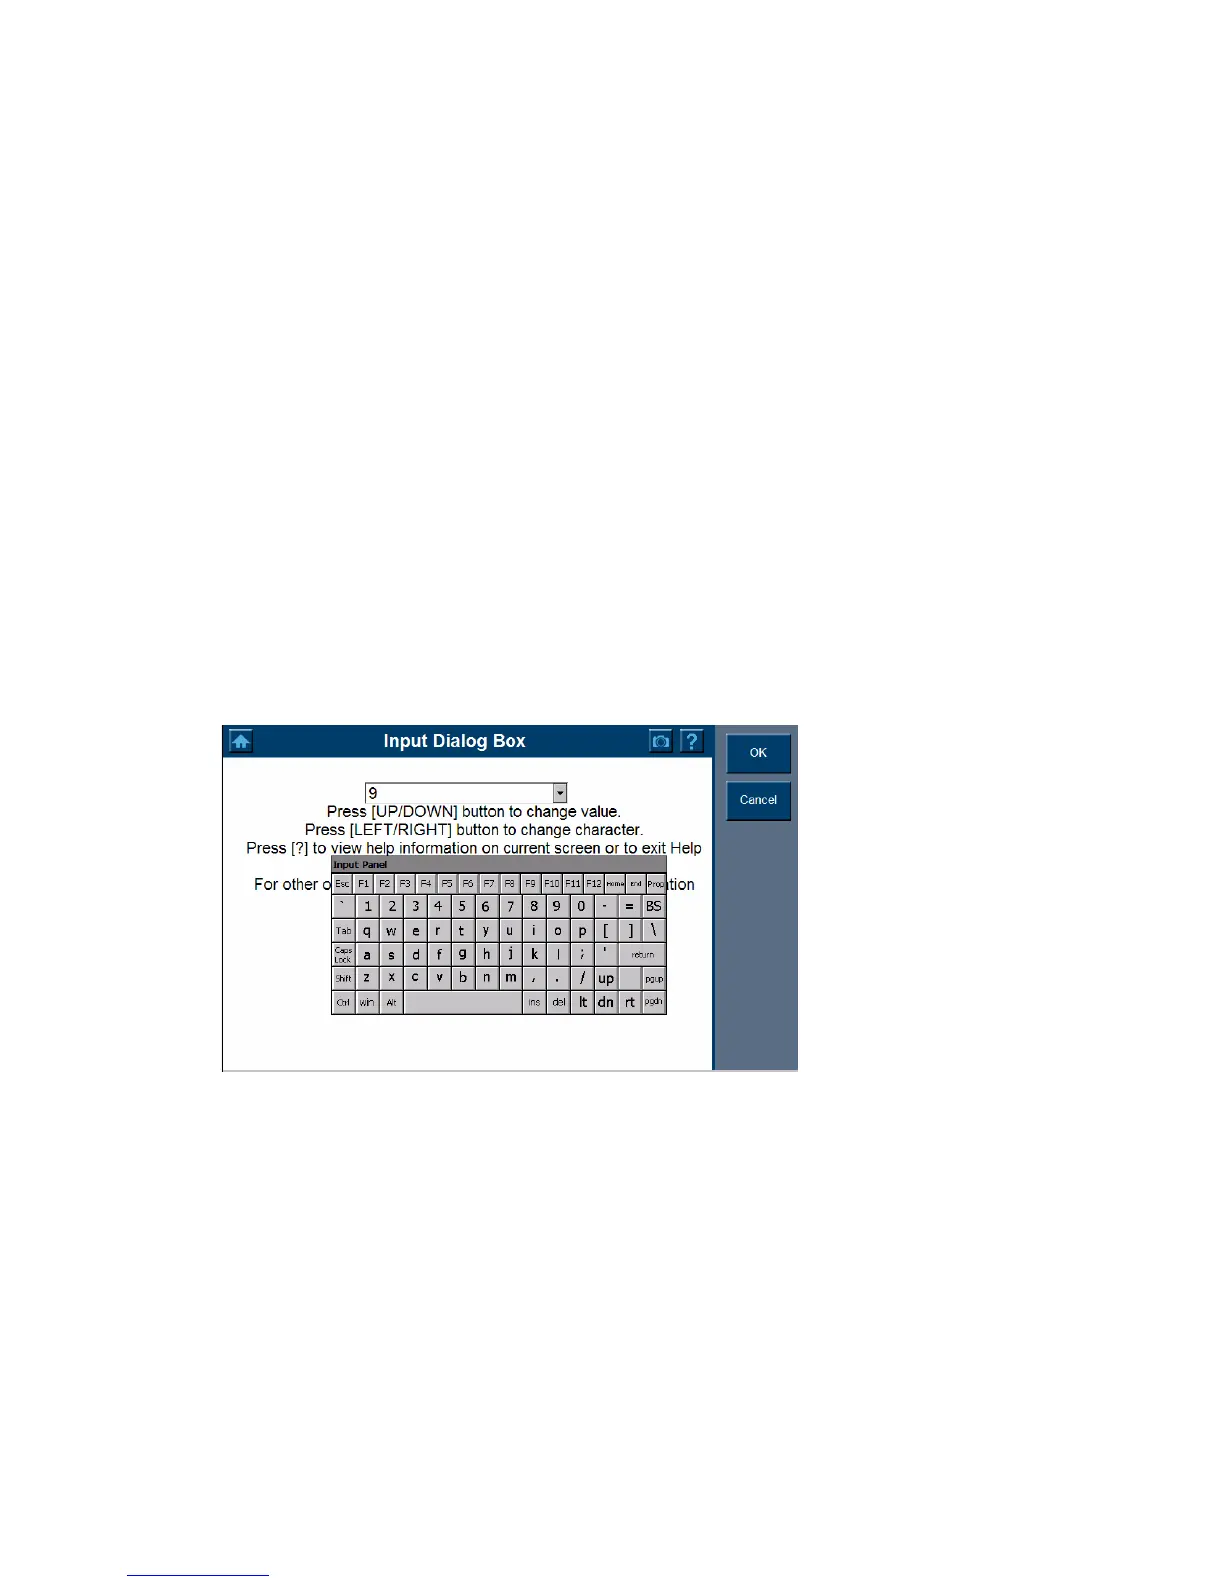
2. Screen with Virtual Keyboard
Virtual Keyboard
You can touch or click a key on the screen viewable keyboard, the chosen character will
be written to the place of the cursor. It allows you to input text for the information you
desired.
1. Drag the virtual keyboard with stylus to relocate.
2. Use the keyboard to fill in the dialog box with all the information as desired.
Press UP/ Down button to change value.
Press Left/ Right button to change character.
Press ? To view help information on the screen or to exit help menu.
3. Select OK to finish and close the Dialog Box.
Note: The new item now appears on the list and is highlighted
Drop-down dialog box
Optionally, use the drop-down dialog box to find the item as desired if there is a previous
record. Highlight the item as desired. Select OK to finish and close the Dialog Box.
3. Scanner Layout
Location – Displays on top of the screen to assist you to identify the component location.
Main menu - The main menu displays in the left-hand panel of the screen.
The following sections are detailed below: