Diamond PD Power Drive : Instruction Manual
Shed Master Instruction Manual GDO-8V3
17
© Copyright 2017
6.9 Safety Testing
CAUTION: Take care when completing a
safety test. Failure to follow this warning
can result in serious personal injury and/or
property damage.
WARNING! If the door is closing and is unable
to re-open when obstructed, discontinue use.
Do not use a door with faulty obstruction sensing.
Repair fault and re-test before using.
WARNING! If the door fails these tests,
put the opener into manual mode, only
operate the door by hand and call for
service.
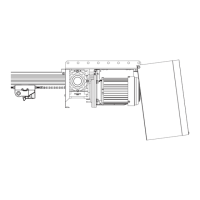
Fig. 6.16
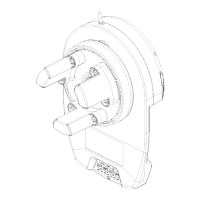
Fig. 6.17
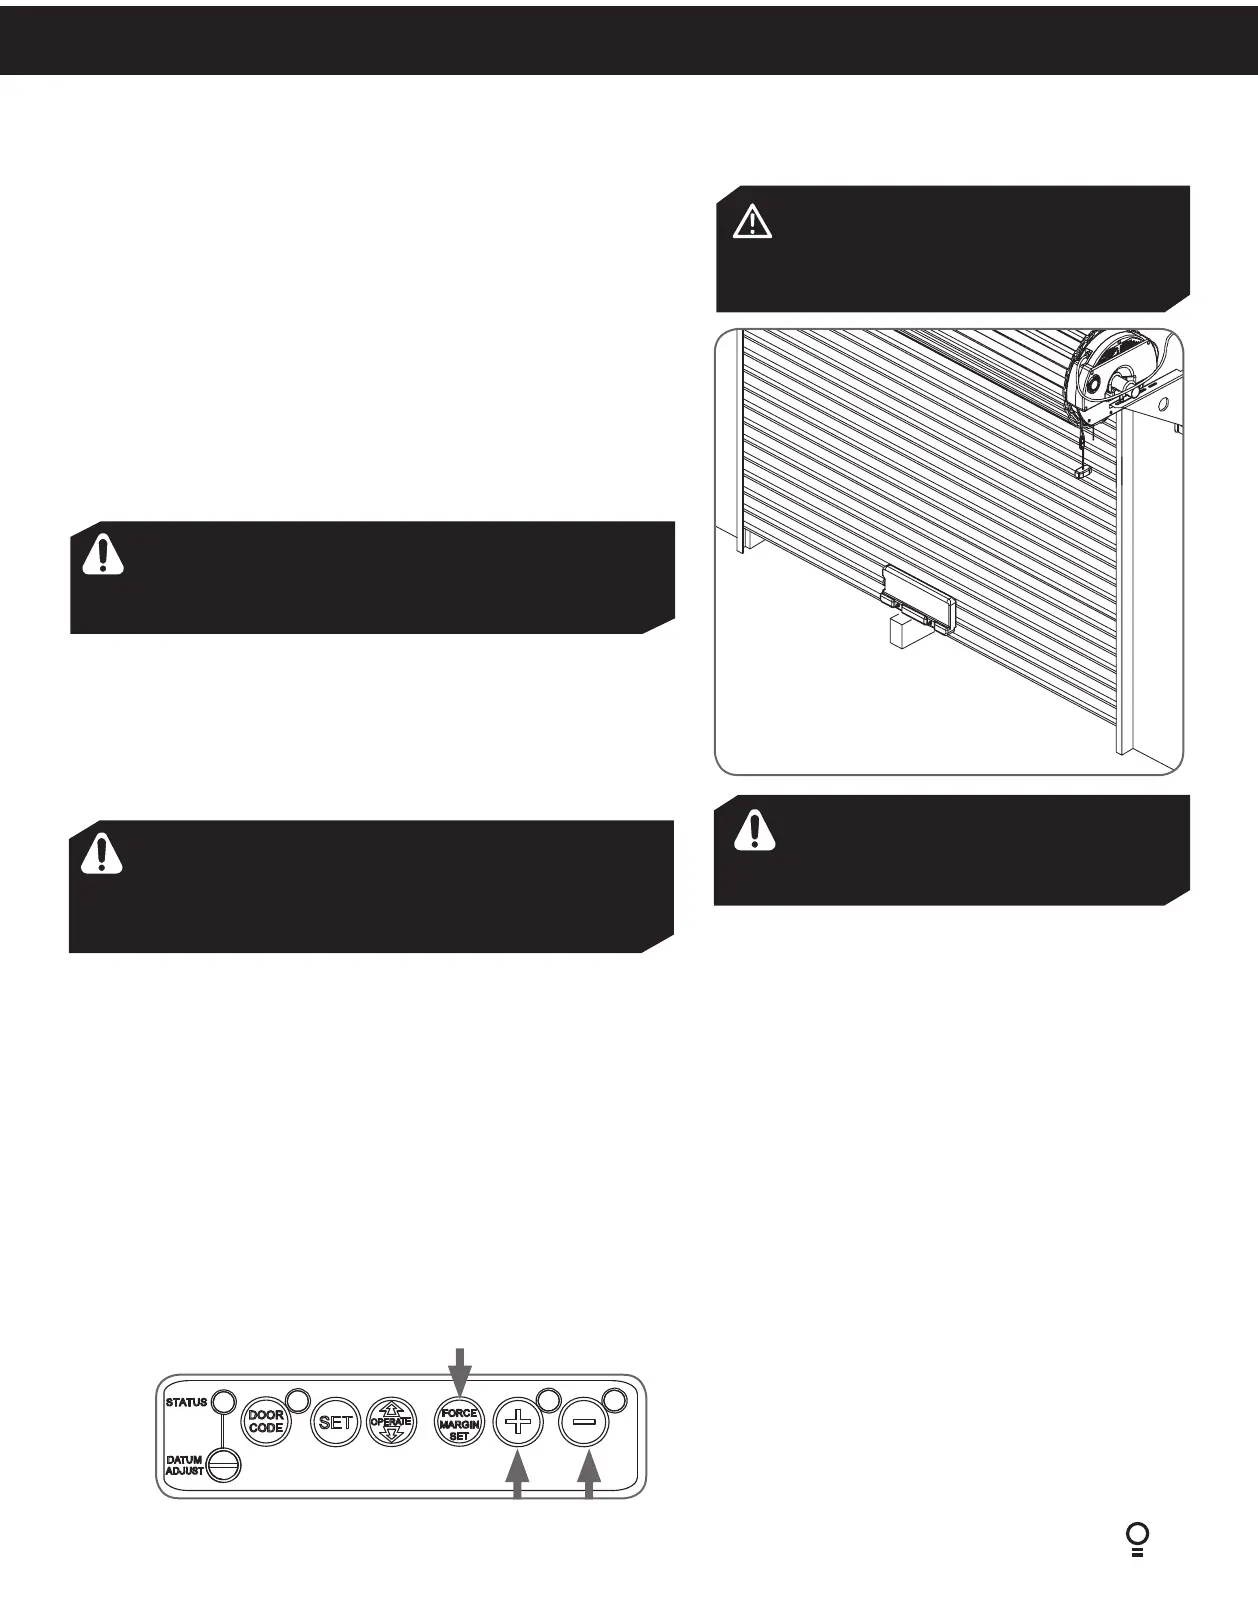
6.9.1 Testing the Close Cycle
a. Press the OPERATE button to open the door..
b. Place an object approximately 1-1/2”(38mm) high (or a 2”x 4”
board laid flat) on the floor under center of garage door opening
(Fig.6.16)
c. Press the OPERATE button to close the door.
d. When door contacts the object, the door must stop (within 2
seconds) and reverse to open position.
If the door does not properly reverse.
• Check the “close” limit position. It should not have reached its
“close” limit before hitting board.
• If the door STOPS but does not reverse, decrease FORCE (refer to
Section 6.9.4).
2”x 4” board
6.9.2 Testing the Open Cycle
a. Press the OPERATE button to close the door.
b. Press again to open the door. When the door is reaching half of the
opening distance, grab the bottom rail of the door firmly, the door
should stop.
If the door does not stop when opening, the force may be excessive
and need adjusting, refer to Step 6.9.4.
Adjusting Safety Obstruction Force
The safety obstruction force is calculated automatically and set in memory on the operator. It is usually not necessary to adjust
the safety obstruction force. The only time the force may need to be increased is due to environmental conditions, for example,
windy or dusty areas, and areas with extreme temperature changes.
WARNING! Risk of entrapment. After adjusting either
the force or limits of travel, re-test the door opener.
The door MUST reverse on contact with a 1-
1
/
2
inch high
object (or a 2” by 4” board laid flat) at the center of
doorway on the floor
6.9.3 To Increase Force Pressure
a. Press and hold the FORCE MARGIN SET button (Fig 6.17).
b. While holding down the FORCE MARGIN SET button, press the
PLUS (+) button. Each press increases the force margin.
c. The PLUS (+) LIMIT LED will flash each time the PLUS (+) button
is pressed to indicate an increase in force.
d. If the PLUS (+) LIMIT LED flashes continuously when the PLUS (+)
button is being pressed, this indicates that the maximum force
pressure setting has been reached.
e. Test the force again as per Section 6.9.1 and 6.9.2 above.
6.9.4 To Decrease Force Pressure
a. Press and hold the FORCE MARGIN SET button
(Fig 6.17).
b. While holding down the FORCE MARGIN SET button,
press the MINUS (-) Button. Each press decreases the
force margin. The MINUS (-) LIMIT LED will flash each
time the MINUS (-) button is pressed to indicate a
decrease in force.
c. If the MINUS (-) LIMIT LED flashes continuously when
the MINUS (-) button is being pressed, this indicates
that the minimum force setting has been reached.
d. Test the force again as per Step 6.9.1 and 6.9.2
above.
6.9.5 To Recall Factory Set Force
a. While holding down the FORCE MARGIN SET
button, press the SET button for two seconds.
b. Release both buttons. The default setting should
now be recalled.