6
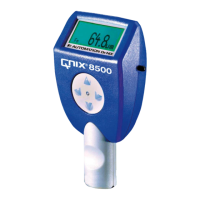
QNix
®
5500
3. Initial Operation
3.1. Insert Battery
This device includes: 2 mignon batteries AA (LR6 / FR 6 / AM3)
• To unlock the cover, turn the ring anti-clockwise.
• Lift o cover.
• Insert or replace battery.
• Attach the battery cover at the bottom and lock.
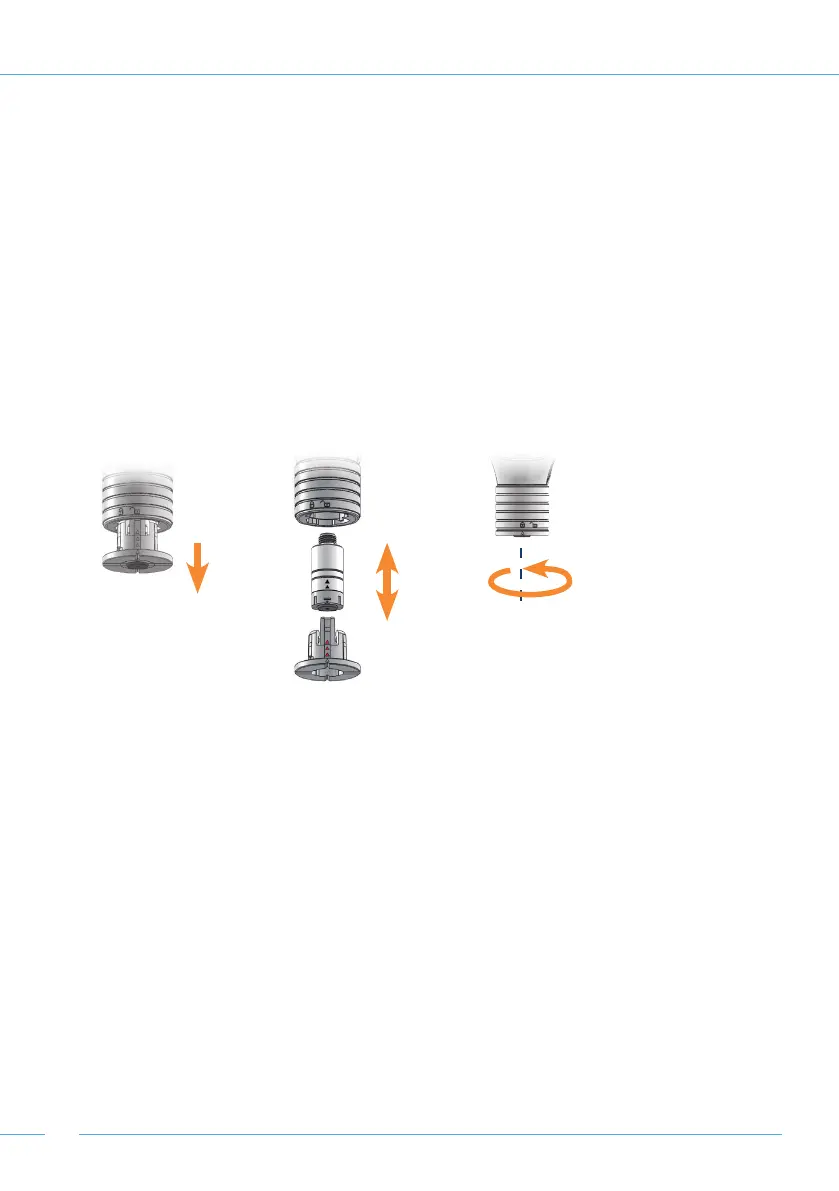
3.2. Insert Probe (optional)
On devices with replaceable probe (grey probe latch), insert the probe as follows:
Remove the probe holder or probe cable from the probe input
• To unlock, turn the probe input anti-clockwise. The arrow on the probe holder shows the
open padlock on the probe input.
• Pull the probe holder from the input.
Insert the probe in the probe holder
• Push the probe into the probe holder using a slight turn/push movement. The arrows on the
probe and on the probe holder must align. When aligned correctly, all 4 lugs will lock into the
respective groove on the probe.
• Reinsert the probe holder or plug the probe into the cable and screw it in place.
• To lock the probe put it in place, turn clockwise until it locks. The arrow on the probe holder
points at the locked padlock on the probe input.

 Loading...