c. Test fit the rear mounting brackets in the guide brackets and verify that the rear
brackets can slide in the channels. Remove the rear brackets.
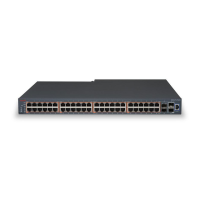
3. Install the switch into the equipment rack, temporarily using only the front rack mounts and
screws.
Figure 9: Install switch in rack using front rack mounts
4. Attach the rear mounting brackets and secure the switch to the rear rack posts.
a. Slide a rear mounting bracket into each guide bracket channel until flush with the rear
rack posts.
b. Secure the rear mounting brackets to the switch chassis with the pan-head screws.
Switch installation
February 2016 Installing Avaya Ethernet Routing Switch 4900 Series 33
Comments on this document? infodev@avaya.com

 Loading...