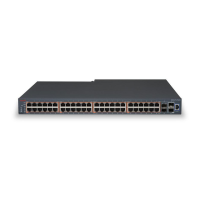
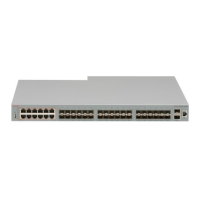
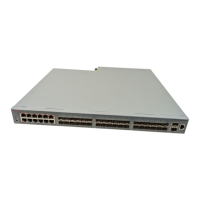
Model Description Part number
into the SFP+ socket and
connects two 10-gigabit ports
10GBASE-ZR/ZW SFP+ 70 km, 1550 nm SMF AA1403016-E6
10GBASE-BX10 SFP+ 10 km AA1403169-E6 and AA1403170-
E6
Optical power considerations
When you connect the device to collocated equipment, ensure that enough optical attenuation exists
to avoid overloading the receivers of each device. You must consider the minimum attenuation
requirement based on the specifications of third-party equipment. For more information about
minimum insertion losses for Avaya optical products, see Installing Transceivers and Optical
Components on Avaya Ethernet Routing Switch 4900 and 5900 Series, NN47211-302.
Locating end of sale notices
Use the following procedure to locate the most up-to-date information on end of sale notices and
replacement recommendations for transceivers and optical components.
Procedure
1. Go to the Avaya Support website at
http://support.avaya.com/.
2. Select Support by Product > Documents.
3. Enter the product name, and a release.
4. Select Product Lifecycle Notices.
5. Click Enter.
6. Select the End of Sale notice to view the information.
Stacking
The switch provides fail-safe stackability. You can connect up to eight 4900 series devices in a stack
to provide uninterrupted connectivity for up to 400 ports. You can manage the stack as a single unit.
Stack connector
The stack connector is a component of the switch back panel and consists of the Unit Select switch,
Cascade Down connector, and Cascade Up connector. The stack connector is illustrated in the
following diagram.
Installing Ethernet Routing Switch 4900 Series
February 2016 Installing Avaya Ethernet Routing Switch 4900 Series 42
Comments on this document? infodev@avaya.com

 Loading...
