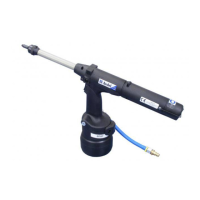
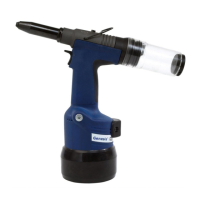
There are three types of nose assemblies used with the 0734 type of tooling, these combine with three types of base tools to make up
the six models: 07340, 07344, 07345, 07346, 07347 and 07348. If you have purchased a complete tool, it will already be fitted
with the correct nose assembly for your fastener.
It is essential that the correct nose assembly is fitted prior to operating the tool. By knowing your original complete tool part number
or the details of the fastener to be placed, you will be able to order a new complete nose assembly using the selection table pages 4,
5, 6, 7, 8 and 9 according to the tool model you are using.
0 7 3 4 0 / 4 / 7 / 8 M O D E L S
While these models all use fixed nose assemblies, there will be minor variations on some components. Check part numbers on respective
component table.
12
N
O S E A S S E M B L I E S
5 6 7 8
1 2 3 4
■
■
■
■
■
■
■
■
■
■
■
■
■
■
■
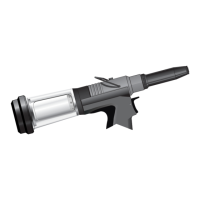
SERVICING INSTRUCTIONS
Nose assemblies should be serviced at weekly intervals.
Remove the complete nose assembly using the reverse procedure to the ‘Fitting Instructions’.
Any worn or damaged part should be replaced by a new part.
Particularly check wear on jaws.
Ensure jaw spreader assembly tube 5, where fitted, is not distorted.
Check spring 7 is not distorted.
Assemble according to fitting instructions.
Lightly coat the jaws with Moly lithium grease.
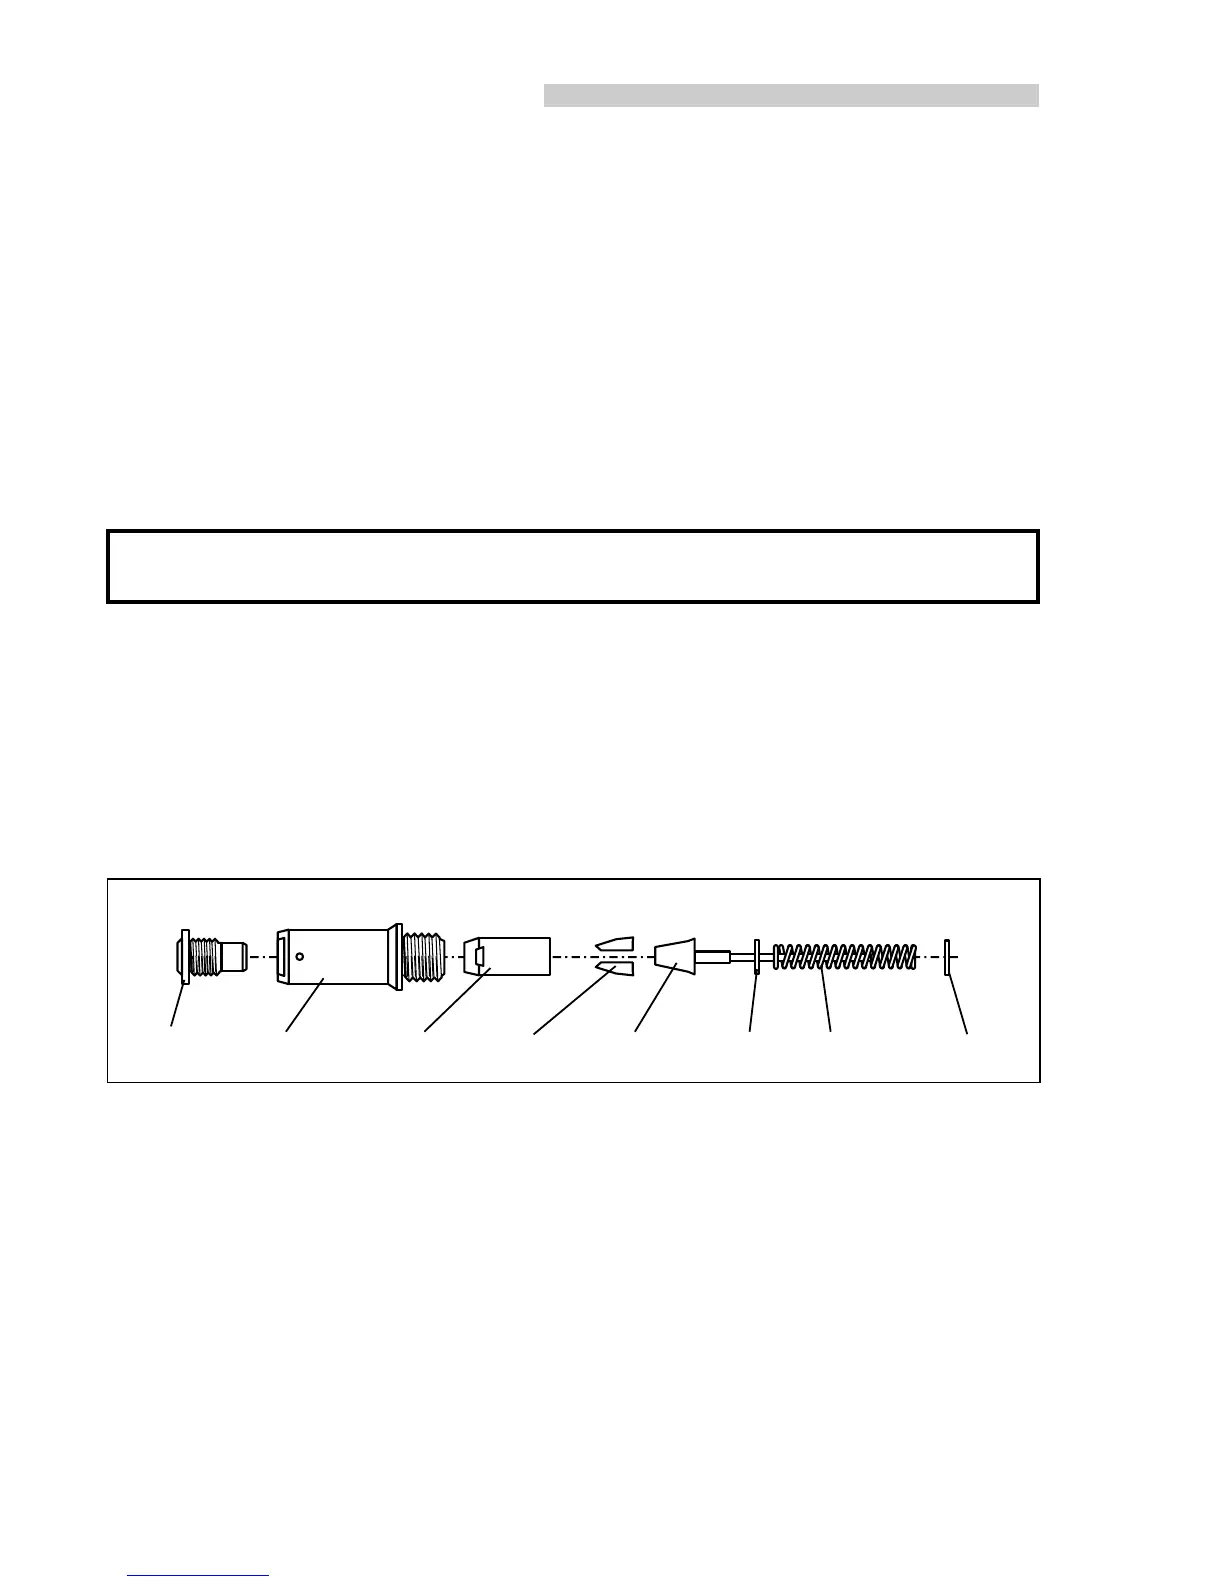
Drop jaws 4 into jaw housing 3.
Insert jaw spreader 5 into jaw housing 3 (locating in the ‘V’ shape formed by the jaws).
Locate buffer 6 on jaw spreader 5.
Locate spring 7 onto jaw spreader 5.
Fit locking ring 8 onto the jaw spreader housing assembly of the tool.
Holding tool pointing down, screw on the assembled jaw housing onto the jaw spreader housing assembly and tighten with spanner.
Screw nose tip 1 into nose casing 2.
Place nose casing 2 over jaw housing 3, tightening with spanner.
FITTING INSTRUCTIONS
I M P O R T A N T
The air supply must be disconnected when fitting or removing nose assemblies unless specifically instructed otherwise.