7
Installation
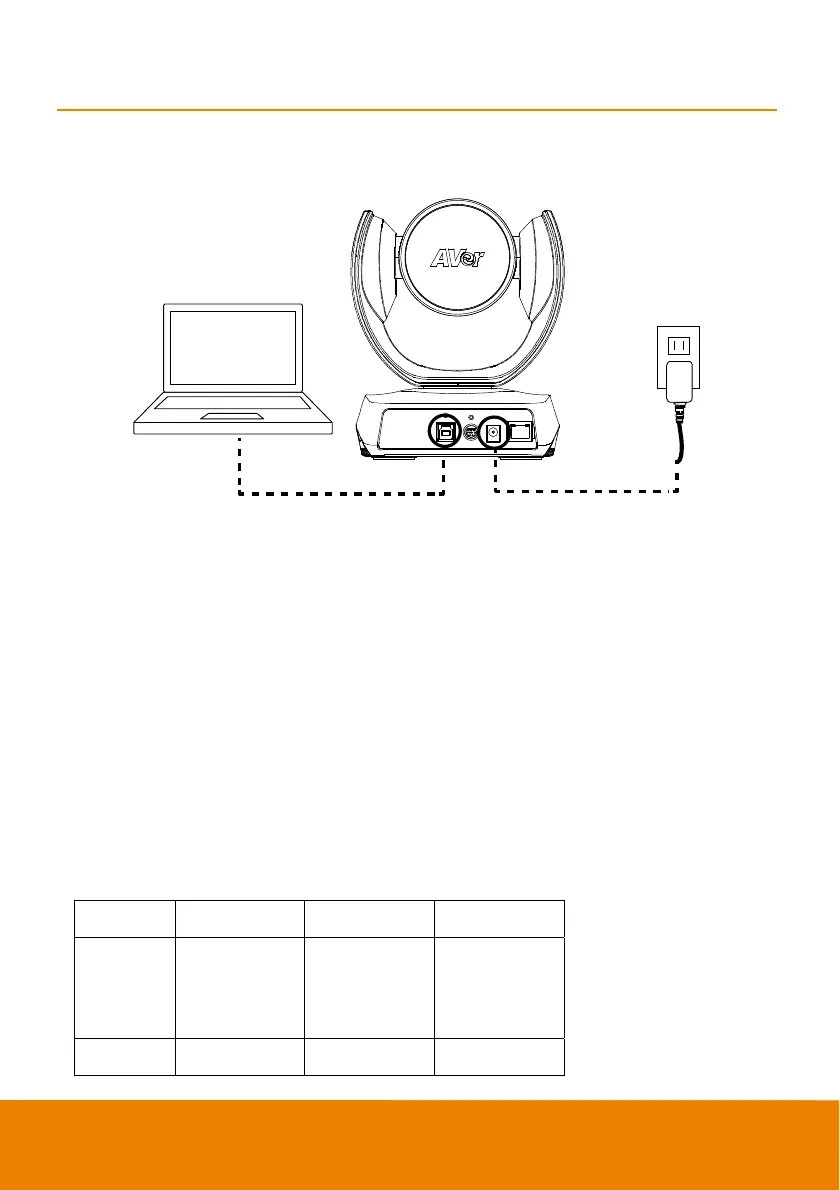
Device Connection
Power cord
USB cable
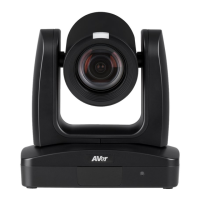
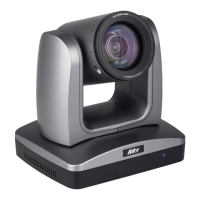
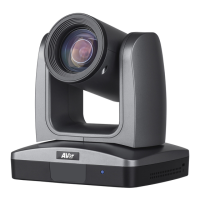
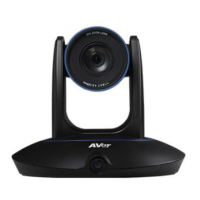
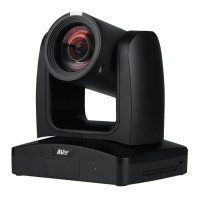
1. Use USB cable to connect the CAM520 Pro2 to your PC/laptop (refer to diagram above).
2. Connect the power to the CAM520 Pro2; powerindicator will light up and camera head will rotate.
3. Install PTZApp 2 on laptop or PC that is connected with CAM520 Pro2. The app can be used to
adjust and setup the parameters of the camera (refer to the section of PTZApp 2).
4. To make a call, run your video application (Zoom, Microsoft
®
Teams, Skype for Business, Skype,
Google Meet, Intel
®
Unite™, RingCentral, BlueJeans, V-Cube, LiveOn, CyberLink U Meeting
®
,
TrueConf, Adobe Connect, Cisco WebEx
®
, Fuze, GoToMeeting™, Microsoft
®
Lync™, Vidyo, vMix,
WebRTC, Wirecast, XSplit, etc.). Select CAM520 Pro2 as your video device.
[Notes]
Use the USB 2.0 cable included in the package.
CAM520 Pro2 has the USB 3.1 port which is USB 2.0 compatible.
Maximum resolution/fps for USB 2.0 and USB 3.1 port are shown below.
M-JPEG/ fps
NV12/fps YUV/fps
USB 2.0 1080@ 60 fps 720p@ 10 fps
480p@ 30 fps
720p@ 10 fps
480p@ 30 fps
USB 3.1 1080@ 60 fps 1080p@ 30 fps 1080p@ 30 fps