Installation Steps
Complete the following sections to install the device.
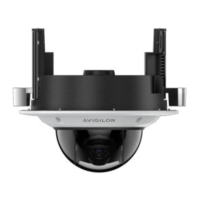
Mounting and Aiming Video Analytics Cameras
When installing an Avigilon video analytics camera, follow the listed mounting and aiming recommendations
to maximize the camera's analytics capabilities:
l
The camera should be installed above 2.74 m (9 feet).
l
The camera should tilt downwards no more than 45 degrees.
l
The camera image should be level with the horizon line.
l
The camera should be mounted to a stable surface to minimize the physical movement of the camera
after installation.
For more details, see Designing a Site for Video Analytics. The document is available on the Avigilon website.
Installing the Junction Box
When installing the junction box, the cables for the camera can be accessed through either a hole in the wall
or from a side conduit entry into the junction box. If your installation requires a side conduit to access the
required cables, refer to Accessing Cables through the Side Conduit on page10.
1. Use the mounting template to drill four mounting holes into the mounting surface.
2. Drill the cable entry hole into the mounting surface then pull the required cables through the cable
entry hole.
Installation Steps 8
 Loading...