Do you have a question about the Avigilon 2.0C-H5A-IRPTZ-DP40-WP and is the answer not in the manual?
Highlights potential hazards like electric shock, serious injury, or death from incorrect installation.
Lists precautions for installation, power, and device handling to avoid injury or damage.
Specifies safety distances and notices for IR emissions, advising eye protection.
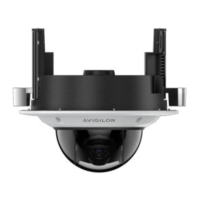
Details the procedure for installing the camera's mounting adapter onto a surface.
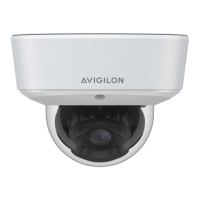
Explains how to install the pendant wall mount for the camera onto a wall.
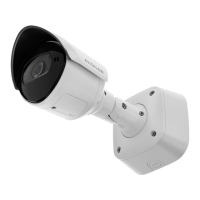
Guides through the process of installing the NPT mount for the camera onto an NPT pipe.
Provides instructions on how to connect the necessary Ethernet, power, and I/O cables to the camera.
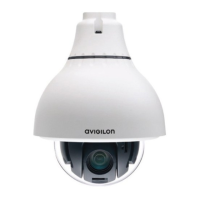
Details how to physically secure the PTZ camera housing to its mount adapter.
Guides on creating the initial user account and password for camera access.
Describes how the camera obtains an IP address or can be assigned a static one.
Details powering the camera via PoE or auxiliary power sources, including voltage and wattage.
Details the procedure for resetting the device to its factory default settings using the firmware revert button.
| Model | 2.0C-H5A-IRPTZ-DP40-WP |
|---|---|
| Network Interface | 10/100/1000 Mbps Ethernet |
| Ingress Protection | IP66 |
| Environment | Outdoor |
| Camera Type | PTZ Camera |
| Sensor Size | 1/2.8" |
| Lens Type | Varifocal |
| Aperture | F1.6 to F2.8 |
| Minimum Illumination | Color: 0.05 Lux; B/W: 0.01 Lux |
| Day/Night | True Day/Night |
| IR Illuminators | Yes |
| Pan/Tilt/Zoom | 360° |
| Video Compression | H.264 |
| Frame Rate | Up to 30 fps |
| Power Supply | PoE (Power over Ethernet) |
| Operating Temperature | -40°C to 60°C |
| Weight | 2.5 kg |