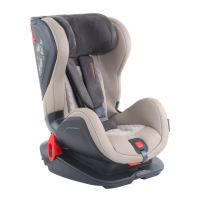
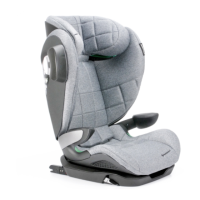
3.3 Check list
For your child’s safety aer installing the Avionaut Glider car seat please check, if:
• Isox connectors are properly xed, the indicators are green and the back of the Avionaut
Glider car seat is aligned and touches the backrest of the car seat,
• The support leg is properly xed and the foot of the leg touches the oor
• The Avionaut Glider car seat is not loose when vigorously pulled le and right,
in the direcon of travel
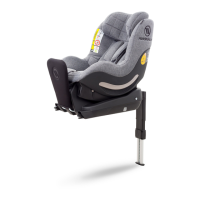
3.4 Removal
A. Press the red buon on the support leg and slide the leg back into its base. Press the two
catches in front of the Avionaut Glider seat base and pull the support leg out (pic. 26).
B. Pull the isox releasing mechanism towards you and move the Avionaut Glider seat away
from the car seat (pic. 27)
C. Slide the isox connectors back into the Avionaut Glider seat base (pic. 28)
D. Remove the Avionaut Glider car seat from the car
E. Pull the isox connectors as far out as possible, put the isox connector plugs on and slide
them back into the Avionaut Glider seat base (pic. 29)
4. IN CAR INSTALLATION AND REMOVAL OF THE AVIONAUT GLIDER CAR
SEAT USING THE ISOFIX WITH TOP TETHER STRAP
4.1 Before Installaon
The Avionaut Glider car seat can only be installed on a forward facing seat equipped with the
isox and top tether anchorage (pic. 3) (Please also read 3.1)
In order to find the top tether anchorage, please refer to the vehicle’s owner manual. The
anchorage is marked with a special tag (pic. 20) and can be found in various places in a car
(please do not confuse with a baggage mounng ring) (pic. 31)
3.3
3.4
4
4.1
EN