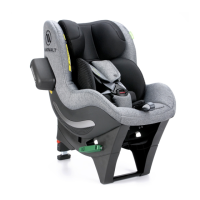
4.3 Check list
Aer installing the Avionaut Glider car seat please check, for your child’s safety, if:
• Isox connectors are properly xed, the indicators are green and the back side of the Avionaut
Glider car seat is aligned and touches the backrest of the car seat,
• The top tether is installed correctly, the strap is tight and routed between the backrest and
headrest of the car seat
• The Avionaut Glider car seat is not loose when vigorously pulled le and right, in the direcon of
travel
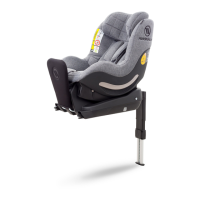
4.4 Removal
A. Loosen up the top tether strap and remove it (pic. 34)
B. Pull the isox releasing mechanism towards you and move the Avionaut Glider child car seat
away from the seat of your car (pic. 27)
C. Slide the isox connectors back into the Avionaut Glider seat base (pic. 28)
D. Remove the Avionaut Glider car seat from the car
E. Pull the isox connectors as far out as possible, put the isox connector plugs on and slide them
back into the Avionaut Glider seat base (pic. 29)
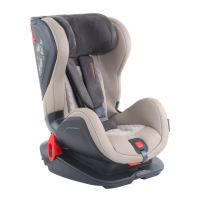
5. PLACING YOUR CHILD IN THE AVIONAUT GLIDER CAR SEAT
5.1 Use of the Avionaut Glider car seat’s 5-point harness to secure your child.
Group I 9 -18 kg
5.1.1 Height adjustment of the harness’ shoulder belts, headrest and crotch
belt with a buckle
Before fastening your child in the Avionaut Glider car seat adjust the correct height of the
shoulder belts of the harness and the croch belt gap. The appropriate height of the shoulder
belts depends on the height of the headrest and should be adjusted accordingly.
A. Open the harness by pressing the red buon on the buckle (pic. 35)
B. Press the red harness adjuster buon and loosen the shoulder belts, pull them as far out as
possible (pic. 36) (don’t pull the shoulder pads)
C. Place your child in the Avionaut Glider car seat (pic. 37). Adjust the shoulder belts and the
headrest to the desired height by leaning the headrest forward and holding its upper part pull
the headrest up or down depending on the need (pic. 38)
4.3
4.4
5
5.1
5.1.1
EN
 Loading...