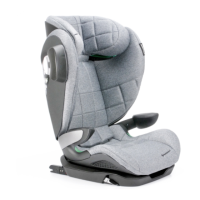
4.2 Installaon
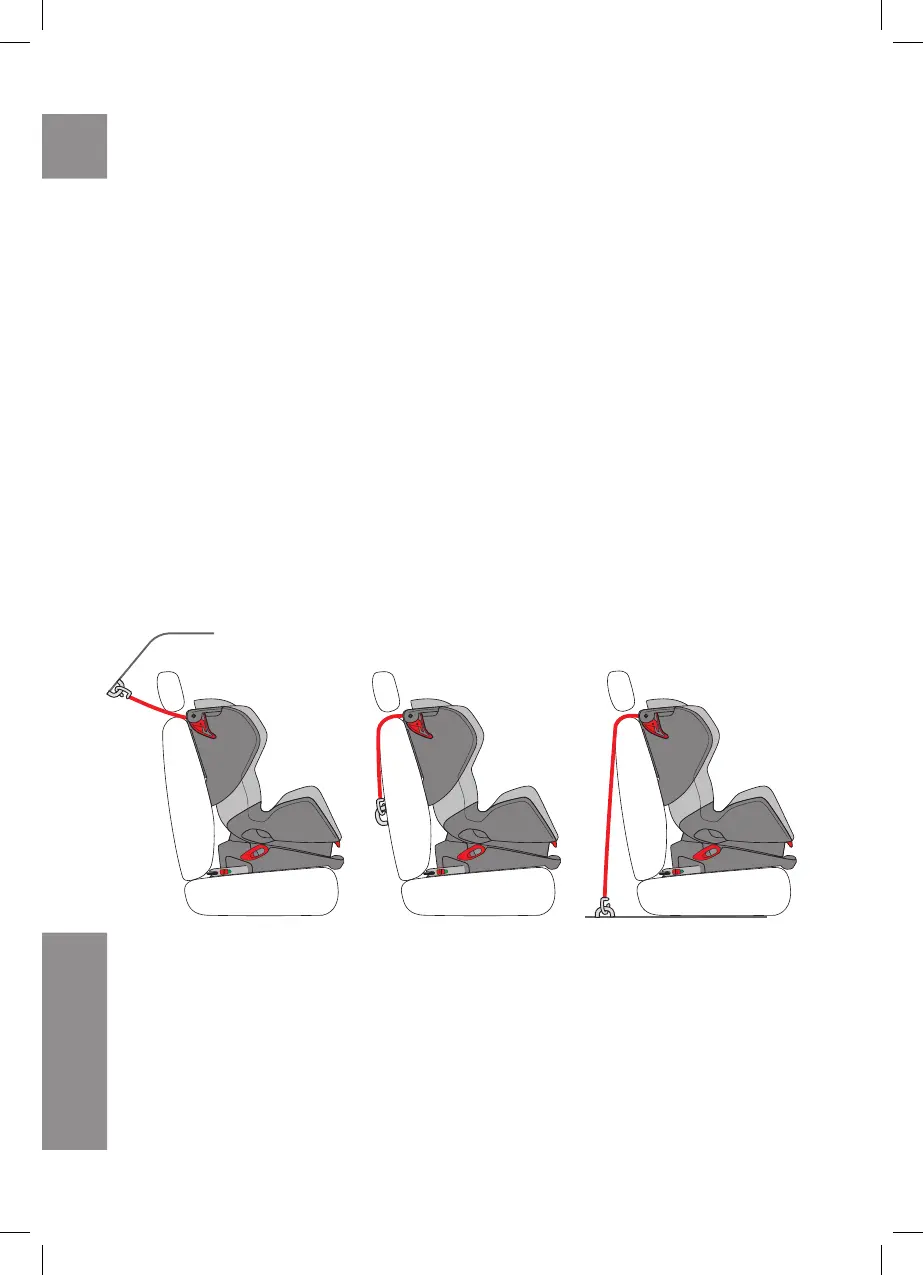
A. Aach the top tether strap to the upper part of the Avionaut Glider backrest (pic.32)
B. Pull out the isox connectors as far out as possible. In order to pull the isox connectors out you
need to remove the plugs on the isox connectors by moving the isox releasing mechanism (pic.
19). Push the isox connectors fully into the Avionaut Glider seat base and then pull them as far
out as possible unl you can’t push them back into the base (pic. 20)
C. Place the Avionaut Glider onto a car seat so that the Avionaut Glider isox connectors face the
isox anchorage system between the seat and the backrest of the car seat (pic. 21)
D. Click the Avionaut Glider isox connectors into the isox anchorage system. When clicking in,
the indicators informing you about the correct installaon, should be green (pic. 22) and your
Avionaut Glider car seat can be easily aligned with the backrest of the car seat
E.Push the Avionaut Glider seat into the car seat so that the Avionaut Glider seat’s backrest is
aligned paralelly with the backrest of the car seat (pic. 23)
F. Thread the Top tether strap between the car seat’s backrest and the headrest, aer nding the
top tether anchorage, click it into it and pull the top tether strap ght (pic. 33). Pull the loose
strap and secure it with the Velcro
The picture above shows the properly installed Avionaut Glider car seat using the isox system
with the top tether strap.
4.2
EN