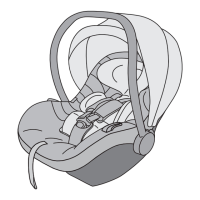
2.3 Check list
For your child’s safety, aer installing the Avionaut Glider car seat please check, if:
• The seat belt is ght and not twisted
• The lap secon of the seat belt goes over the markings, red belt tensioners and that
they are in a ght vercal posion
• The shoulder secon of the seat belt is properly routed and goes through both red gaps
and behind the hook on the side of the seat belt reel
• Both upper latches are blocked
• The Avionaut Glider car seat is ght and stable on the car seat.
2.4 Removal
A. Release the seat belt from the buckle (pic. 15)
B. Loosen up the lower belt tensioners by turning the hook back to its horizontal posion
(pic. 16)
C. Release the upper seat belt latches (pic. 17)
D. remove the seat belt from the upper latches (pic. 18)
E. Remove the Avionaut Glider car seat from your car
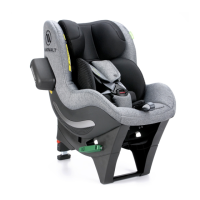
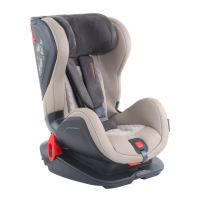
3. IN CAR INSTALLATION AND REMOVAL OF THE AVIONAUT GLIDER CAR
SEAT USING THE ISOFIX WITH THE SUPPORT LEG
3.1 Before installaon
The Avionaut Glider car seat equipped with the isox can only be installed on a forward
facing seat (pic. 2).
In case a headrest of a car seat, where the Avionaut Glider seat will be installed, does not let
you align the Avionaut Glider child seat with that car seat, please remove the headrest (pic. 5).
Remember to put the headrest back in its place if the seat is used by an adult person.
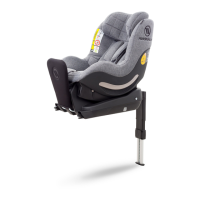
If the Avionaut Glider is equipped with an isox base, a support leg and is being installed using a
seat belt, isox connector plugs must be reinserted, in case they were removed before (pic. 29)
and the support leg removed. The gap that appeared aer removing the support leg must be
covered with a plug that comes with the leg (pic. 26). However, if the Avionaut Glider is provided
with a top tether strap, instead of the support leg, the strap must be removed (pic. 34).
Should an isox connector come out of the seat base it can only be put back in aer “clicking”
the seat into the isox anchorage (read 3.2 and 3.3) or by using the isox connector plug, which
needs to be reinserted into the Avionaut Glider isox connector. The isox connectors can then
be put back into the base (pic. 29).
2.3
2.4
3
3.1
EN
 Loading...