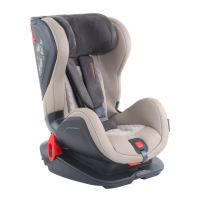
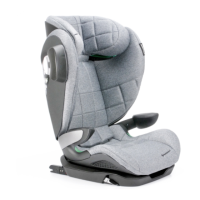
2.2 Installaon
A. Place the Avionaut Glider car seat facing forward, in the direcon of travel, on the seat
of your car (pic. 1)
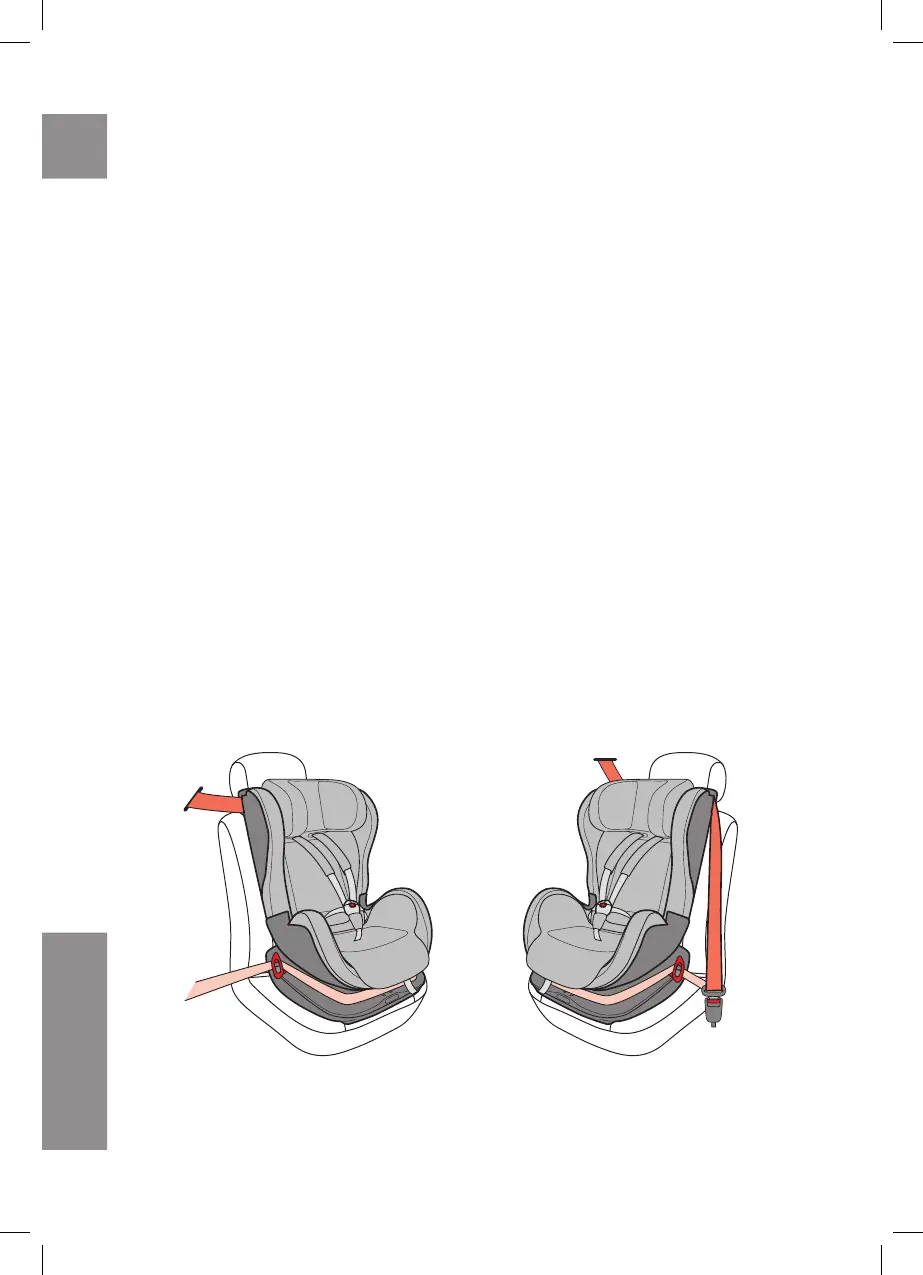
B. Open both shoulder secon seat belt latches in the upper part of the Avionaut Glider
backrest (pic. 6)
C. Pull the seat belt as far out as possible. Put the shoulder secon of the seat belt through
red gaps in the upper part of the Avionaut Glider car (pic. 7) and catch the seat belt
on the red hook, in the lower part of the red gap, where the seat belt puller is (pic. 8) The seat
belt, in the other red gap, must be pulled down towards the car seat and temporarily blocked
using the upper latch (pic. 9). (It will prevent the seat belt from rolling back up and facilitate
further car seat installaon)
D. Make sure that the lower belt tensioners are turned facing down (pic. 10). Route the lap
secon of the seat belt in front of the Avionaut Glider seat and through the lower seat belt
tensioners (pic. 11).
E. Put the tongue secon of the seat belt into the buckle (pic. 12). Make sure the seat belt
is not twisted.
F. Release the upper latch (temporarily blocked). Tighten the Avionaut Glider Car seat
by pressing it into the seat of a car and at the same me pull the shoulder secon of the seat
belt towards the reel to eliminate any slack. While ghtening the seat, block the upper seat
belt latches (pic. 13). At the end of the installaon ghten the seat belt and turn the lower
tensioners 45 degrees up (pic. 14).
The picture above shows the properly installed Avionaut Glider car seat using 3-point
seat belt.
2.2
EN
 Loading...