13
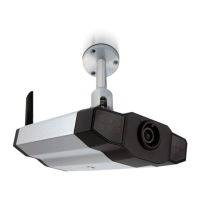
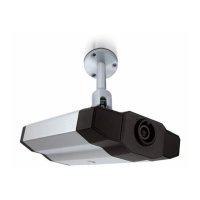
4. WIRELESS CONNECTION
Before configuring wireless setting to your network camera, make sure the following things are
ready:
There’s a wireless access point or router.
You have connected one wireless dongle to the camera USB port.
Note: The wireless dongle is optional and you need to purchase it separately.
4.1 Wireless Network Configurations
Step1: Connect this network camera and your PC via a RJ45 network cable.
Step2: Set the PC’s IP address as “192.168.1.XXX” (1~255, except 10).
For details, please refer to “3.1 Network Connection via LAN” at page 6.
Step3: Open your web browser, for example, Microsoft Internet Explorer, and key in
http://192.168.1.10 in the URL address box.
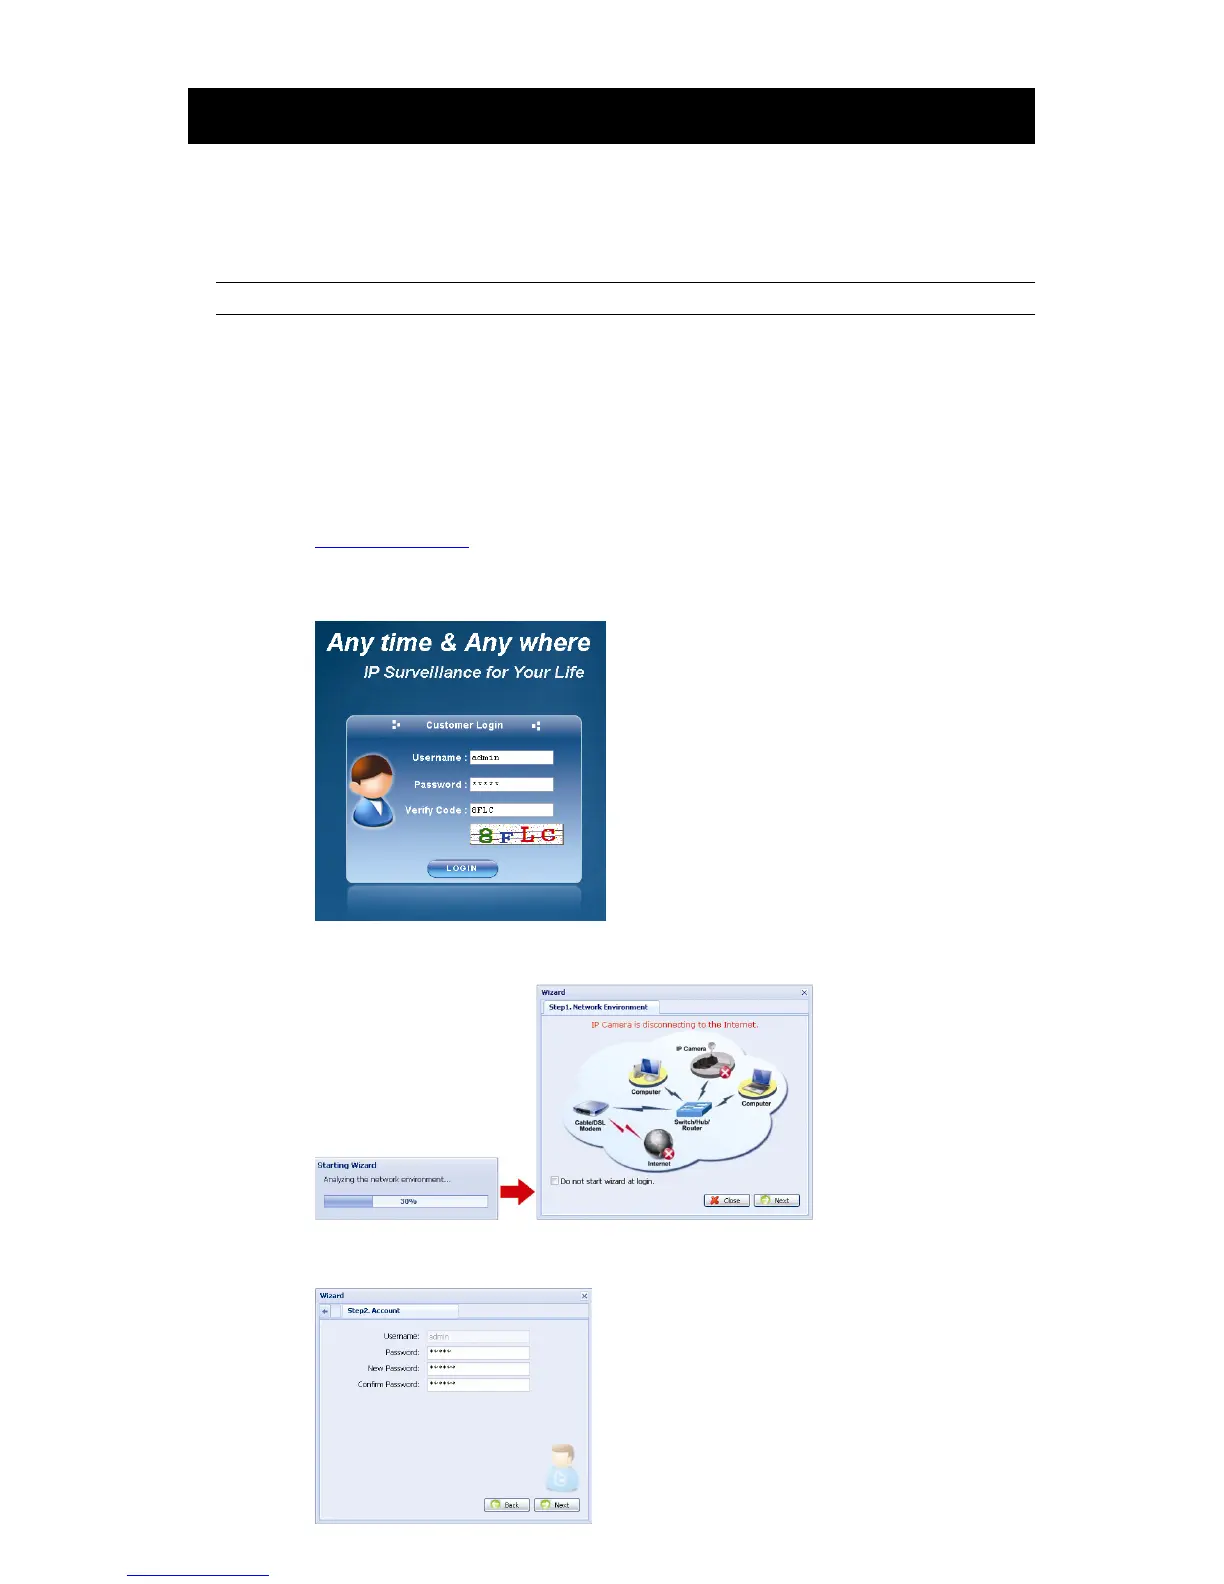
In the login page, key in the default user name (admin) and password (admin), and enter
the security code from the image below.
Step4: The wizard is then starting analyzing your network environment, and shows your network
environment. Select “Next” to continue.
Step5: In “Account”, change the access password if needed.
If not, leave all the columns blank, and select “Next”.