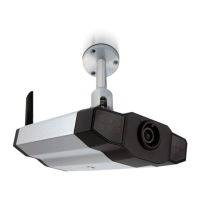
19
A2.2 Manually
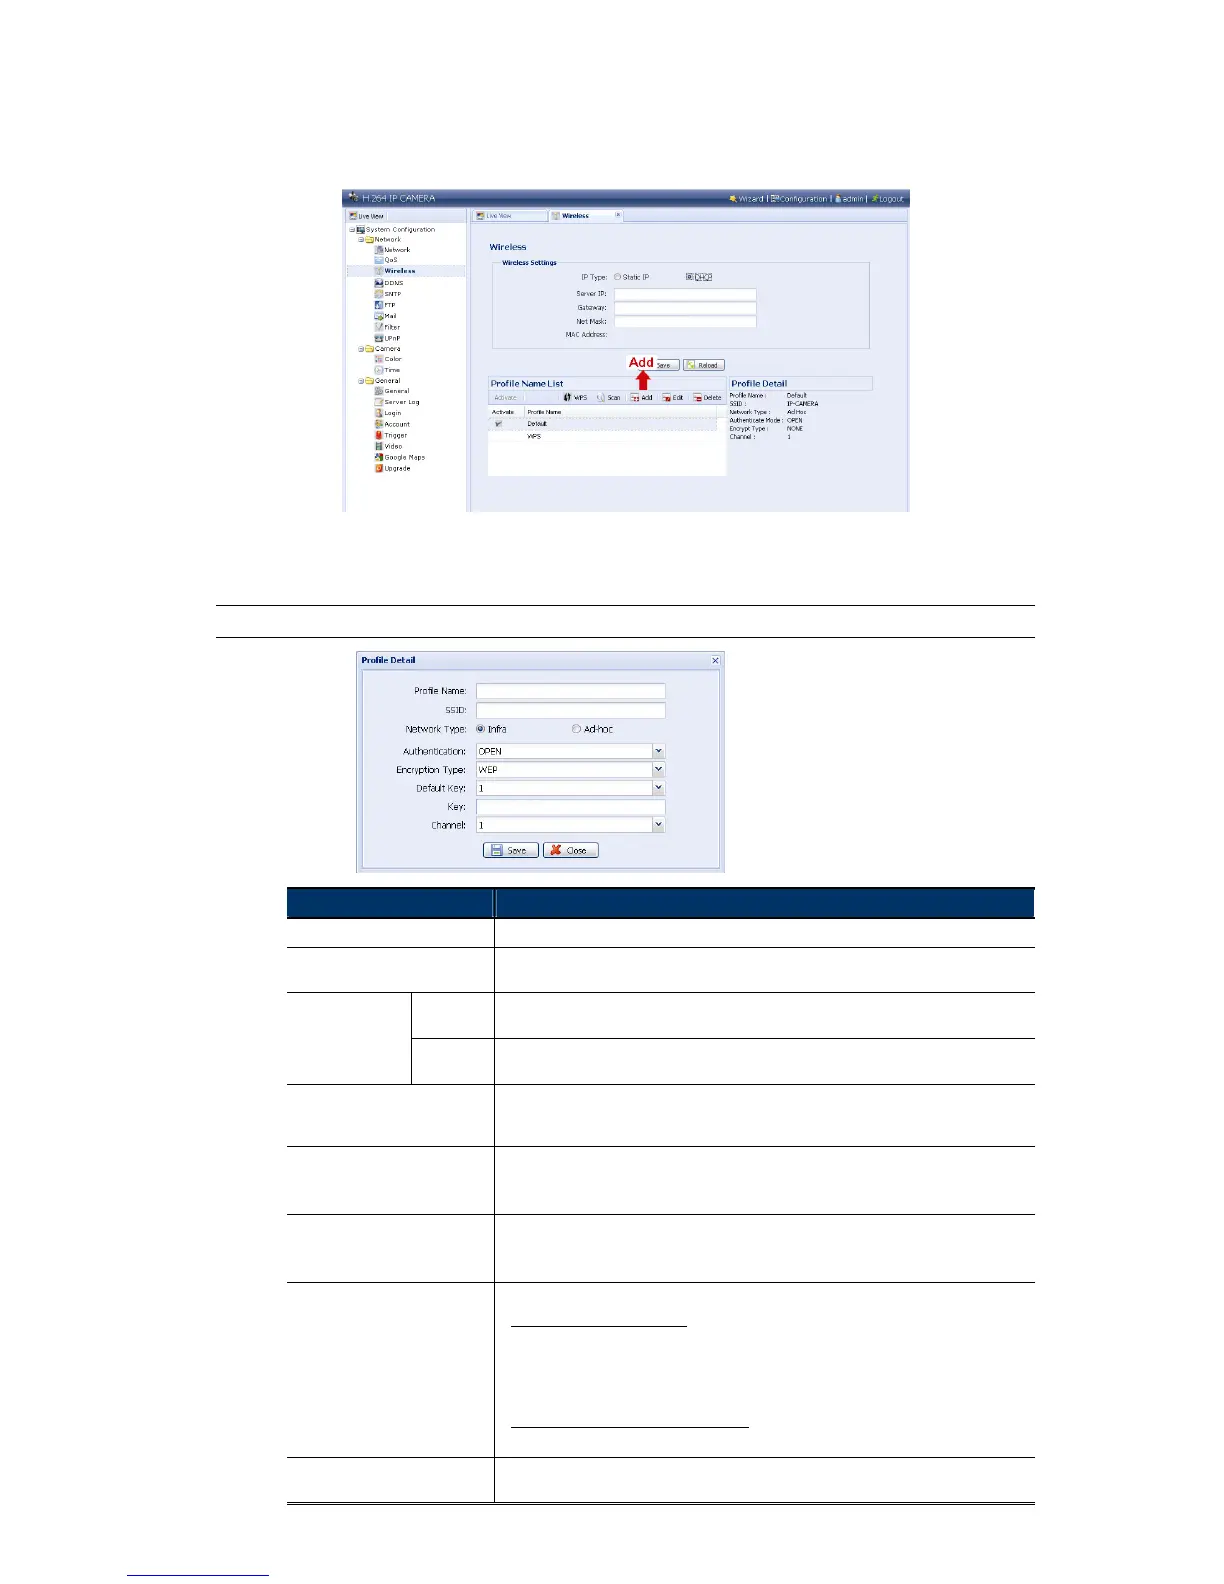
Step1: Click “Add” to create a profile manually.
Step2: In “Profile Detail”, enter all the necessary information for access the wireless network,
and click “Save”. The selected wireless access point / router will be added to “Profile
Name List”.
Note: The setting items shown below may vary based on each option selected.
Item Description
Profile Name Give a meaningful name for this Wireless profile.
SSID This is the name of the wireless access point / router your camera wants to
configure for.
Network Type Infra Select it when the camera will access the wireless network via an access
point or router.
Ad-hoc Select it when the camera will connect to other wireless devices, such as
your PC or laptop, with a wireless connection.
Authentication Check which authentication method is used for the wireless access point /
router and select the correct one: “Open”, “Shared”, WPAPSK” or
“WPA2PSK”.
Encryption Type Check which encryption type is used for the wireless access point / router
and select the correct one: “WEP”, TKIP” or “AES”.
Select “NONE” to disable key authentication for wireless network access.
Default Key In 64-bit WEP, 4 keys are available; in 128-bit WEP, only 1 key is available.
Check which key is used for the wireless access point / router and select the
correct one.
Key Enter the key used to access the wireless access point / router.
When “WEP” is selected
For 64 bit, the length of the key allows up to 10 alphanumeric characters or 5 ASCII
characters.
For 128 bit, the length of the key allows up to 26 alphanumeric characters or 13
ASCII characters.
When “TKIP” or “AES” is selected