2017-10-03 | Technical improvements, changes in design, printing- and other errors expected. 7
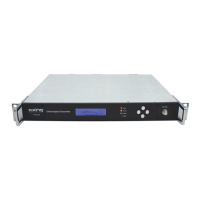
3. Installation
Check and make sure that the equipment, enclosure and electric power have a good grounding connection.
Check and make sure that the electric power is within 90…265VAC.
Connect the optical fibre with the optical output. Make sure the connection is cleanded before use.
Connect the electric power and turn on the power switch.
The power supply LEDs are displaying the working status.
Touch the display choice button, check the index such as the output laser power, the laser’s offset current,
temperature, cooling current, etc.
If the status is normal and the RF input level matches the requirements, connect the RF signal to the RF
input.
 Loading...