AXIS 205 Network Camera Introduction
1
Introduction
Hardware Inventory
The items supplied with the AXIS 205 are listed below. Please contact your dealer if
anything is missing or damaged.
Mounting
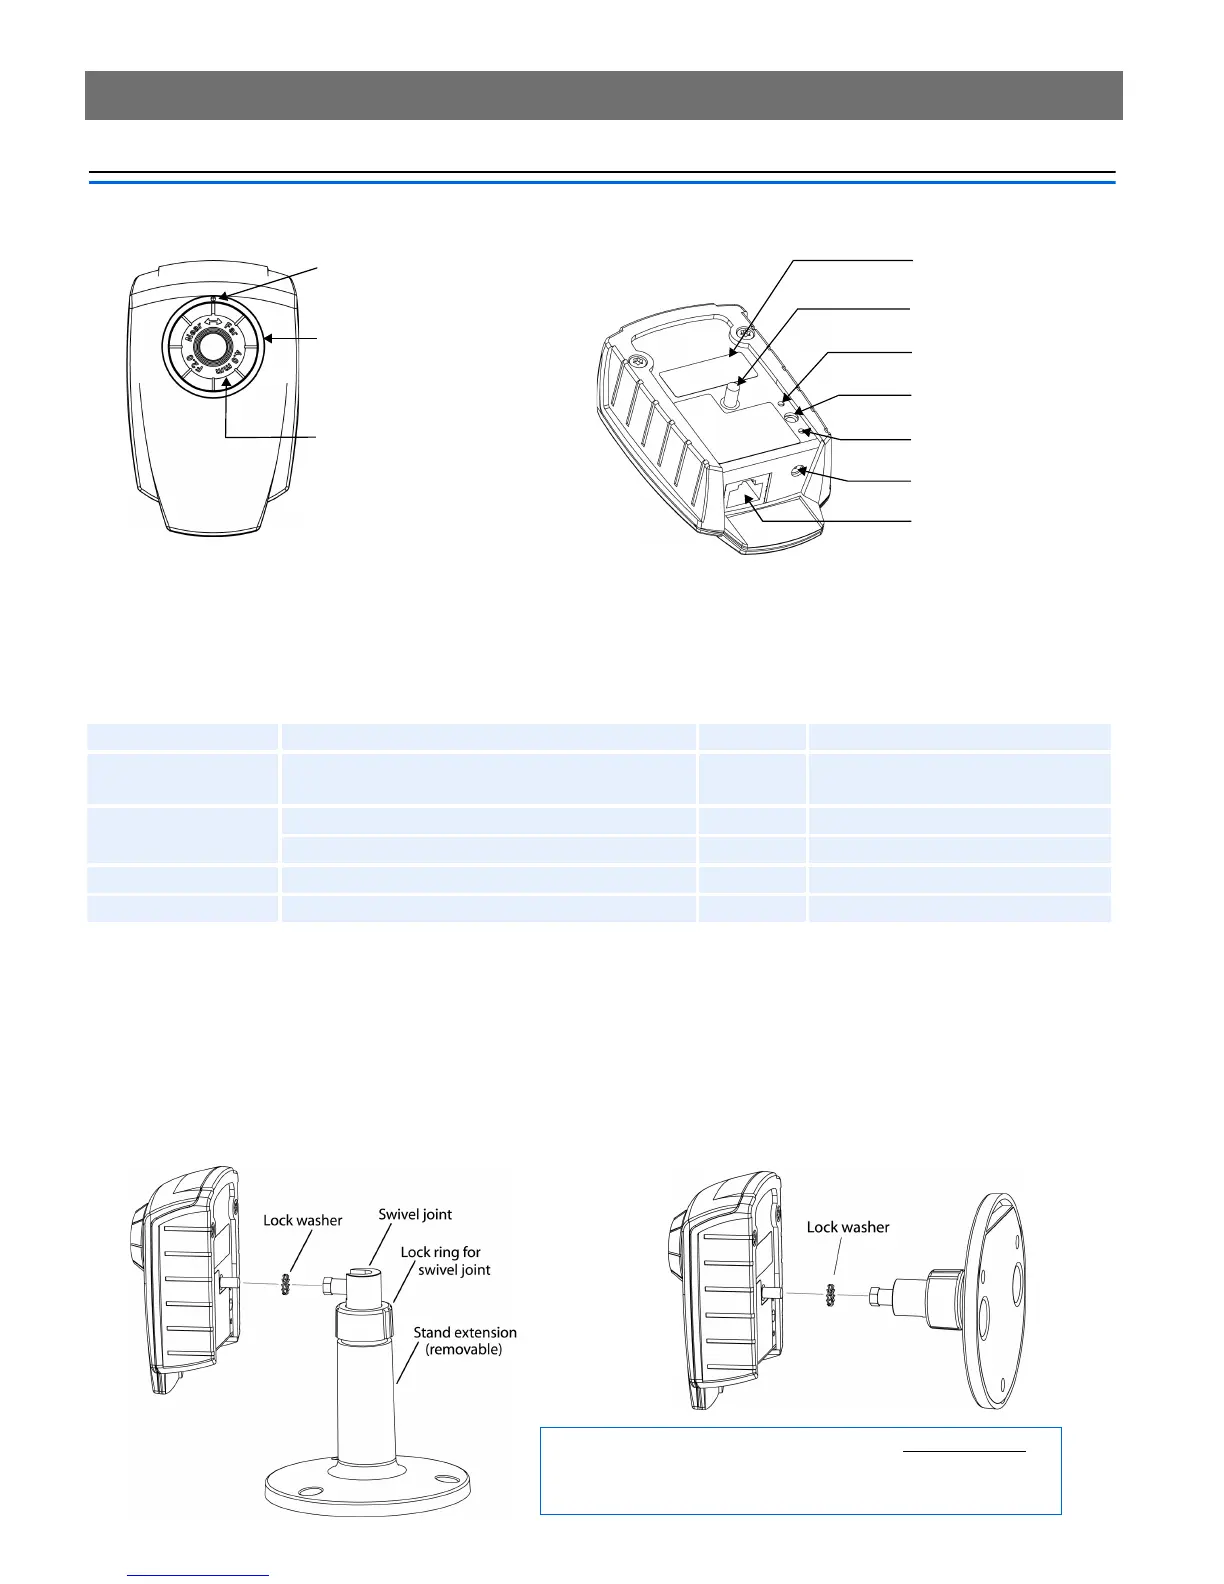
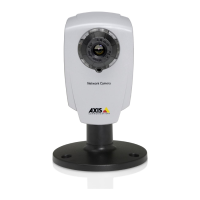
To mount on a horizontal surface, place the lock washer between the stand and the camera
and screw the camera onto the stand. Loosen the swivel joint lock ring, angle the camera
as required and gently re-tighten the lock ring. To mount on a wall, first unscrew and
remove the stand extension (see the illustration below.) Angle and fasten the camera as for
surface mounting.
Item Description/type Quantity Notes
Network Camera AXIS 205 Network Camera 1
Power adapter PS-H 1 Country-specific. Please ensure the
correct adapter is used.
Printed Materials
AXIS 205 Network Camera Installation Guide 1
Axis Warranty 1
Stand Includes extension section and 3 mounting screws. 1 Ready assembled.
Lock washer Used between camera and stand. 1
Focus guide (see page 6)
Mounting screw
Network connector
Power connector
Control button
Power indicator
Network indicator
Status indicator
(surrounding the
focus ring)
Focus ring
(see page 6)
Serial number
Surface mounting
Wall mounting
Please note that the AXIS 205 is intended for indoor use only.
Furthermore, it must always be positioned so that it is not
exposed to direct sunlight or strong halogen light.