AXIS 2100 Installation Guide - English Page 2 of 5
Verifying and Completing the Installation From Your Browser
To access the AXIS 2100 Home Page, start your browser and enter the IP address in the location/
address field, e.g. 171.21.1.200.
Click the Installation Wizard link. The wizard guides you through the remaining installation
procedures and will help you configure your application. Detailed information on how to use the
various product functions is conveniently provided in the on-line help, available from the
configuration pages.
Installing Your Camera via a Modem
The information in this section describes how to connect the AXIS 2100 to a serial modem for
transmitting images over a normal Dial-Up connection.
Important!
Connecting Your Computer Using the Null Modem Cable
Follow the steps below to configure a serial modem connection for your AXIS 2100:
• The information and screen examples featured here are specific to Windows NT. Although similar to
the Dial-Up implementations in Windows 95, 98, and 2000, small deviations in the dialog instruc-
tions for other operating systems should be expected. Refer to your system information for further
information on creating a Dial-Up modem connection if you are using any other operating system.
• Windows Dial-Up Networking and TCP/IP must be correctly installed prior to commencing with the
modem cable connection. Detailed information on how to check this is provided in Windows Help.
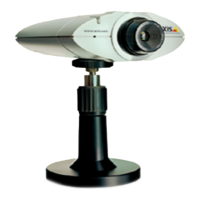
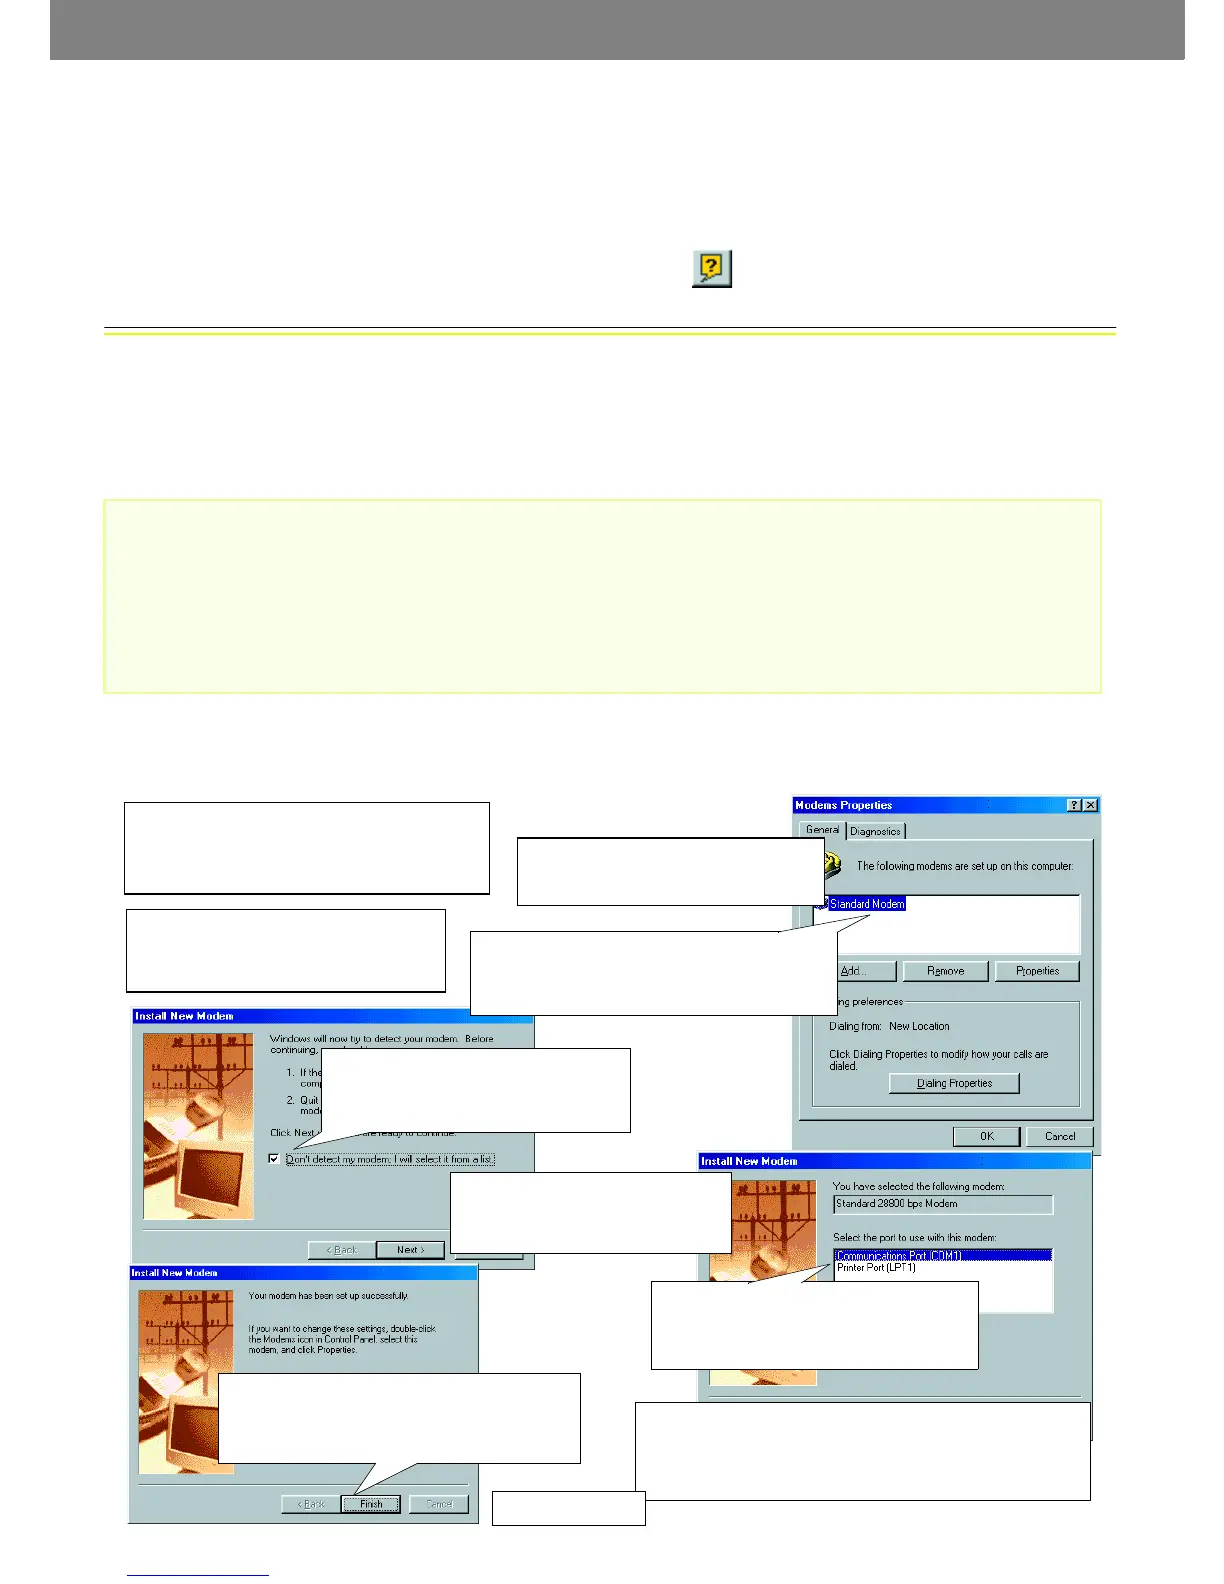
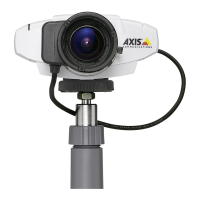
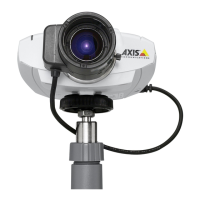
❶ Connect the supplied Null modem cable
between the COM1 Serial Connector on the
AXIS 2100 and the COM port of your computer.
❸ From the Start menu, open the Con-
trol Panel and click the Modems icon.
❼ Select the serial port to which your
AXIS 2100 is now connected via the
Null Modem cable. Click Next>.
❹ If a Standard Modem is already set up and
displayed in the Modem Properties dialog (see
right) you should proceed directly to step 8.
❻ Select the Standard 28800
modem from the displayed list of
modems. Click Next>.
❾ Click the Properties button to finally check that the dis-
played Communications Port is set correctly; that is, set to
the same port you connected the AXIS 2100 to. Click OK.
❷ Connect the power supply to the
AXIS 2100 and check that the Power
Indicator is lit.
❿ Click Close.
❺ Check the checkbox: Don’t detect
my modem, I will select it from a list.
Click Next>.
❽ A Standard 28800 modem connection is
now available for the AXIS 2100. Click Finish
to close the Install New Modem wizard.