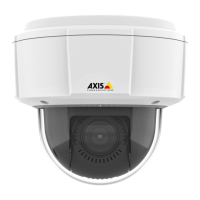
You can access the built-in help through your product’s webpage. The help provides more detailed information on the
product’s features and their settings.
Image quality
How to select the exposure mode
There are different exposure mode options in the camera that adjusts aperture, shutter speed, and gain to improve
image quality for specific surveillance scenes. Go to Settings > Image > Exposure and select between the following
exposure modes:
For most use cases, select Automatic exposure.
For environments with certain artificial lighting, for example, fluorescent lighting, select Flicker-free. Select the
same frequency as the power line frequency.
For environments with certain artificial light and bright light, for example, outdoors with fluorescent lighting at
night and sun during daytime, select Flicker-reduced. Select the same frequency as the power line frequency.
To lock the current exposure settings, select Hold current.
How to benefit from IR light in low-light conditions using night mode
Your camera uses visible light to deliver color images during the day. As light diminishes, you can set the camera to
automatically shift to night mode. In night mode the camera uses both visible light and near-infrared light to deliver
black-and-white images. Since the camera uses more of the available light it can deliver brighter, more detailed,
images.
1. Go to Settings > Image > Day and night, and make sure that the IR cut filter is set to Auto.
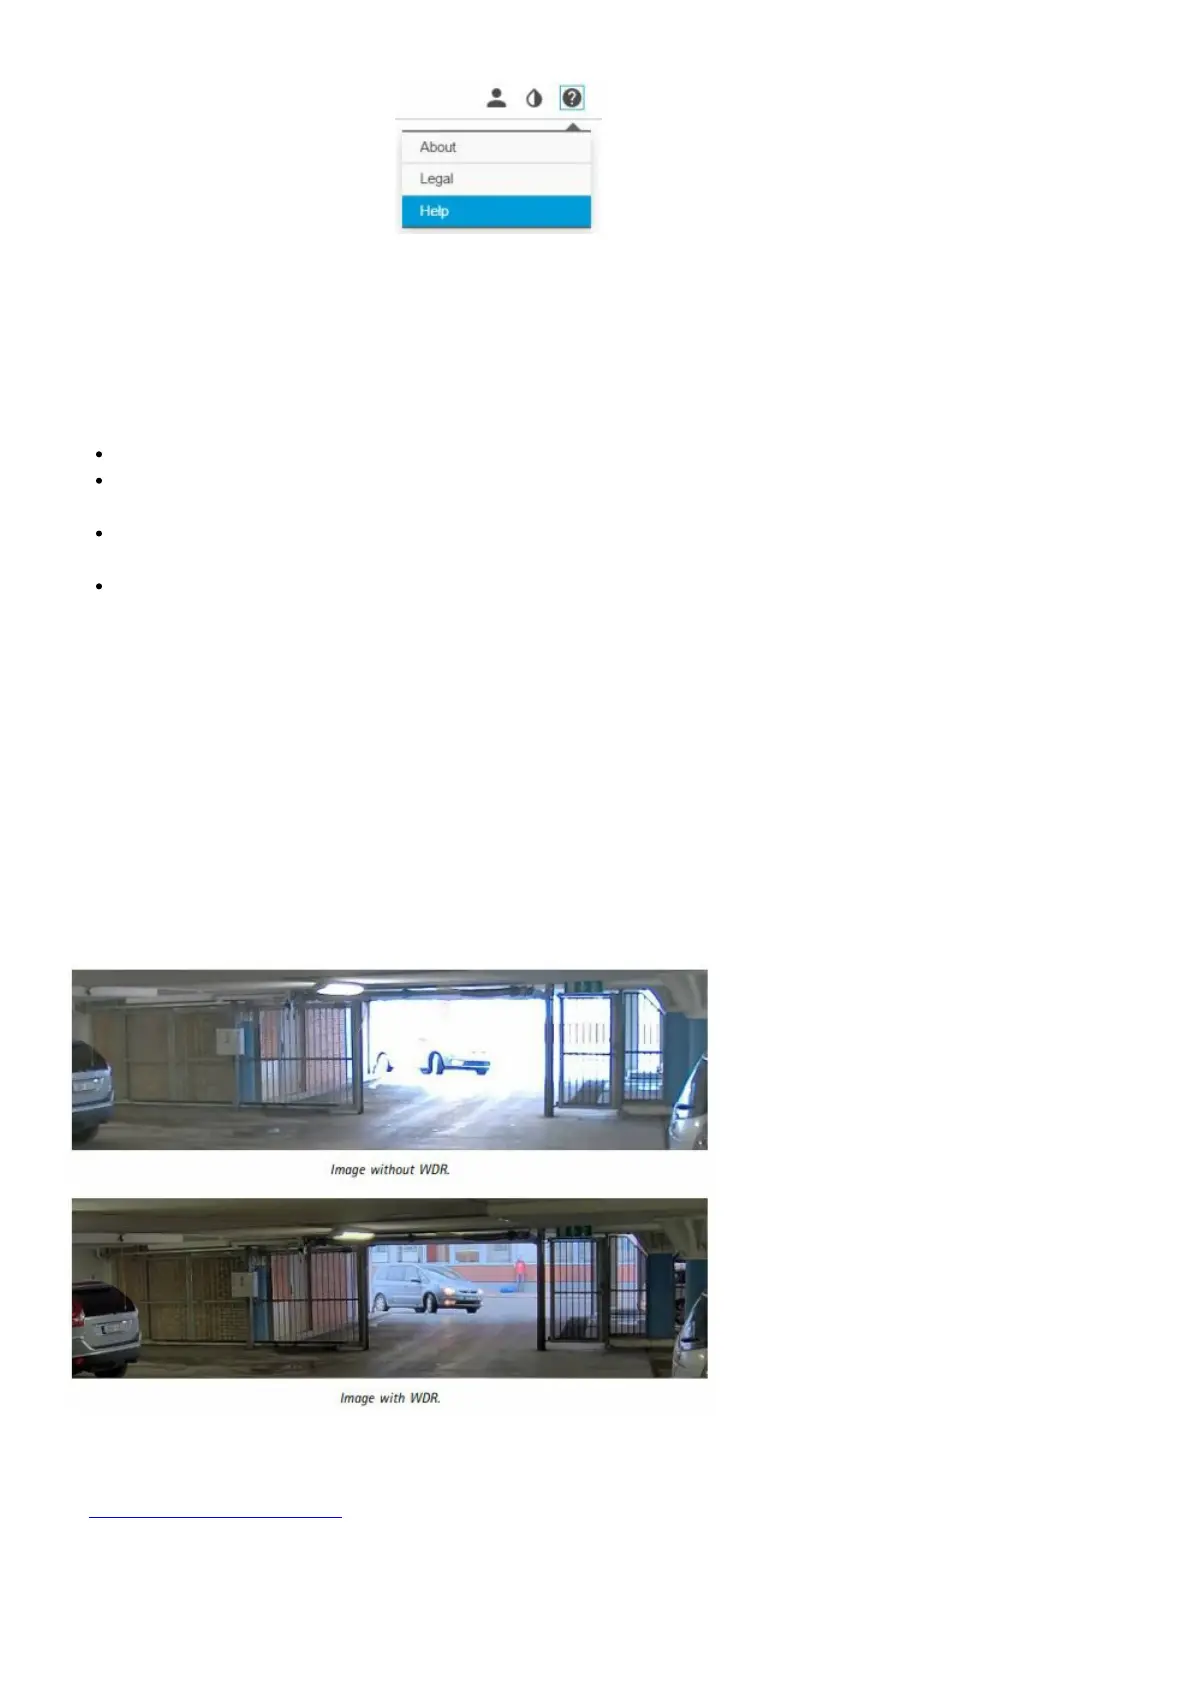
How to handle scenes with strong backlight
To make both dark and bright areas of the image visible, turn on WDR.
1. Go to Settings > Image.
2. Turn on WDR under a Wide dynamic range.
Note
If you use WDR, you may experience some WDR artifacts in the image. Find out more about WDR and how to use it
at axis.com/web-articles/wdr
How to enhance facial recognition
To better recognize the face of a person passing by the camera, you can set the optimal pixel resolution with the
camera’s pixel counter.