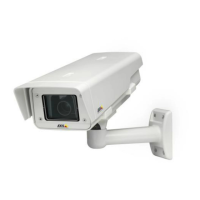
AXISP1367NetworkCamera
Howtoinstalltheproduct
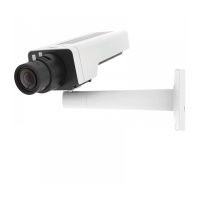
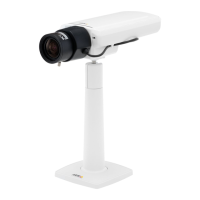
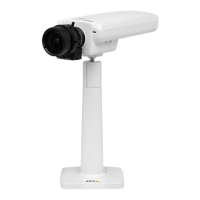
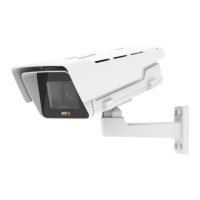
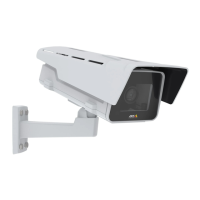
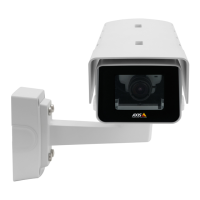
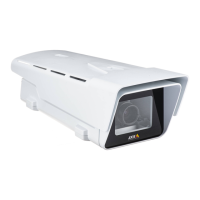
Installthehardware
NO NO
NO
TICE TICE
TICE
•Duetolocalregulationsortheenvironmentalandelectricalconditionsinwhichthe
productistobeused,ashieldednetworkcable(STP)maybeappropriateorrequired.Any
networkcablesthatareroutedoutdoorsorindemandingelectricalenvironmentsshallbe
shielded(STP)andintendedfortheirspecicuse.Makesurethatthemidspanisproperly
grounded.Forinformationaboutregulatoryrequirements,seeRegulatoryinformation4.
Note
•Makesurethatthematerialisstrongenoughtosupporttheweightofthecamera.
1.Preparethewallorceilingforinstallationofthestand.Usethestandasatemplateand
marktheholesbeforedrilling.
2.Routethenetworkcablethroughthewallorceiling.Leaveapproximately30cm(11.8
in)ofcableforconnectingthecamera.
3.Ifconnectinganauxiliarydevice,forexampleanI/O,audio,orexternalpowerdevice,to
thecamera,repeatthestepaboveasapplicabletothespecicdevice.
4.Installthestandonthewallorceilingandmakesurethatthescrewsandplugsare
appropriateforthematerial(e.g.wood,metal,sheetrock,stone).
5.Installthecameraonthestandandtightenthetripodscrew.
6.Connectallcablestothecamera.
7.AimthecameraintherightdirectionandusethesuppliedAllenkeytotightenthe
balljoint.
Howtoinstallalocktothesecurityslot
Tosecurethecameratothestandalockwithacablecouldbeattachedtothesecurityslotof
thecamera.
Toinstallthelock:
1.Cutaholeinthelabelcoveringthesecurityslot.
2.Installtheanchortothesecurityslot.
3.Attachthecabletothestand,thenconnectthelockheadtotheanchor.
13
EN