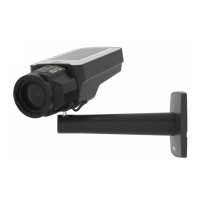
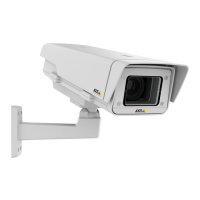
AXISQ1615-EMkIINetworkCamera
Replacethelens
1.Stopallrecordingsanddisconnectpowerfromtheproduct.
2.Disconnectthelenscableandremovethestandardlens.
3.Attachthenewlensandconnectthelenscable.
4.Reconnectthepower.
5.Logintotheproduct’swebpage,gototheImagetabandthenselecttheP-Irislens
youhaveinstalled.
Note
IfyouuseaDCirislens,selectGenericDCIris.
6.Forthechangestotakeeffect,youneedtorestartthedevice.GotoSystem>
MaintenanceandclickRestart.
7.Adjustthezoomandfocus.
Adjustzoomandfocusforoptionallenses
Ifthecameraismountedsothatyoucannotlookattheimageandaccessthelensatthesame
time,usetheFocusAssistant,seeFocusassistantforoptionallensesonpage23.
Note
OnlyvalidforoptionalP-iris,DC-irisormanualirislenses.
1.GotoSettings>Image>Focus.
2.ClickFine-tune.
3.Adjusttheautofocusareatocoverthepartoftheimagethatyouwanttobeinfocus.
Ifyoudon’tselectanautofocusarea,thecamerafocusesontheentirescene.We
recommendthatyoufocusonastaticobject.
4.ClickResetfocus.
5.Loosenthezoomandfocuspullersonthelensbyturningthemcounter-clockwise.
6.Movethezoomandfocusringtosetzoomandfocusandchecktheimagequalityin
theimagewindow.
7.Re-tightenthezoomandfocuspullerswhensatisedwiththeimagefocus.
8.Iftheimagefocushasslightlychangedwhiletighteningthezoomandfocuspullers,
clickFine-tune.
9.Ifyouwanttoslightlyadjustthefocusposition,movetheFocuspositionslider.
Focusassistantforoptionallenses
Note
•OnlyvalidforoptionalP-iris,DC-irisormanualirislenses.
23
EN
 Loading...