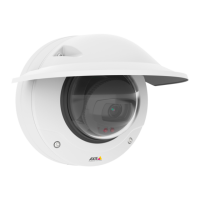
AXISQ3505–VFixedDomeNetworkCamera
RoutetheCables
Note
SeeHardwareOverviewonpage10.
Dependingonwhetheryouwanttoroutethecablesthroughoralongthewall,followtherelevant
instructionsbelow.Toroutecablesthroughthewall:
1.Usingthedrilltemplatedrill4holesformountingthebracket,andoneortwoholesas
requiredforroutingthecableorcablesinthewall.
2.Routethenetworkcable(andthemulticableifrequired)throughthewallandthrough
theholeorholesinthemountingbracket.
Thecablescanberoutedalongthewallinoneofthefollowingways:
1.Throughthesideholeinthemountingbracket.Todothisdetachthelockingclipand
sidelidinthemountingbracket.Useanappropriateconduitadaptorasrequired(see
www.axis.comforoptionalaccessories).SeeHardwareOverviewonpage10.
2.Throughthesidelidafterdrillingaholeinthelidforthecable.Replacethesidelidand
clampdownthelockingcliptoholditinplace.
ConnecttheCablesandAttachUnitCasingtoMountingBracket
1.InserttheSDmemorycardinthecameraunit(optional).
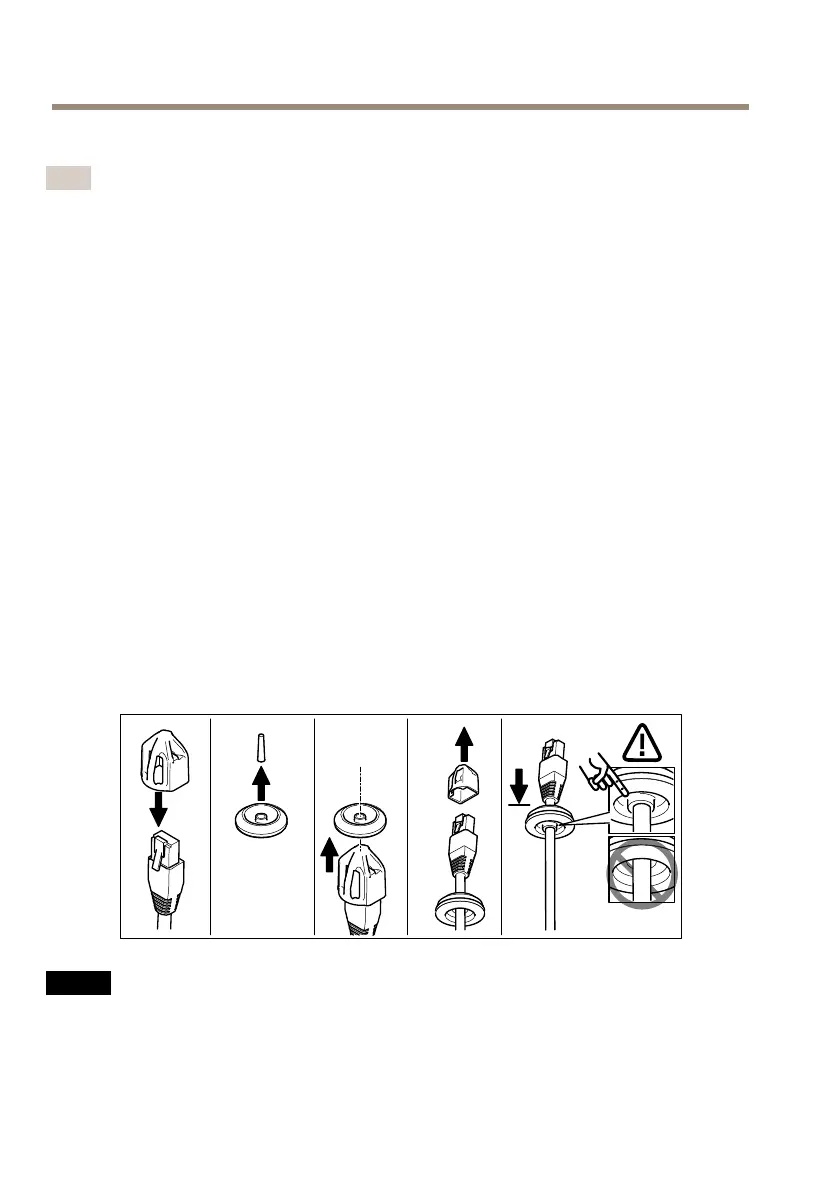
2.Pushthenetworkcablethroughtheblackcablegasketinoneoftheholesintheunit
casing,usingtheconnectorguardprovided.Pullthenetworkcablebackslightlysothat
thecablegasketadjustsitselfonthecable.
NO NO
NO
TICE TICE
TICE
Notpullingthecablebackcouldcausewatertoseepinanddamagetheproduct.
Itisrecommendedtoroutethecablethroughtheholefarthestfromthenetworkconnector
inthecameraunit(seeimagebelow).
18