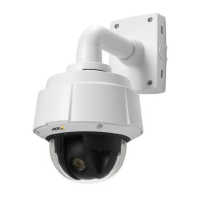
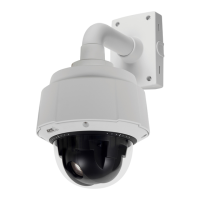
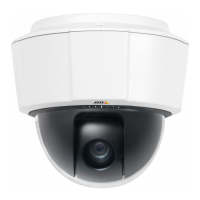
5 Installing AXIS Q6032-E
AXIS Q6032-E comes with an AXIS T8124 Midspan for High Power over Ethernet, which
enables Axis network video products with high power consumption to receive data and power
over the same Ethernet cable. Follow these instructions to connect the AXIS T8124 and AXIS
Q6032-E.
Install the AXIS T8124 Midspan
1. Connect the AXIS T8124 (Data in) to the network
switch using a standard network cable.
2. Connect the AXIS T8124 (Data and Power Out) to the
AXIS Q6032-E, using the network cable that has been
connected to the camera.
3. Connect the AXIS T8124 to an AC outlet (100-240
VAC), using the supplied power cable.
Depending on your operating system, follow the instructions below to install the AXIS Q6032-
E on your network. Other available methods are described in the AXIS Q6032-E Installation
Guide, which is shipped with the product or available from the Axis Web site or from the AXIS
Network Video Product CD.
5.1 Installation using AXIS IP Utility (Windows)
AXIS IP Utility automatically discovers and displays Axis devices on your network. The
application can also be used to manually set a static IP address. AXIS IP Utility is available on
the AXIS Network Video Product CD, or it can be downloaded from www.axis.com/techsup
Note that you must install the AXIS Q6032-E on the same network segment (physical subnet) as
the computer running AXIS IP Utility.
1. Check that the AXIS Q6032-E is connected to the network and that power has been applied.
2. Start AXIS IP Utility.
3. When the AXIS Q6032-E appears in the window, double-click it to open the camera’s home
page.
4. See the instructions below to set the password.
5.2 Bonjour (Macintosh)
Bonjour (Mac OSX) will automatically discover the AXIS Q6032-E once it is connected to the
network. Note that you must install the AXIS Q6032-E on the same network segment (physical
subnet) as the computer handling the installation.
1. Check that the AXIS Q6032-E is connected to the network and that power has been applied.
 Loading...