9
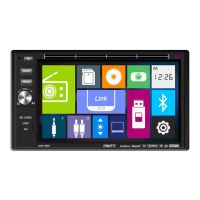
Installing the Monitor
Power On/Off
Source
Volume
3.5mm A/V Input
Menu
Standby
To install the monitor, align the pins on the back of the monitor with the
pins on the front of the unit, and press until it clicks in place. To remove,
press the release tab (next to the SD card slot) and pull the monitor
away from the unit.
Momentarily press the POWER/SOURCE button to turn the unit on.
Hold for 2 seconds to turn the unit off.
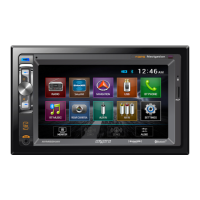
Press SOURCE to step through all available input modes: Tuner, Disc
(which includes DVD and CD playback), USB, DualMirror, SD, AV1,
AV2 and Camera. Modes of operation are indicated on the OSD On
Screen Display. Optional device, USB flash drive and SD card must be
connected/inserted to appear in the mode selection string. Modes
of operation can also be accessed from the Main Menu screen (see
below).
Press the VOL+ and VOL- buttons to increase or decrease playback
volume.
Connect external audio/video devices to this 3.5mm auxiliary A/V
input.
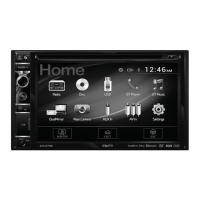
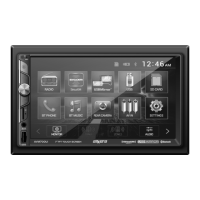
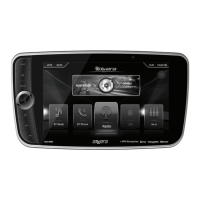
Press the key area in the top left corner of the touchscreen to
access the main menu screen. From the main menu, view/select any
operational mode (Tuner, Disc, USB, DualMirror, Bluetooth, SD, AV Front,
AV Rear or Camera), enter the Setup menu or put the unit in Standby
mode.
Press the standby icon (to the right of the TILT icon) to put the unit in
standby mode. Press any spot on the touch screen to exit standby mode.
General Operation
AV614BH OPERATION
 Loading...