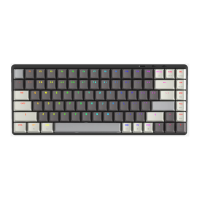
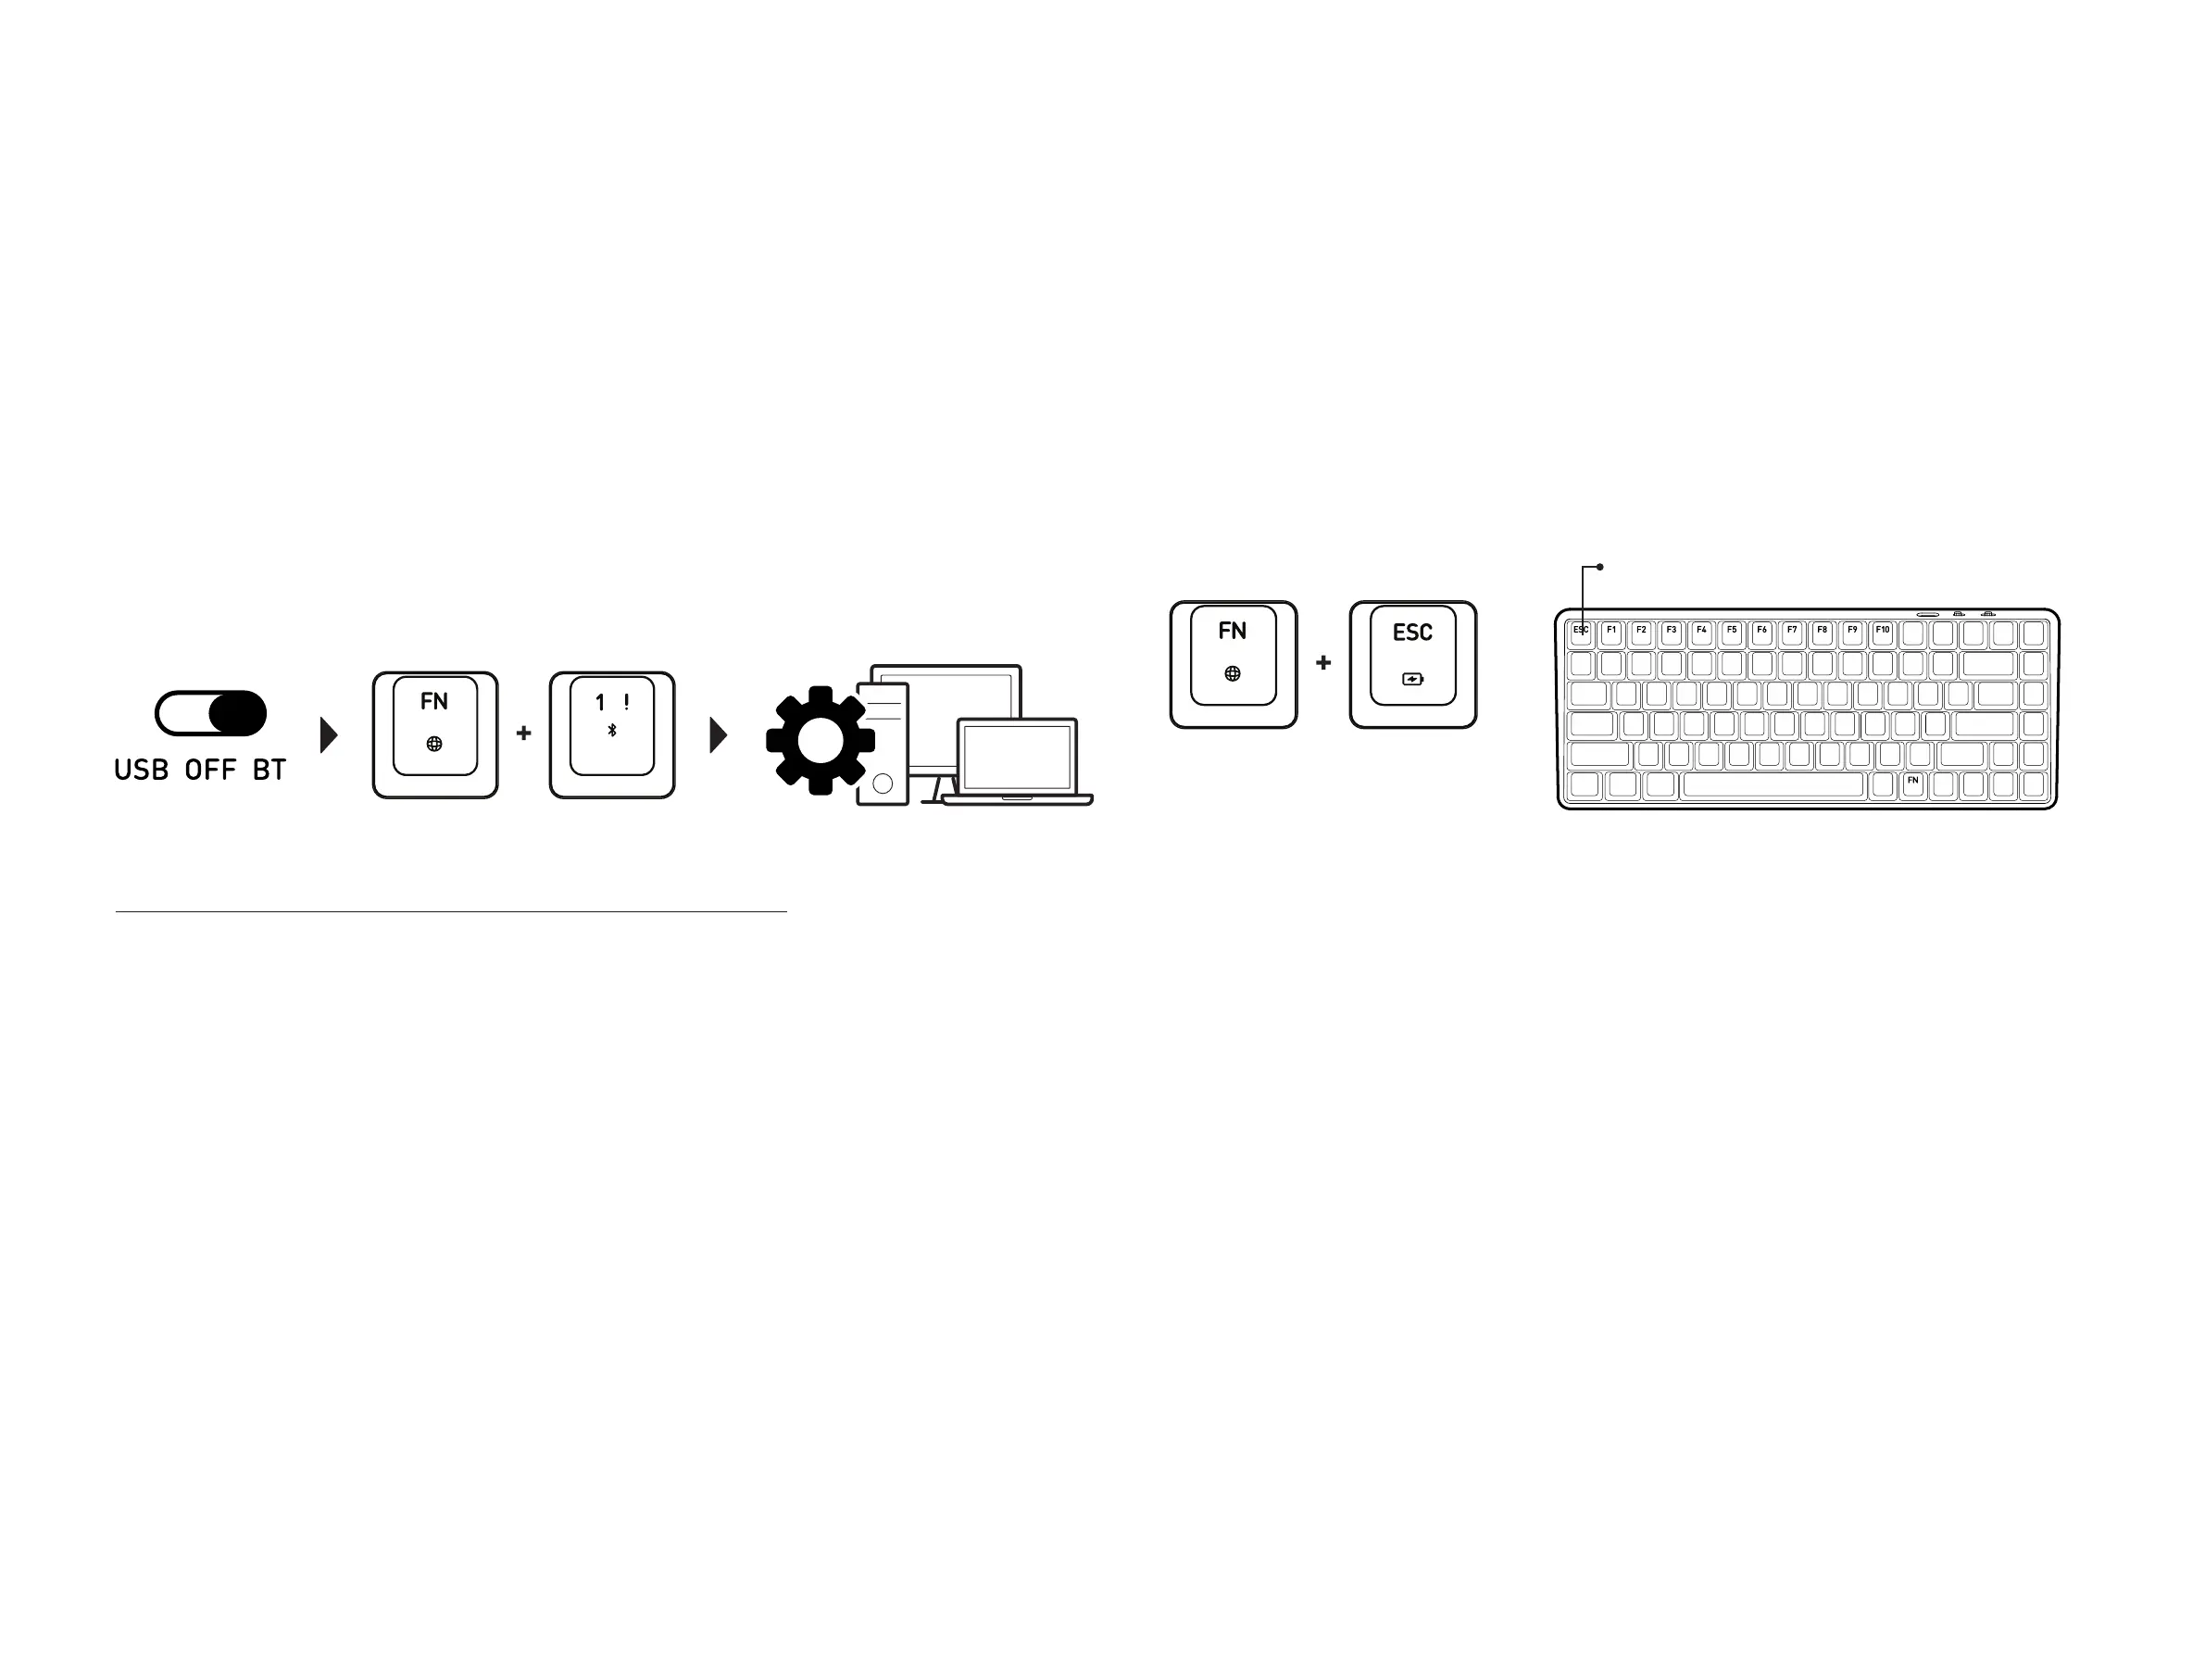
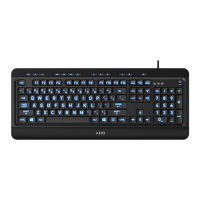
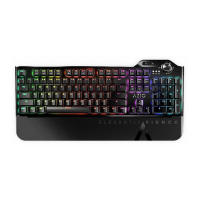
KEYBOARD SETUP
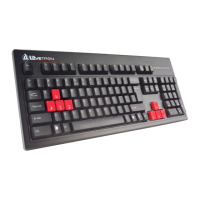
F1 to F10 : Each key indicates 10% of total power.
Press FN+ESC key to activate power level LED.
When the battery level is less than 20%, the ESC Key (Fg 04) will start blinking in red. When
plugged in, the ESC key will stop blinking and stay a static red, indicating that the keyboard is
charging. Once fully charged, the red light will turn off, the ESC key’s backlight will change
to the same color as the setting. The keyboard can be charged in any mode - BT, USB, or OFF
mode.
To check the battery power level of the keyboard, press the FN key and ESC key. The Battery
Level Indicator Keys (Fg 04) will flash, with each key from F1 to F10 indicating 100% of total
power. White light will flash if the power is above 20% and red light will flash when the power
is below 20%. If all 10 keys light up, this indicates that the keyboard battery is full.
CHECKING THE BATTERY LEVEL
Switch the keyboard to BT mode. The mode switch is located on the back side of the
keyboard.
Select which Bluetooth profile to connect to by pressing the FN with 1, 2, or 3 key together
for 3~5 seconds. Once the keyboard is in pairing mode, the backlight of 1, 2, or 3 key’s will
flash blue slowly. For example, when pairing with Bluetooth profile 1, press the FN key and 1
key together for 3~5 seconds, the 1 key will flash blue light slowly.
On your Mac, navigate to ‘System Preferences’ and select ‘Bluetooth’. Find the ‘CASCADE
V1.0’ click on ‘Connect’. For Windows 10, go to ‘Bluetooth Settings‘ and select ‘Add Bluetooth
or other device’. Once the setup wizard finds ‘CASCADE V1.0’, click on ‘Pair’. Once pairing is
successfully completed, the keyboard backlight will stop flashing. The keyboard is now ready
for use.
Step.1
Step.2
Step.3
PAIRING THE KEYBOARD IN BLUETOOTH MODE
CONNECTING THE KEYBOARD THROUGH USB CONNECTION
To connect via USB port, please use the Type-C Cable included in the package. Please connect the
cable to the Keyboard USB Port (Fg 03) and to your computer. When connection is successfully
established, the keyboard will light up and be ready for use.
Step. 2 Step. 3Step.1