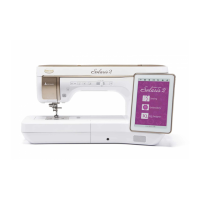
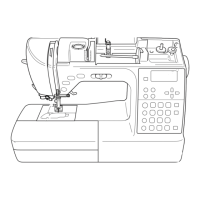
LCD
B-10
Settings screen
Press to change various sewing machine operations and sewing settings.
Press to move to previous/next pages.
* You can also move to next pages by pressing .
Press to select the next/previous items.
* Press (Downward arrow) to select the next item.
* Press (Upward arrow) to select the previous item.
Press to change the value of the selected item.
1 Page number (The page numbers vary depending on your machine model.)
2 Machine settings
3 Value
1 Use to check the pattern when the specified pattern is not displayed on the screen. For details, refer to “Checking the selected
pattern” in the “Decorative sewing” section.
2 Select the needle stop position (the needle position for when the machine is not being operated) to be up or down.
3 Set to “ON” when using twin needle. For details, refer to “Using the twin needle” on page B-23.
4 Allows the stitch width to be adjusted using the sewing speed controller. For details, refer to “Satin stitching using the sewing
speed controller” in the “Sewing” section.
5 Select either “01 Straight stitch (Left)” or “03 Straight stitch (Middle)” as the utility stitch that is automatically selected when the
machine is turned on.
6 Changes the stitch length when 7 mm satin stitch patterns are selected. For details, refer to “Changing the pattern length” in the
“Decorative sewing” section.
7 Changes the thread density when satin stitch patterns are selected. For details, refer to “Changing the stitch density” in the
“Decorative sewing” section.
8 Changes the character spacing. For details, refer to “Changing character spacing” in the “Decorative sewing” section.
 Loading...