14
INSTALLATION STEP 2
Install the Header Bracket
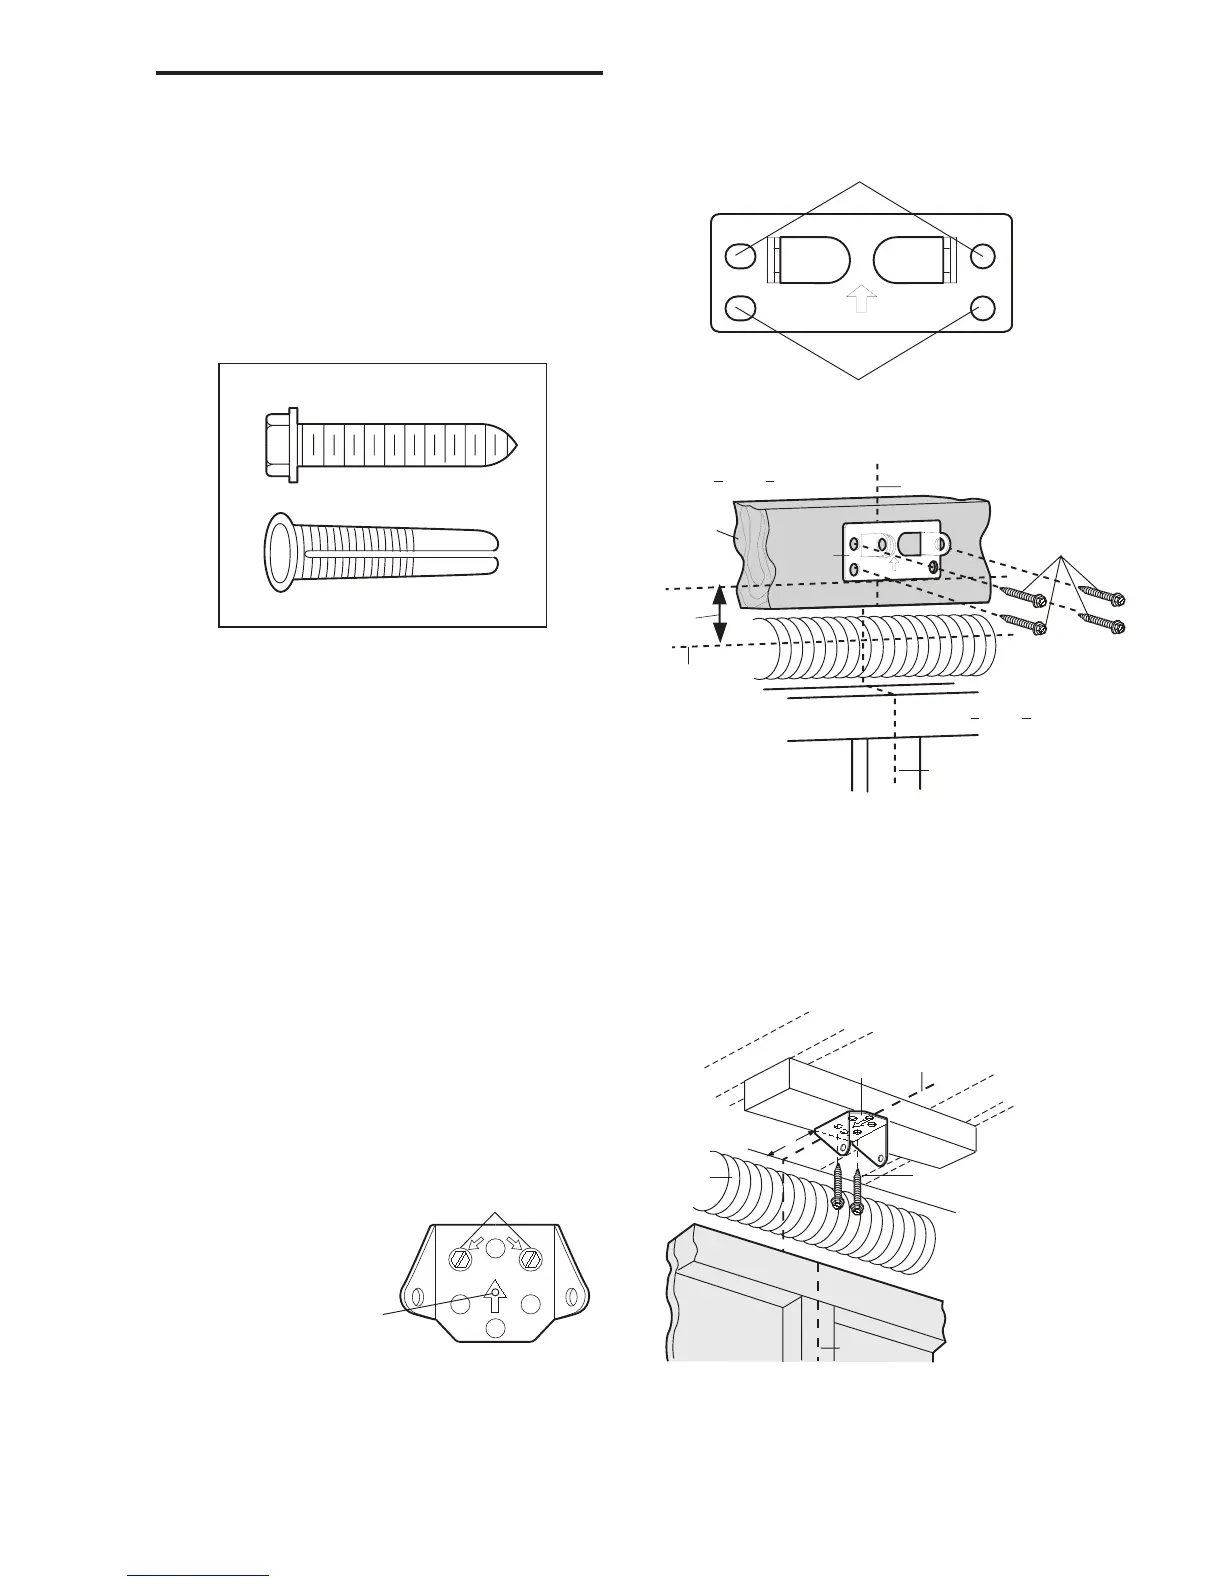
WALL HEADER BRACKET INSTALLATION
• Centre the bracket on the vertical guideline with the
bottom edge of the bracket on the horizontal line
(with the arrow pointing toward the ceiling).
• Mark all of the bracket holes. Drill 4.5mm (3/16")
pilot holes and fasten the bracket with wood
screws. For concrete mount, use concrete anchors
provided.
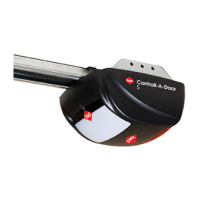
Lag Screw
8mm x 40mm
Anchors
8mm x 40mm
HARDWARE SHOWN ACTUAL SIZE
Bracket Holes
Bracket Holes
50mm
(2")
25mm
Board
Header
Wall
Vertical
Centreline
Lag Screws
8mm x 40mm
Header
Bracket
Highest Poin t of
Garage Door Travel
Vertical
Centreline
Garage
Door
UP
CEILING MOUNT ONL Y
Ceiling Mounting Holes
o mount the header bracket
UP
Lag Screws
8mm x 40mm
Gar age Door
Vertical Cen treline
Header Wall
Finished Ceiling
Header
Bracket
15cm Maximum
Vertical
Cen treline
Door
Spring
CEILING HEADER BRACKET INSTALLATION
• Extend vertical guideline onto the ceiling.
• Centre the bracket on the vertical mark no more
than 150mm (6") from the wall. Make sure the
arrow is pointing toward the wall.
• Mark all of the bracket holes (5). Drill 4.5mm (3/16")
pilot holes and fasten the bracket with wood
screws. For concrete ceiling mount, use concrete
anchors provided.