page 32page 32
page 32page 32
page 32
240 Harvester Feller/
Buncher
ELECTRICAL SYSTEM MAINTENANCE CONTINUED...
INSTALLING A NEW BATTERYINSTALLING A NEW BATTERY
INSTALLING A NEW BATTERYINSTALLING A NEW BATTERY
INSTALLING A NEW BATTERY
1. Remove battery cables. Remember position of positive terminal and negative terminal so you can connect them
again correctly.
2. Remove battery hold-down bar. Remove battery from compartment.
3. Clean terminal posts of new battery and cable connections with wire brush.
4. Install new battery in compartment. Install hold-down bar.
5. Install and tighten battery cables. Connect negative cable last to prevent sparks.
WARNING WARNING
WARNING WARNING
WARNING
Do not touch battery terminals with any metal. Sparks may occur, causing damageDo not touch battery terminals with any metal. Sparks may occur, causing damage
Do not touch battery terminals with any metal. Sparks may occur, causing damageDo not touch battery terminals with any metal. Sparks may occur, causing damage
Do not touch battery terminals with any metal. Sparks may occur, causing damage
to battery and personal injury.to battery and personal injury.
to battery and personal injury.to battery and personal injury.
to battery and personal injury.
ALTERNATOR MAINTENANCEALTERNATOR MAINTENANCE
ALTERNATOR MAINTENANCEALTERNATOR MAINTENANCE
ALTERNATOR MAINTENANCE
CHECKING THE WIRINGCHECKING THE WIRING
CHECKING THE WIRINGCHECKING THE WIRING
CHECKING THE WIRING
1. Turn the starter switch on.
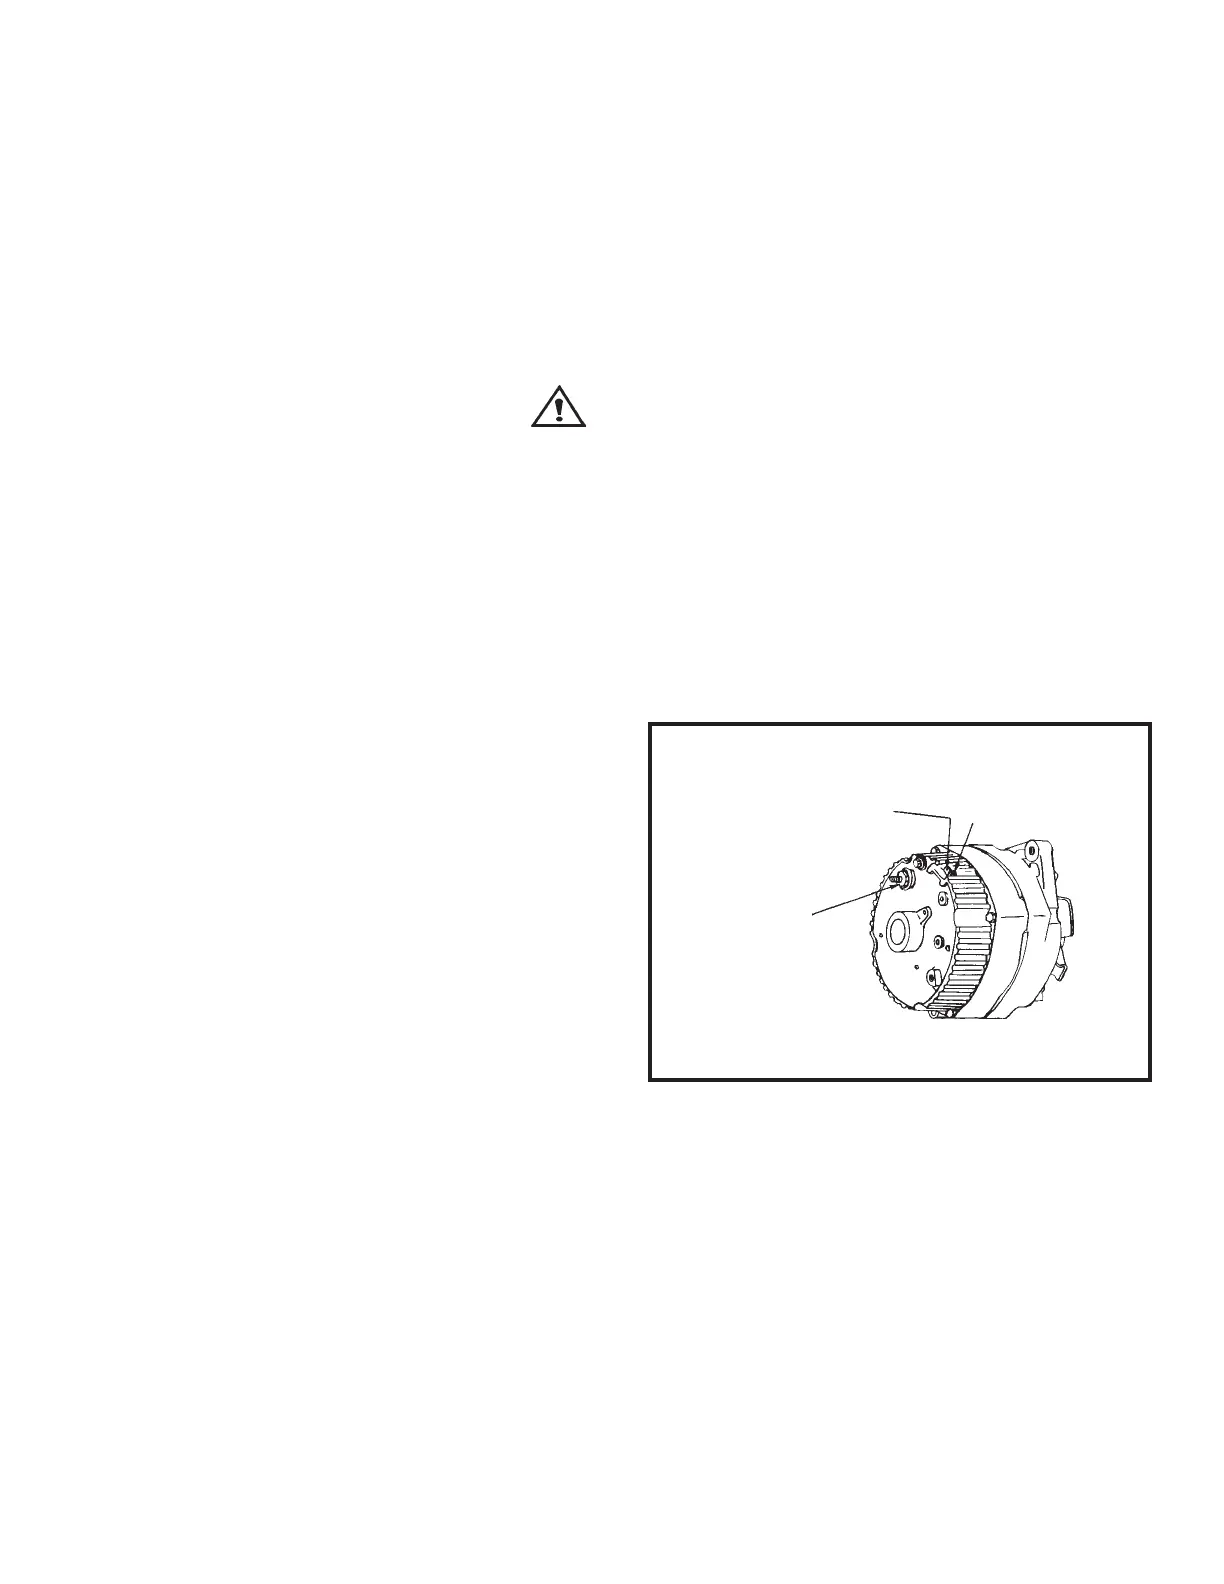
2. Connect a volt meter between the ground and:
(See Figure 2.)
a) The No. 1 alternator connector.
b) The No. 2 alternator connector.
c) The "BAT" connector.
3. If any of these tests show zero voltage, repair or
replace wiring.
4. Check voltage again until correct reading appears.
No. 1 terminalNo. 1 terminal
No. 1 terminalNo. 1 terminal
No. 1 terminal
No. 2 terminalNo. 2 terminal
No. 2 terminalNo. 2 terminal
No. 2 terminal
"BAT" terminal"BAT" terminal
"BAT" terminal"BAT" terminal
"BAT" terminal
Figure 2Figure 2
Figure 2Figure 2
Figure 2
AlternatorAlternator
AlternatorAlternator
Alternator