12 • Important: Always read and follow operating instructions.
Mounting
This information must be read and followed carefully
to prevent accidents and injuries during mounting.
Attempts to force a bead seat on mismatched
tires and wheels can cause the tire to violently
explode, causing serious personal injury or
death to operator and/or bystanders.
Check tire and wheel carefully before mount-
ing. Make sure the tire bead diameter and
wheel diameter match exactly. Consult the
Tire Guide and/or Rubber Manufacturer’s
Association for approved rim widths for tire
sizes.
Never mount a damaged tire. Never mount a
tire on a rusty or damaged wheel. Damaged
tires and/or wheels may explode.
When in doubt do not mount.
Never mount a tire and wheel handed to you
by anyone without checking both tire and
wheel for damage and to be certain the sizes
match. Do not let untrained persons operate
tire changer and keep bystanders out of ser-
vice area.
Forcing the tire onto the rim can cause bead
damage. If you damage the tire bead during
mounting, STOP!, remove tire and mark it as
damaged. Do not mount a damaged tire.
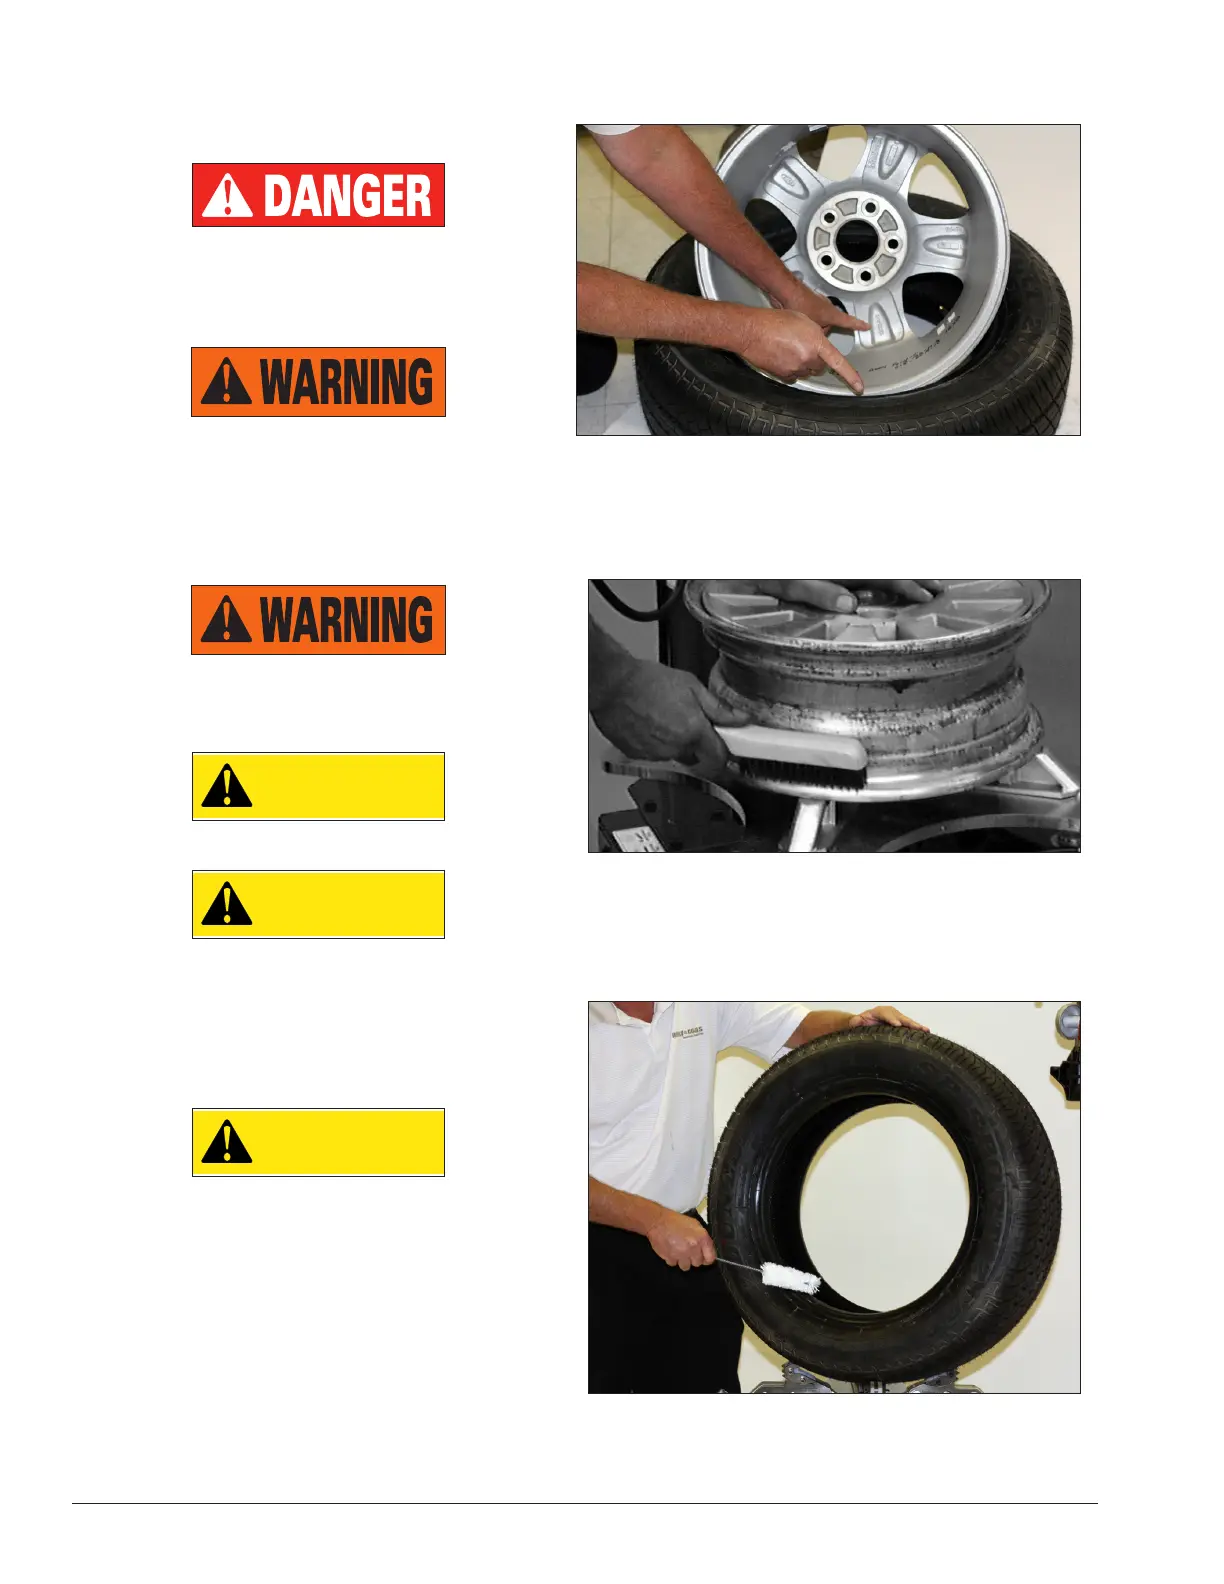
1. Before any mounting, inspect tire for damage and
verify size match between tire and wheel (figure 17).
Figure 17 - Verify Size Match Between Tire and Wheel
2. Inspect wheel closely for damage. Clean the
wheel and remove any light corrosion or rubber resi-
due (figure 18). Do not attempt to service a heavily
corroded wheel, damaged wheel, or bent wheel.
Figure 18 - Inspect and Clean the Wheel
3. Inspect valve stem and replace if necessary. Next
lubricate tire beads liberally with tire manufacturer’s
approved rubber lubricant (figure 19).
Figure 19 - Lubricate Tire Beads Liberally